Disclaimers: Our site uses demographic data, email opt-ins, display advertising, and affiliate links. Please check out our Terms and Conditions for more information.
While there are very few limits on what you can cook in sous vide, some foods are inherently better than others.
In this guide, we wanted to share five of the best foods to sous vide that will often have significant improvements than in other cooking methods.
We hope you're hungry, because this one is going to make you drool!
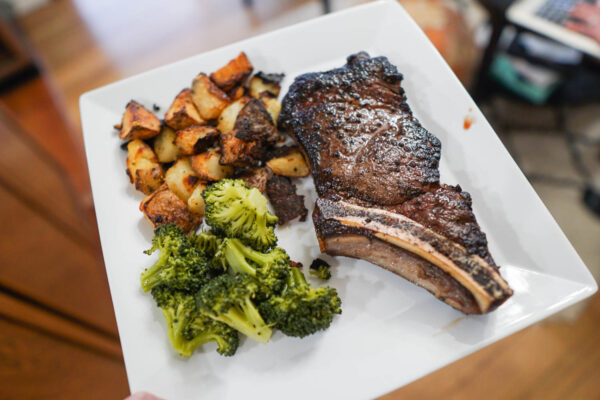
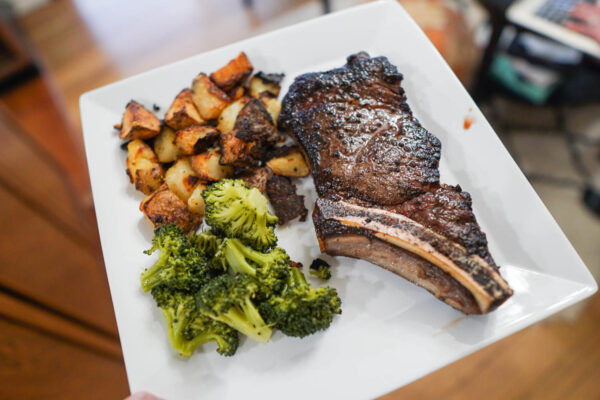
Steak
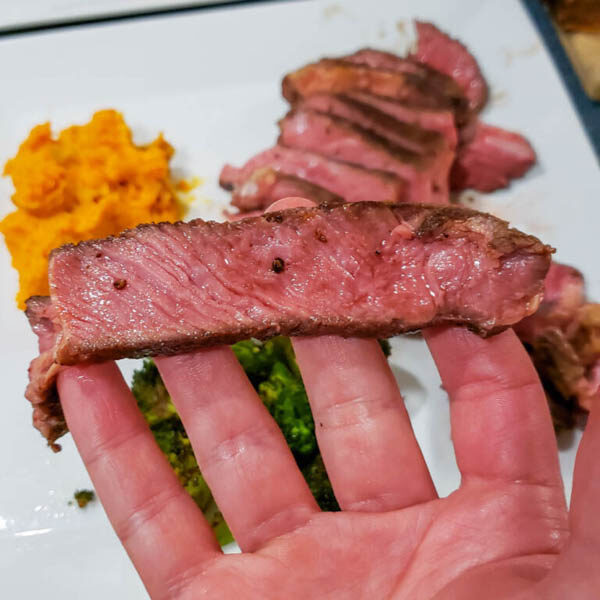
I'm a firm believer that all steak should be two things- thick (> 1″) and served medium-rare. Anything else simply isn't doing justice to the meat.
It took me years to be able to cook a perfect medium-rare steak on the grill (the later period significantly improved after buying an instant-read thermometer), but it took me just a couple of tries in the sous vide to get the same, if not significantly improved, results.
The reason? Medium-rare steak should be served at 130 °F with only a few degrees of wiggle room in either direction. Since how sous vide works is via the perfect application of heat, cooking at 130 °F will ensure the final product comes out at 130 °F every single time (we cook our steaks about 3 hours pending thickness and if it has a bone).
But there is a reason why it took me a couple of tries to get it perfect with sous vide, and that is because to finish a steak you'll need to do a sear on the grill, cast iron, or with a hand-held broiler. As the heat here is not as precise, you may over or undershoot until you get it just right.
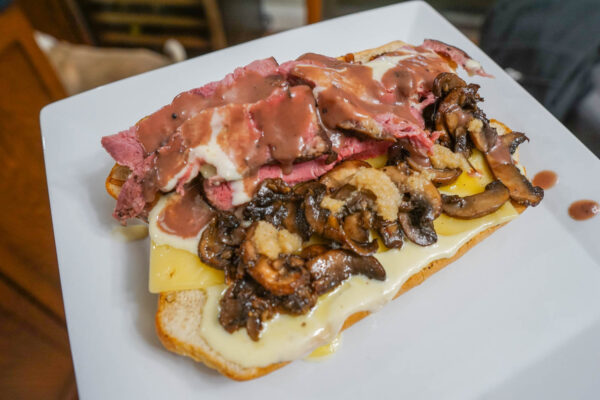
My process is putting the steaks (in their bag) in an ice bath for about 20 minutes to drop the internal temperature close to room temp. Then, for ~1″ steaks, heat a cast iron up until smoking. Add one steak on one half of the sous vide, then add a tablespoon of butter. Push down with tongs so all of the steak is touching and wait 2-3 minutes. Flip to the other half of the cast iron, tilt the cast iron to redistribute the butter if needed, and wait 2-3 minutes. Then sear the edges for about one minute in total.
From here, it is a matter of letting the internal temperature being your guide. As such, an instant-read thermometer is a trusty device here to make it perfect (which is why it took us about three tries before we got to perfection). Sear until you are 10 degrees below your target temperature, let rest for a few minutes, and you're good to go!
- Remember: If your steak was in your sous vide long enough, it was already cooked to your ideal degree of doneness. You can really pull it off the cast iron at any temperature you like. 10 degrees below your ideal temp allows for the internal temperature to rise a bit after removal- generally 5-10 degrees. Need a recommendation for a specific cut of meat? Go for rib steak. It is the best.
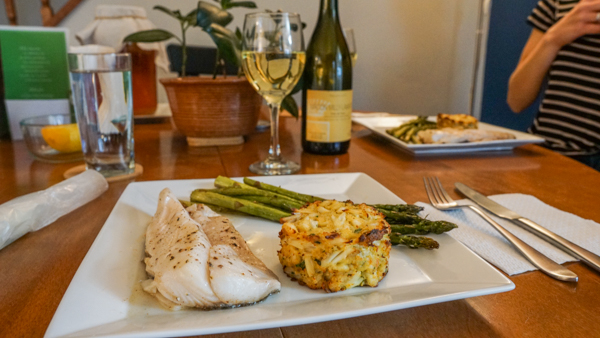
Fish (Sea Bass, Black Cod, Salmon)
As much as I dislike overcooked steak, overcooked fish is even worse. Thankfully, you can cook some great fish in sous vide as well!
Our thought process for fish in sous vide is much like steak. Thicker filets are better, and medium-rare (~120 °F) will produce a delectably moist yet flaky final product every single time. Simply brine your fish for up to 30 minutes in (1/4 cup kosher salt dissolved in 4-6 cups cool water), pat dry, season with pepper, and add butter, a lemon slice, and herbs into your bag and cook for 30-60 minutes pending thickness.
If you have a filet with skin on it and want that to be crispy, we like to score each filet a couple of times (1/4″ deep) prior to putting in the sous vide. Then afterward heat a cast iron up just until smoking, add a tablespoon of butter, and place the filet skin side down for 30-60 seconds until crisp. Serve immediately as the skin will not stay crispy for very long (you can also use a culinary torch for added crispness after removing)- this is a tricky balance of crisping the skin and not cooking the filet anymore as we do not ice bath these delicate filets.
The scores on the filet help the butter permeate into the skin and create crispy edges and, in our opinion, offers a slightly better final sear in this quick setting than without. However, searing skin takes some practice as it can stick even to non-stick skillets.
- Looking for some fish recommendations for sous vide? Salmon, black cod, and Chilean sea bass are all great options!
Roasts
When we bought a quarter cow, we were given a lot of large roast cuts and, quite frankly, had no idea what we were going to do with them. Roast meat is not our favorite (unless smoked for barbecue), so to try something new we deferred to our favorite kitchen tool to help us out.
To put it bluntly, if you've never had a 36-48 hour sous vide roast, you're missing out. While the meat will likely be cooked in just a few hours, long cooks in a sous vide help breakdown the connective tissue to make what is normally tough meat far more tender.
Take all the things you dislike about lean roasts cooked in the oven (dried out, flavorless, tough, etc) and think of the opposite with sous vide. You get moist, immensely flavorful, and tender, tender meat every time. For roasts, you may want to do a few things differently, however.
First off, we like to do a reverse sear in order to get some of that Maillard Reaction flavor in the bag at the start (we do a finishing sear as well and even have done a finishing smoke too!). Second, you may want to sous vide to at least 140 °F to maintain generally accepted safety standards for long cooks- this means the roast will turn out medium as opposed to medium-rare, but we'll take what we can get here*.
From there, slice up the meat, make a sauce for the side (or eat straight), and enjoy. It is truly a delicious way to make roast!
- *Safety notes: Generally speaking, there is a “four-hour rule” that food should not be below 140 °F for more than four hours (some may even go as far as saying two hours). However, others would argue that for exceptionally long cooks would get into pasteurization territory and lower temperatures (like 130 °F) produce meats that are safe to eat as well if it has been cooked long enough. Others still may argue that for whole roasts, bacteria would likely exist primarily on the surface and a pre-sear may be effective at killing these well. While we certainly have our opinions on this topic, we are not making a judgment call on this one way or another.
Eggs
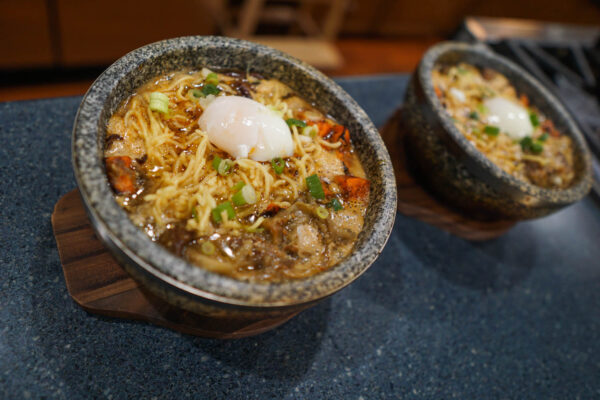
The first time we made eggs in our sous vide, we were at my in-law's house. We planned on making ramen-style eggs and told them that it would take upwards of 60 minutes to be ready.
I can still hear my mother-in-law's reaction to having to wait an hour for eggs- I can cook an egg in less than three minutes!
Sure, you can scramble an egg in three minutes. You can even poach a pretty exceptional egg in three minutes in boiling water- just add a splash of vinegar and add the egg slowly via a bowl and wait three minutes. But for the eggs we were trying to make (the perfect ramen egg), well, you have to do it the traditional way.
Ramen eggs came about in Japan when they would be cooked in hot springs over an extended period of time. These springs were at a constant temperature (145 °F), eggs were added straight into the water, and they simply waited for them to be ready. Sound familiar? It is quite literally sous vide (plus perhaps a bit more minerals in the water).
All you have to do is set your sous vide to 145 °F, add your eggs to the bottom of your water bath vessel, and wait roughly 60 minutes. Easy!
The best part about eggs is that there are so many ways to cook them, even in sous vide, and our favorite book Sous Vide at Home has many other recipes including how to pasteurize egg whites, making fried egg yolks, and even ways to reheat eggs that were previously cooked (read: heat them up in sous vide just a few degrees cooler than your initial cook).
- Note: When you crack open ramen eggs, there may be some runny loose white that comes out with the set white that contains the yolk. We generally crack the egg into the palm of our hand and gently wiggle it around to let the loose whites run through our fingers. Then, the egg goes straight on whatever we want to eat- most likely ramen.
Custards
You likely have heard about several of the above foods being used in sous vide before, but have you heard about dessert- specifically custards?
Custards are an interesting dessert because while they are, in fact, cooked, we are looking for a precise cooking such that they are only just set but not firm. Sounds like something for precision temperature control, right?
But to make custards in sous vide, you cannot just put them in a vacuum bag or freezer bag like many of the above dishes and have to instead prepare these in a ball jar. While these jars will have inherent airspace in them, as the entire vessel is submerged the air will heat up over time as well. This method is even good for similar desserts like pot de creme as well- and it turns out perfect every time!
There you have it- some of the best sous vide foods. You wont regret trying any of these!
Read More About Sous Vide
Want to learn more about sous vide cooking? Check out some of our top posts:

