Disclaimers: Our site uses demographic data, email opt-ins, display advertising, and affiliate links. Please check out our Terms and Conditions for more information.
Like many home bakers, our oven does not have a proofing drawer. This presented a bit of a challenge for us when we wanted to get into baking, specifically sourdough breadmaking, as many recipes note that bread requires extended proofing times at elevated temperatures (up to about 82 °F- or about 28 °C).
As our home only has a few constant temperatures available to us, namely freezer temp, refrigerator temp, and ~66 °F room temperature (+/- a few degrees year-round), there was no way for us to get to that target temperature without a little outside help.
As standalone bread proofing drawers are bulky and expensive, and our oven's lowest temperature setting is about 135 °F, we were curious if we could build one for ourselves. As it turns out, you can buy all the components you need for a DIY bread proofing drawer at home for just $25-$50 (a savings of 75% to 87% over the dedicated products).
So in this one, we wanted to share a bit more about why bread proofing is important and the steps you need to take to build a DIY bread proofer at home!
Why is a Bread Proofing Box Necessary?
First, we should start off by saying that the phrase “proofing box” is kind of a misnomer – I think of it as a fermentation box since you can use it for the entire fermentation process, not just the final proofing step.
Basically, there are two steps to the fermentation process when making bread: the bulk fermentation process where you ferment the dough as one big mass, and then the final proofing process (which is still fermentation) that occurs after you portion the dough into multiple loaves and shape them.
A proofing box can be used for both of these steps, although I typically only use it for the bulk fermentation step as I usually do the final proof in the refrigerator.
The main goal of a proofing box is to keep the fermenting dough at a consistent temperature. A consistent fermentation temperature will allow you to produce repeatable loaves. Also, if you’re adjusting your sourdough recipe, you’ll be able to observe the effect of changing one variable at a time (like hydration percentage, for example) without wondering if the fermentation temperature was hotter or colder than the last time.
You might be asking why you can't just keep the dough at a consistent room temperature for bulk fermentation and proofing. That is obviously something you can do, but there are a few reasons why that may be more challenging, particularly if you're just getting started with sourdough:
- Most sourdough recipes have a target dough temperature of 78-82 °F which is typically far higher than most conventional room temperatures. You can obviously adapt nearly all recipes to a lower target dough temperature, but if you're just starting out, it's much easier to first try recipes as written before experimenting, and those will generally be between 78-82 °F.
- Your home's room temperature likely changes throughout the year and possibly even throughout the fermentation process. Producing consistent loaves will therefore be more challenging due to these daily or seasonal temperature swings.
- Fermenting out on an open counter (even with some covered containers) can dry out the loaves and cause a skin to form on the surface. A proofing box helps maintain humidity in addition to temperature so that your dough doesn't dry out.
These are all reasons why you may want a proofing drawer, but now we should move on to how to use one outright. Thankfully, we follow just a few simple steps.
First, we put the dough in the DIY drawer with a set point roughly 5 °F higher than our desired final dough temperature. So if we are targeting a dough temperature of 80 °F while proofing, we'll start the drawer at 85 °F to help the dough get to the target temperature just a bit faster.
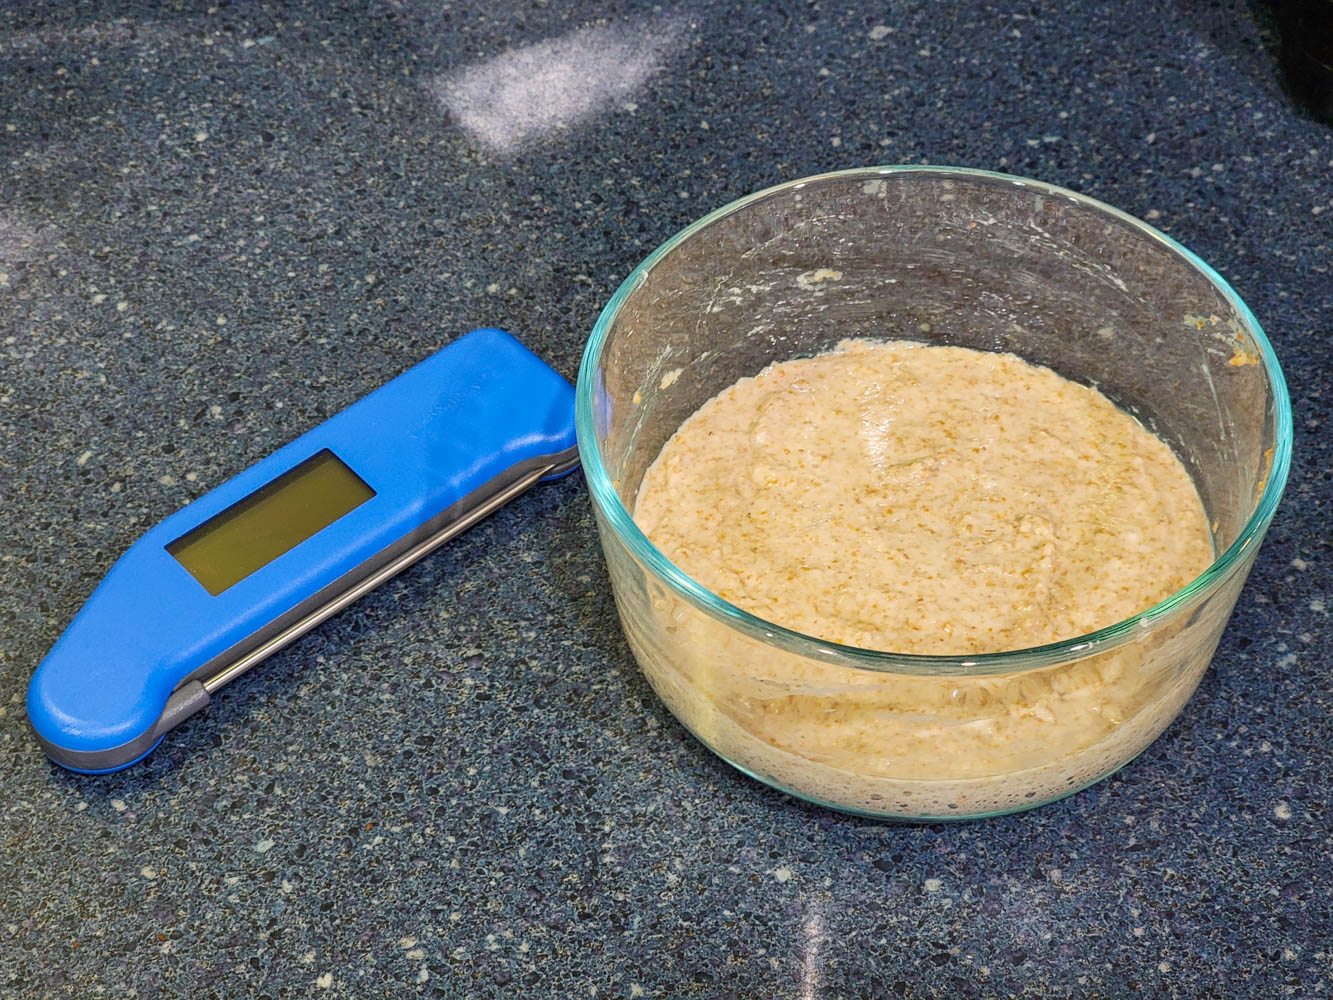
Second, we check the internal temperature of the dough with an instant-read thermometer when we knead it (roughly every 30 minutes). An instant-read thermometer is one of our most trusted kitchen tools, and every home should have one for this and many other cooking activities.
Finally, when the dough gets close to our target (say, a few degrees shy of 80 °F), we'll then lower the temperature in the proofing drawer to the setpoint for the rest of the proof. That's it!
How to Build a DIY Bread Proofer
When it comes to making a bread proofing drawer at home, you really only need two items that can be acquired for under $50 in total:
- An insulated cooler large enough to easily fit your bread bowl
- We recommend measuring your standard bread bowl first and finding a cooler that can accommodate it.
- A heating mat with a thermostat controller
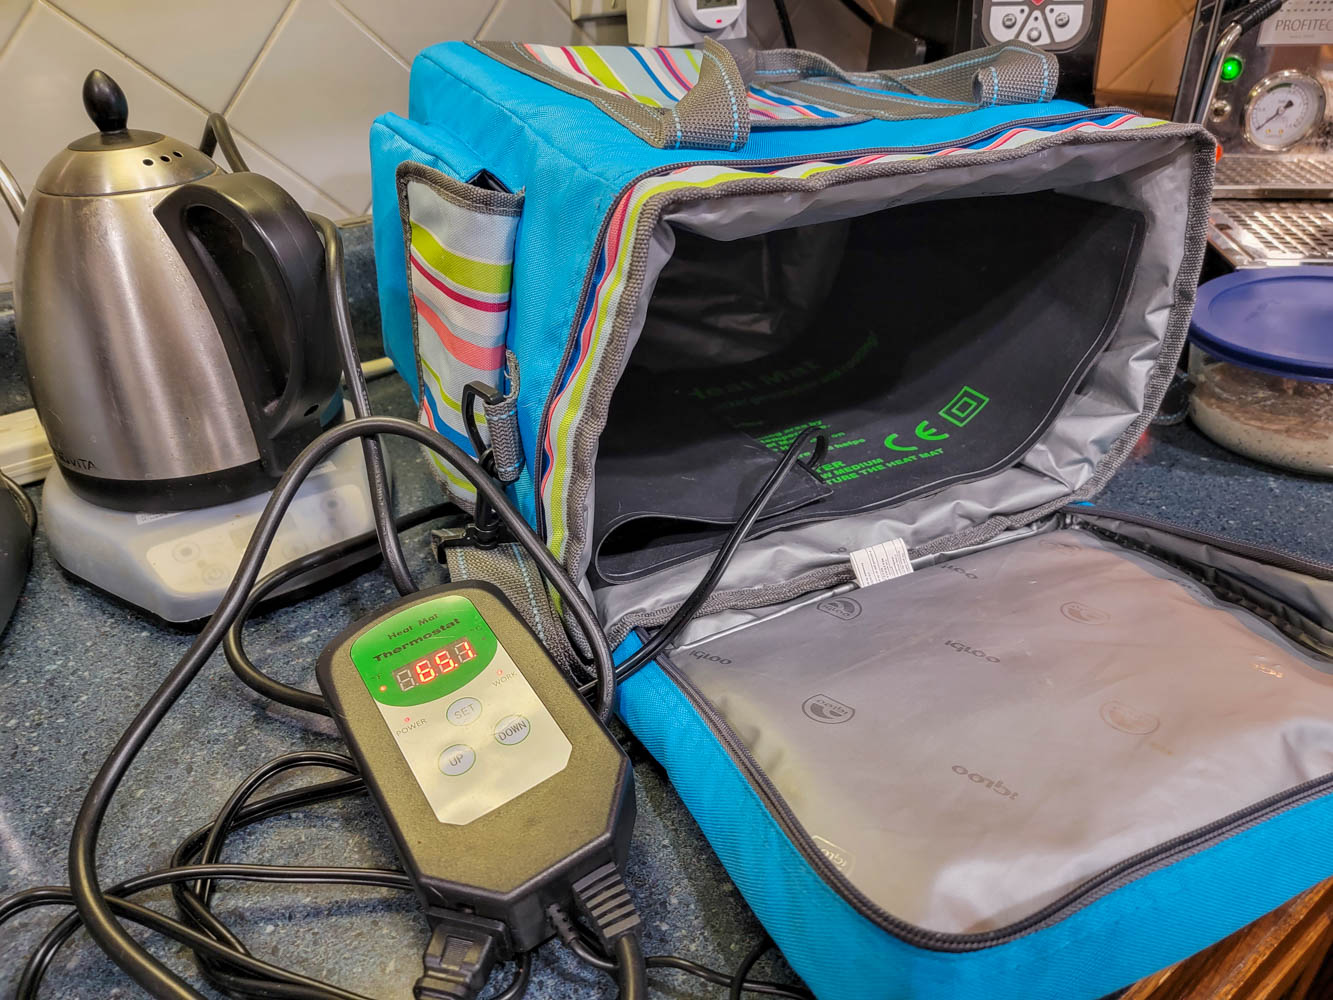
The most important part is to ensure that your heating mat has a thermostat controller built in. This will allow you to place a probe inside your DIY proofer to measure the ambient air temperature which sends a feedback signal to maintain the desired setpoint at all times (e.g. maintaining the air temperature at a steady 80 °F).
Some heating mats may only have on/off options and will not give you an element to control the temperature to the precise degree we desire for baking, so only buy one with a probe like the heating mat featured above.
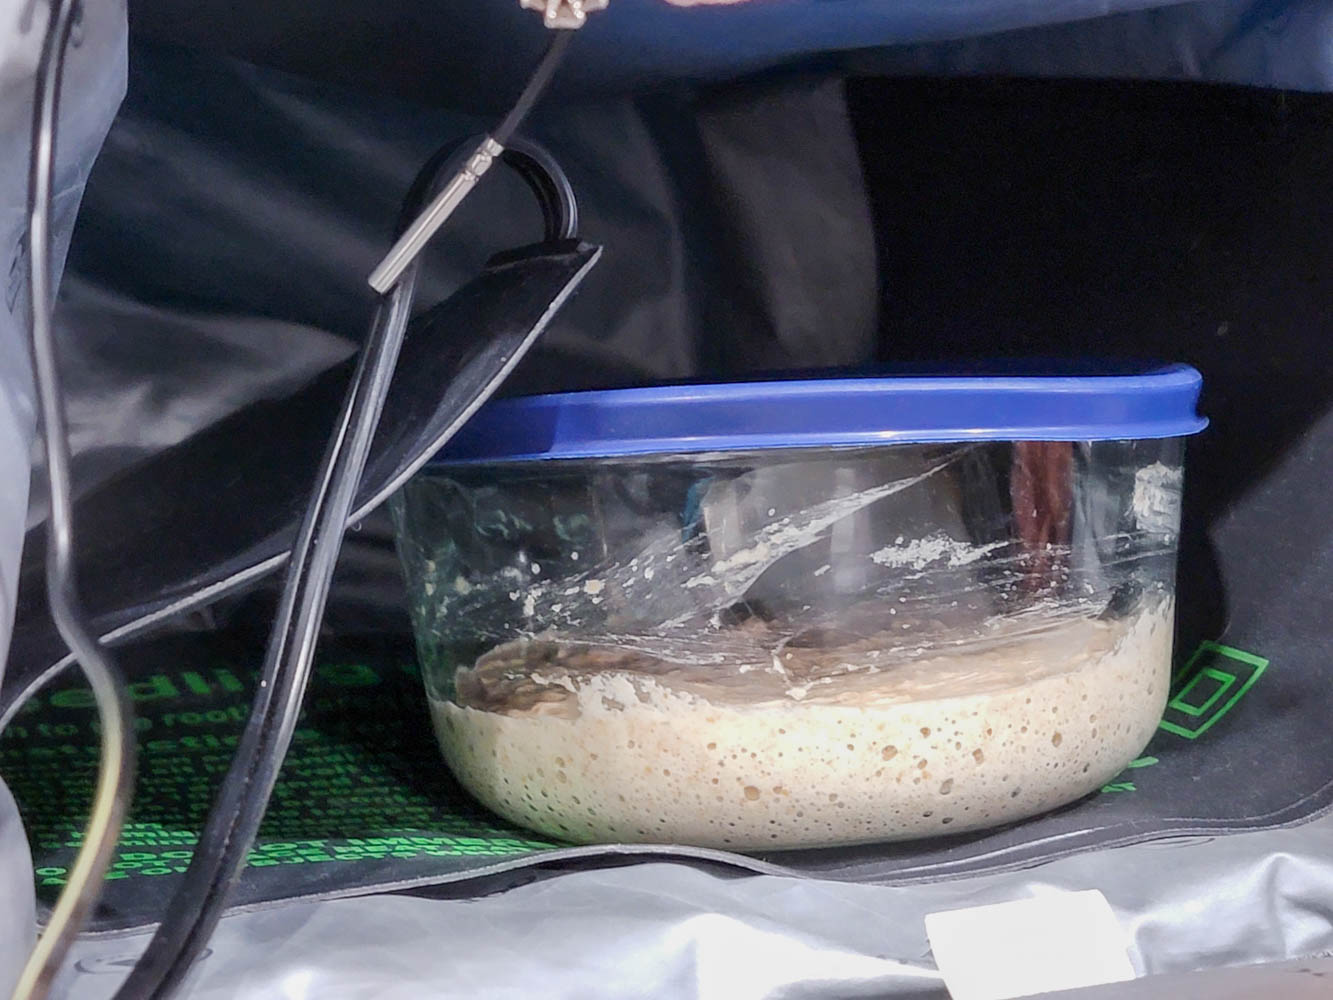
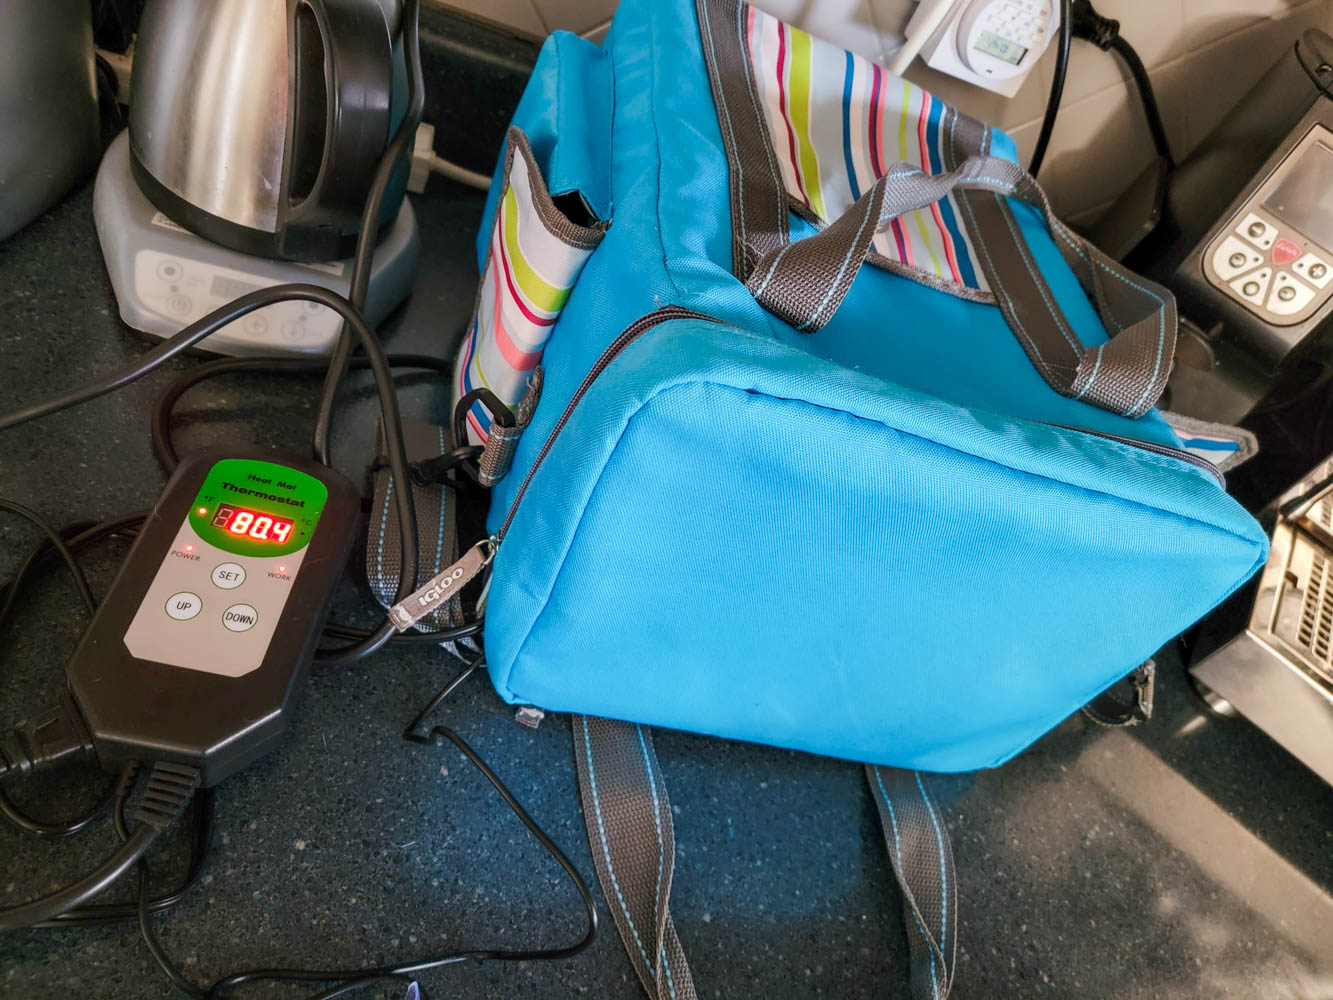
When you get these two items, it is really as simple as rolling out the heating mat inside the cooler (we lay ours down on its side as pictured above), turning the mat on, setting the temperature, placing a bowl with dough on top of the mat, placing the probe such that it measures the air temperature, and closing the lid without pinching the cord to the heating mat. That is it!
- We like soft coolers with zippers as opposed to hard coolers with a hinged lid as you can get a tighter seal to trap in the heat.
This ended up being a really easy solution to our oven not having a bread proofing drawer, and as we already had many coolers all we had to do was pick up a ~$25 heating mat that would fit the available space we had and the problem was solved! As an added bonus, we also use this heating mat for warming up seedlings in our grow light and to culture koji- so it certainly has versatility in its uses for such a nominal price.
Alternative Proofing Box Ideas
While we think the best method for proofing bread is a cooler with a thermostat-controlled heating pad, there are a few other DIY methods for creating a proofing box at home:
- Oven with hot water: In this method, you ferment the dough in a container in an oven (turned off) with a pan or bowl containing hot water. I used this method for a long time but it was definitely fussy. It required constantly refilling the hot water bowl as it cooled off over time, dumping water, refilling, etc. The other problem is that you can't really use the oven for your final proof (unless you have a second oven) as you will need to be pre-heating the oven for baking the bread at that point.
- Oven light only: In this method, you simply turn your oven light on and ferment in your turned-off oven. Our oven light doesn't work so this method was out for us, but I also have a hard time imagining the light would generate enough heat to maintain a dough temperature of 78-82 °F.
You may be able to test these out if you do not want to acquire any new items for your kitchen, but to us, the DIY proofing box with a heating mat was the way to go, and we're not looking back.
Have you created a DIY bread proofing drawer at home? We'd love to hear how you did it in the comments below!


