Disclaimers: Our site uses demographic data, email opt-ins, display advertising, and affiliate links. Please check out our Terms and Conditions for more information.
Aeropress is a popular brewing method for a number of reasons. First and foremost, its small size makes it portable, ensuring you can have specialty coffee even in the most unlikely places (no more crappy hotel coffee!). The second is that for a relatively simple brewing method you can actually make some pretty delicious coffee with it!
In this one, I wanted to share my favorite Aeropress recipe with you so that you can make Aeropress anywhere life takes you.
The Equipment You'll Need for Aeropress
To make the best Aeropress at home, you'll need the following equipment:
- Aeropress
- Aeropress Filter Paper
- An Espresso Burr Grinder
- Handheld Burr Grinder (for on-the-go brewing)
- Gooseneck Electric Kettle
- A kitchen scale
- A timer (built-in to the kettle above or use your phone)
- A small spoon
- A coffee cup
What Aeropress Ratio Works Best?
The best Aeropress coffee ratio we have found so far is the following:
- Roast: Any, but we prefer light to medium roasts
- Coffee: 20 g per serving
- Water: 250 g per serving
- Contact Time: 75 seconds plus plunging
- Temperature: 205°F
- Grind: Fine (4 out of 16 on Grinder)
Unlike other coffee brewing methods, the water capacity in an Aeropress is inherently limited such that you'll only really get one serving out of any given brew. This helps keep the unit's size down to be portable but makes it a bit more cumbersome to brew multiple cups at a time as you'll have to repeat the process for every additional cup.
The above ratio is based on a light-to-medium roast; however, for darker roast coffee you may want to adjust by grinding slightly coarser and lowering the water temperature 5-15 degrees (depending on the degree of roast).
Aeropress Recipe
To make the best Aeropress at home, we recommend the following steps using the inverted brewing method.
- Set your kettle to 205°F and hold until ready.
- Measure out 20 g of coffee and grind to a fine setting, roughly 4 out of 16 on a multi-setting grinder.
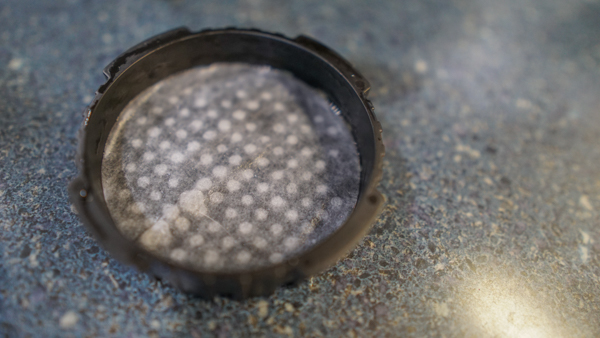
- Place the filter paper inside the Aeropress filter cap, lightly wet the filter, and gently push down to ensure uniform contact between the filter and the cap. Set to the side.
- Place the plunger inside the Aeropress chamber and push down ever so slightly to form a seal (if it is down to the #4 you've gone too far).
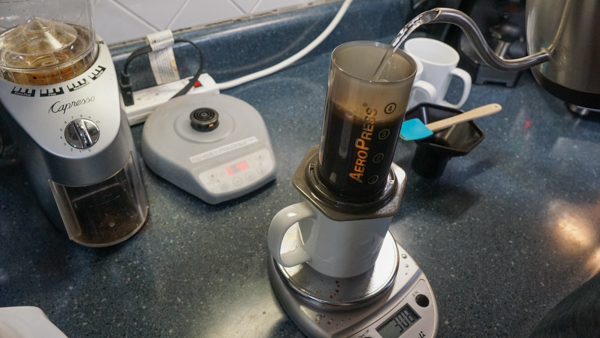
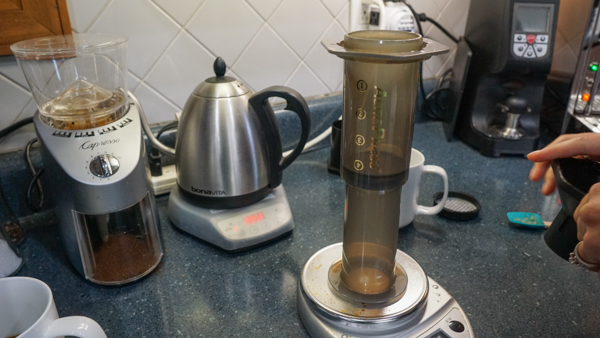
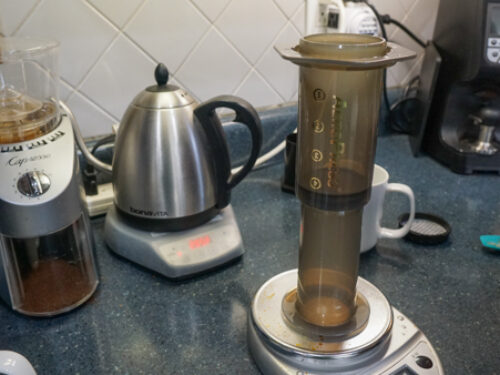
- Invert the Aeropress tube such that the end of the plunger is at the bottom, place on scale, and dump in coffee grounds (see photos for orientation).
- Tare the scale.
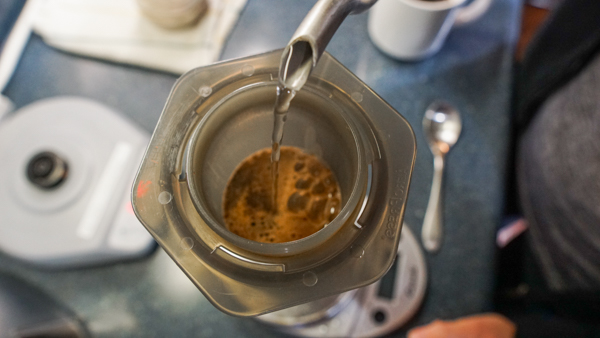
- Start your timer and pour 20 g of water into the Aeropress to bloom the coffee. Gently distribute the coffee grounds with a spoon to ensure they are evenly wetted.
- After 30 seconds pour in the remaining 230 g of water within about 10-20 seconds.
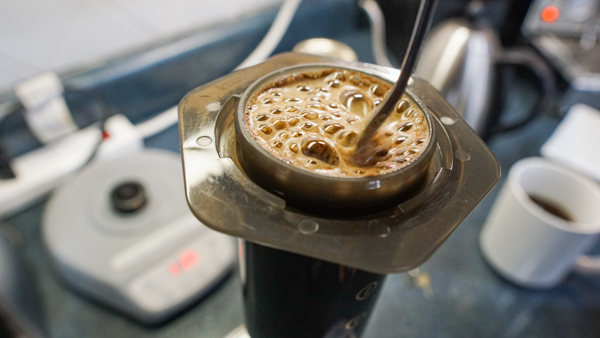
- When the timer reaches 75 seconds, stir the coffee six times.
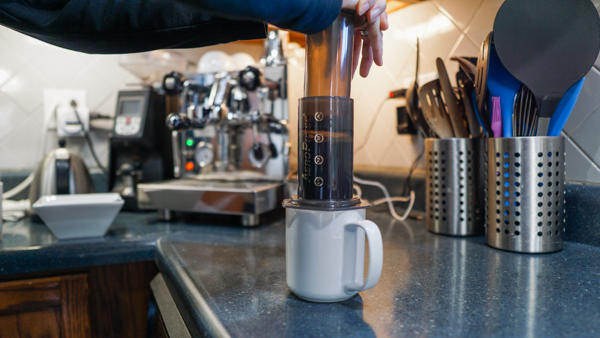
- Screw the filter cap onto the chamber, carefully invert over a coffee mug, and slowly but steadily plunge.
- Plunge such that the entire contents of the Aeropress (stop when you hear a hissing noise) are filtered into the mug within 20-30 seconds.
- Enjoy your coffee!
Some Aeropress Theory and Science
At its core, Aeropress brewing is a full-contact brewing process. Grounds and water go into the vessel, steep for a set period of time, and are separated at the end of brewing. In terms of coffee-to-water contact, the grounds steep similarly to that of a French Press.
The main difference between the two, apart from brewing volume, is the filter itself. The mesh size of Aeropress filter paper is quite fine, whereas the mesh size on a French press filter is quite a bit larger. This means that you have to grind a bit coarser for a French press brew, but for Aeropress you can adapt the recipe to a wide range of grind sizes. Additionally, with the coarser grinds required in French press, the brew time has to be extended in order to achieve a proper extraction. With finer grinds in an Aeropress, brew times can be quite short, which results in completely different flavor profiles in the final cup.
Taking all of that into account, our Aeropress recipe utilizes lighter roasts with finer grinds and higher temperatures than for French press.
In steps 4 and 5, we recommend placing the plunger in the unit and inverting the Aeropress on a scale before adding the coffee grains and water. This is the opposite of traditional brewing practices where you screw on the filter on the opposing side, add the coffee grains and water, and add the plunger on last. This is done for a number of reasons, but to us the main one is to minimize the amount of under-extracted coffee that would pass through the filter.
In an upright brewing method, the pressure generated from the column of water in the Aeropress pushes some of the water through the filter (as much as 10%-25% of the total water mass in our tests). By steeping your coffee in the unit while it is inverted, you minimize this and only have the coffee in contact with the filter paper while plunging.
In steps 7 and 8, we recommend blooming the coffee in 20 g of water. This is done in numerous coffee brewing processes, like pourover, in order to allow trapped carbon dioxide to escape and to ensure the coffee grounds are thoroughly wetted at the start of brewing.
In step 11, we recommend plunging the entire contents of the Aeropress within about 15-20 seconds. This swift plunge is mostly done to end the extraction quickly and prevent over-extraction of your coffee. In the recipe above, it is also worth noting that the contact time does not include the plunging time.
How do you prepare your Aeropress at home? Comment below to share any tips you have picked up along the way!

