Disclaimers: Our site uses demographic data, email opt-ins, display advertising, and affiliate links. Please check out our Terms and Conditions for more information.
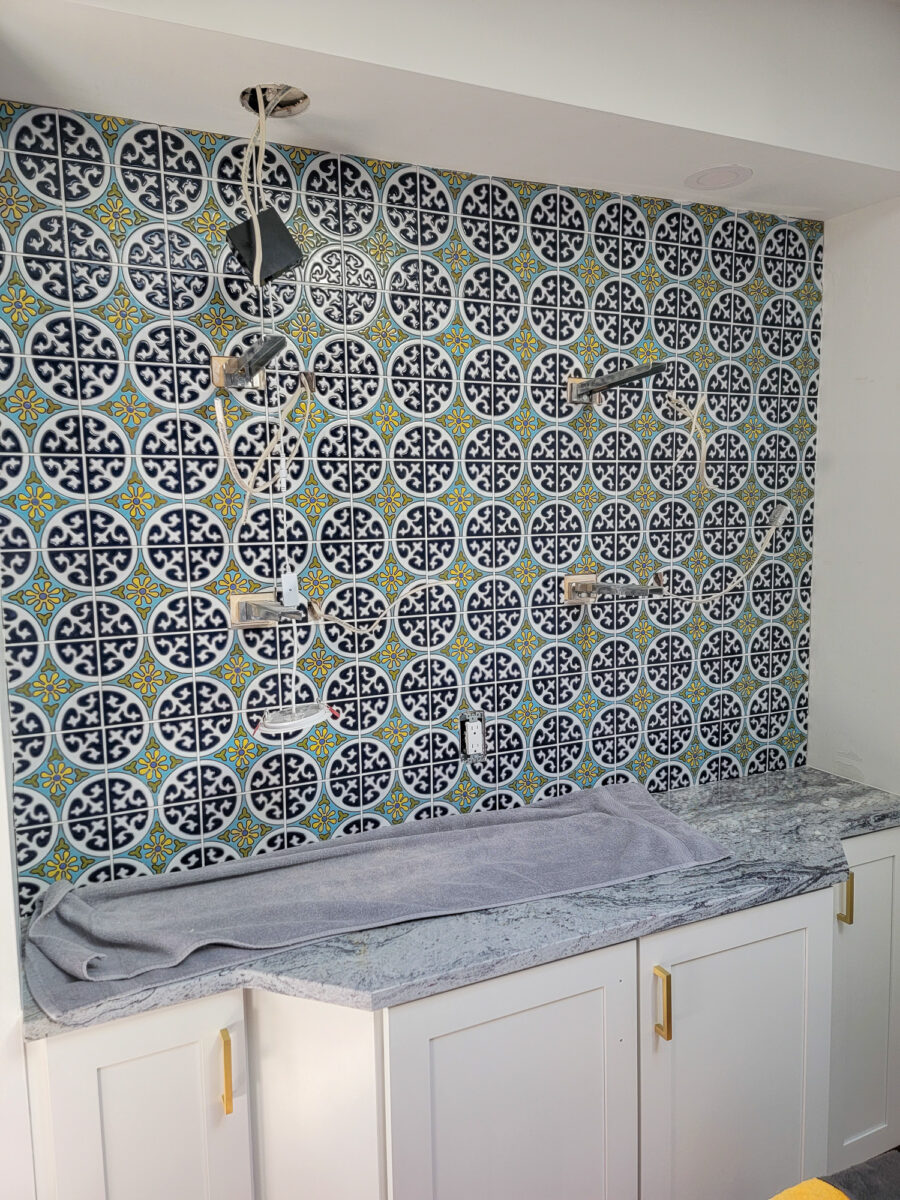
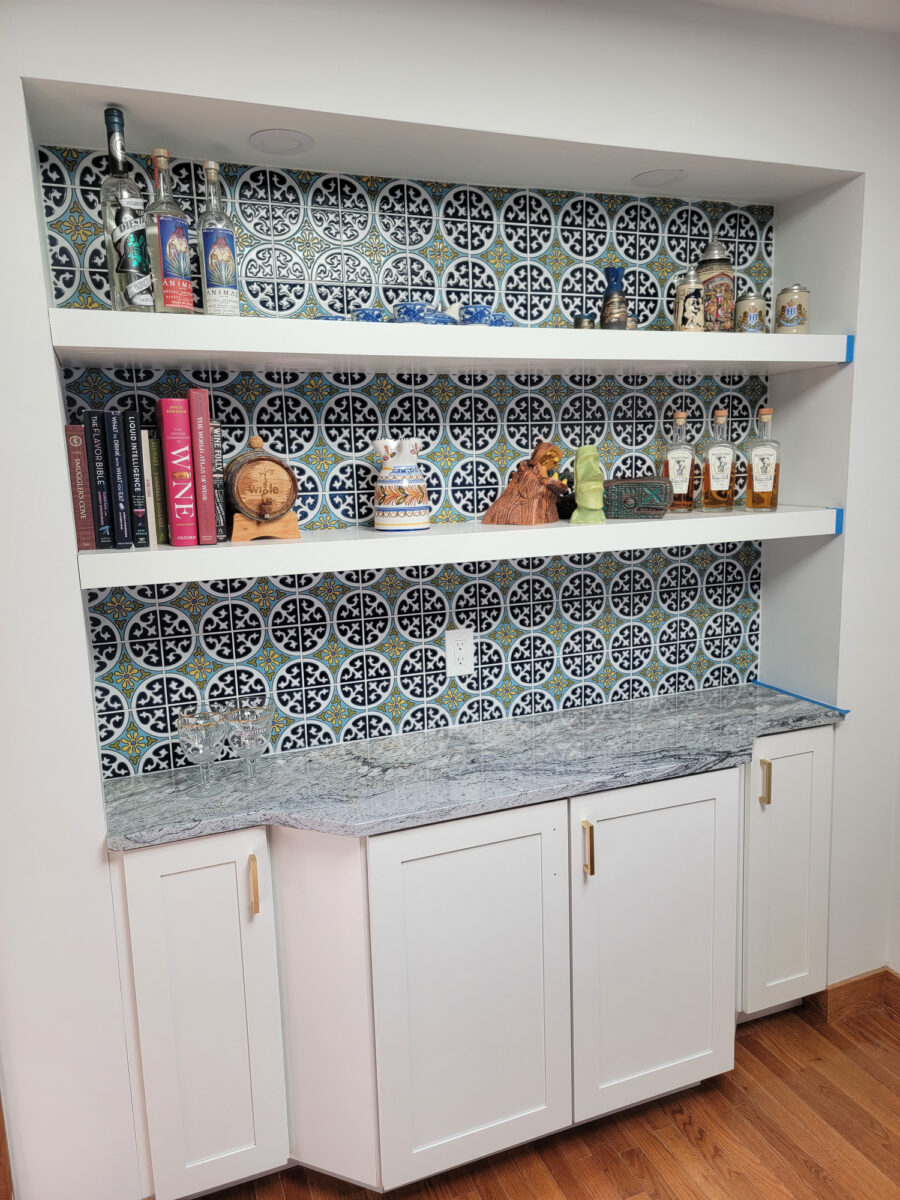
When we installed hand-painted ceramic tiles into our bar, we dreamed of the perfect space to create drinks and entertain friends.
One thing we did not anticipate was the cleanup effort after installing the tiles, as the grout was, quite literally, everywhere.
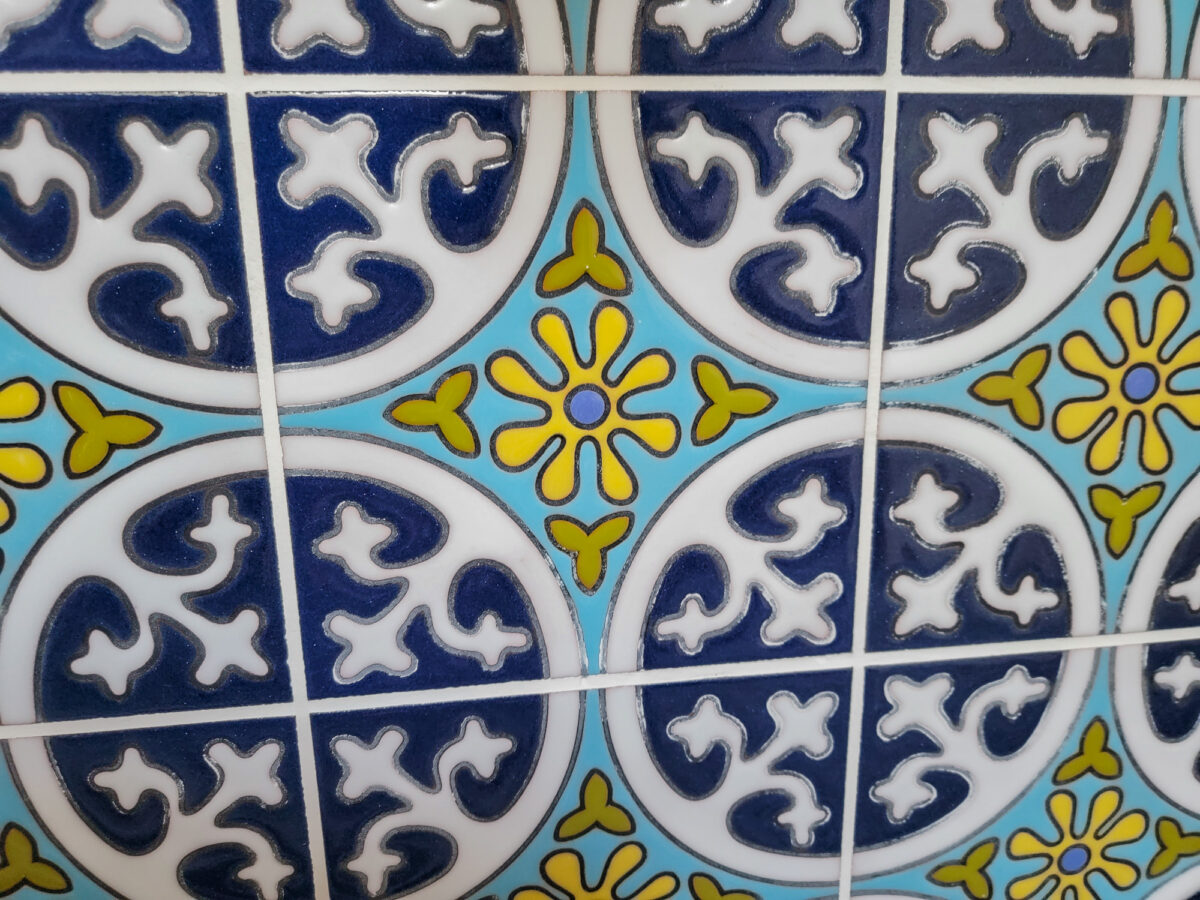
This should have been expected, partly because the handmade tiles had a 3d-ish element with several nooks and crannies for grout to hook onto. The other part was something we did not know about until after, one that, if you found this article through a search result, you are probably experiencing yourself- grout haze.
Grout haze is more or less what you think from the term- a thin layer of grout coats tiles after installation, making it look hazy. You wipe them down, it looks great, and then a few minutes later the haze returns.
After fighting with this one for an incredible amount of time, we thought we'd share some of the methods we tried for getting rid of grout haze, how well they worked (or didn't), and help you find some direction in this infuriating fight.
Warning: If you want to use any chemicals on tiles, check their compatibility as you may risk damaging your new product. Acids, like diluted vinegar, can etch materials like granite, marble, and stone but may work fine on some ceramics. Likewise, some products may be too aggressive for the grout type you purchased and could cause erosion. Check your tile and grout company recommendations before attempting any form of cleaning. This article should not be used for determining material compatibility.
Water and Elbow Grease
The first thing you should try (and, if you're reading this, you likely already have tried) is wiping away any grout haze with water or, perhaps, a mild soap and water.
The good news is that some grout haze can come off with a simple wipe-down shortly after finishing the install. The bad news is not all grout haze comes off with a simple wipe-down with water.
The pesky final layer of grout haze is often the problem here. This is the haze that, when wiped down with water, appears to go away, your tile looks amazing, but after a few moments when the water dries, it reappears with no visible change. Some extra elbow grease in polishing can help remove a bit more, but odds are good here that water alone won't get you to the final clean state you're going for.
Verdict: Always try this first, but don't expect it to get you to a final state you are happy with using water alone.
Dilute Acid in Water
The first product we tried to eliminate grout haze was a 4:1 dilution of distilled white vinegar in water. That is one part vinegar and four parts water.
This dilution works because most grouts are typically soluble in acidic environments. The slight pH shift in thin layers of grout haze can keep them in solution long enough to get absorbed into your cleaning medium (paper towel, shammy cloth, etc.).
A quick washover of our tile (with a soft bristle scrub brush), with an immediate follow-up of a wet and then dry towel, while avoiding contact with the grout lines (and our granite countertop- which is sensitive to acid) as best as possible showed a marked improvement over cleaning with water alone.
It wasn't perfect, which is often why it is recommended to do several passes (or possibly increase the concentration of vinegar slightly). Still, we decided not to risk applying too much of a pH shift on our tile as a safety precaution.
When in doubt, dilute and always cover any sensitive surfaces- like a granite or marble countertop.
Verdict: If the compatibility is okay, you'll likely see a marked improvement with dilute acid and vinegar, but we would've likely needed several passes or an increased concentration we were not comfortable pursuing.
Baby Wipes
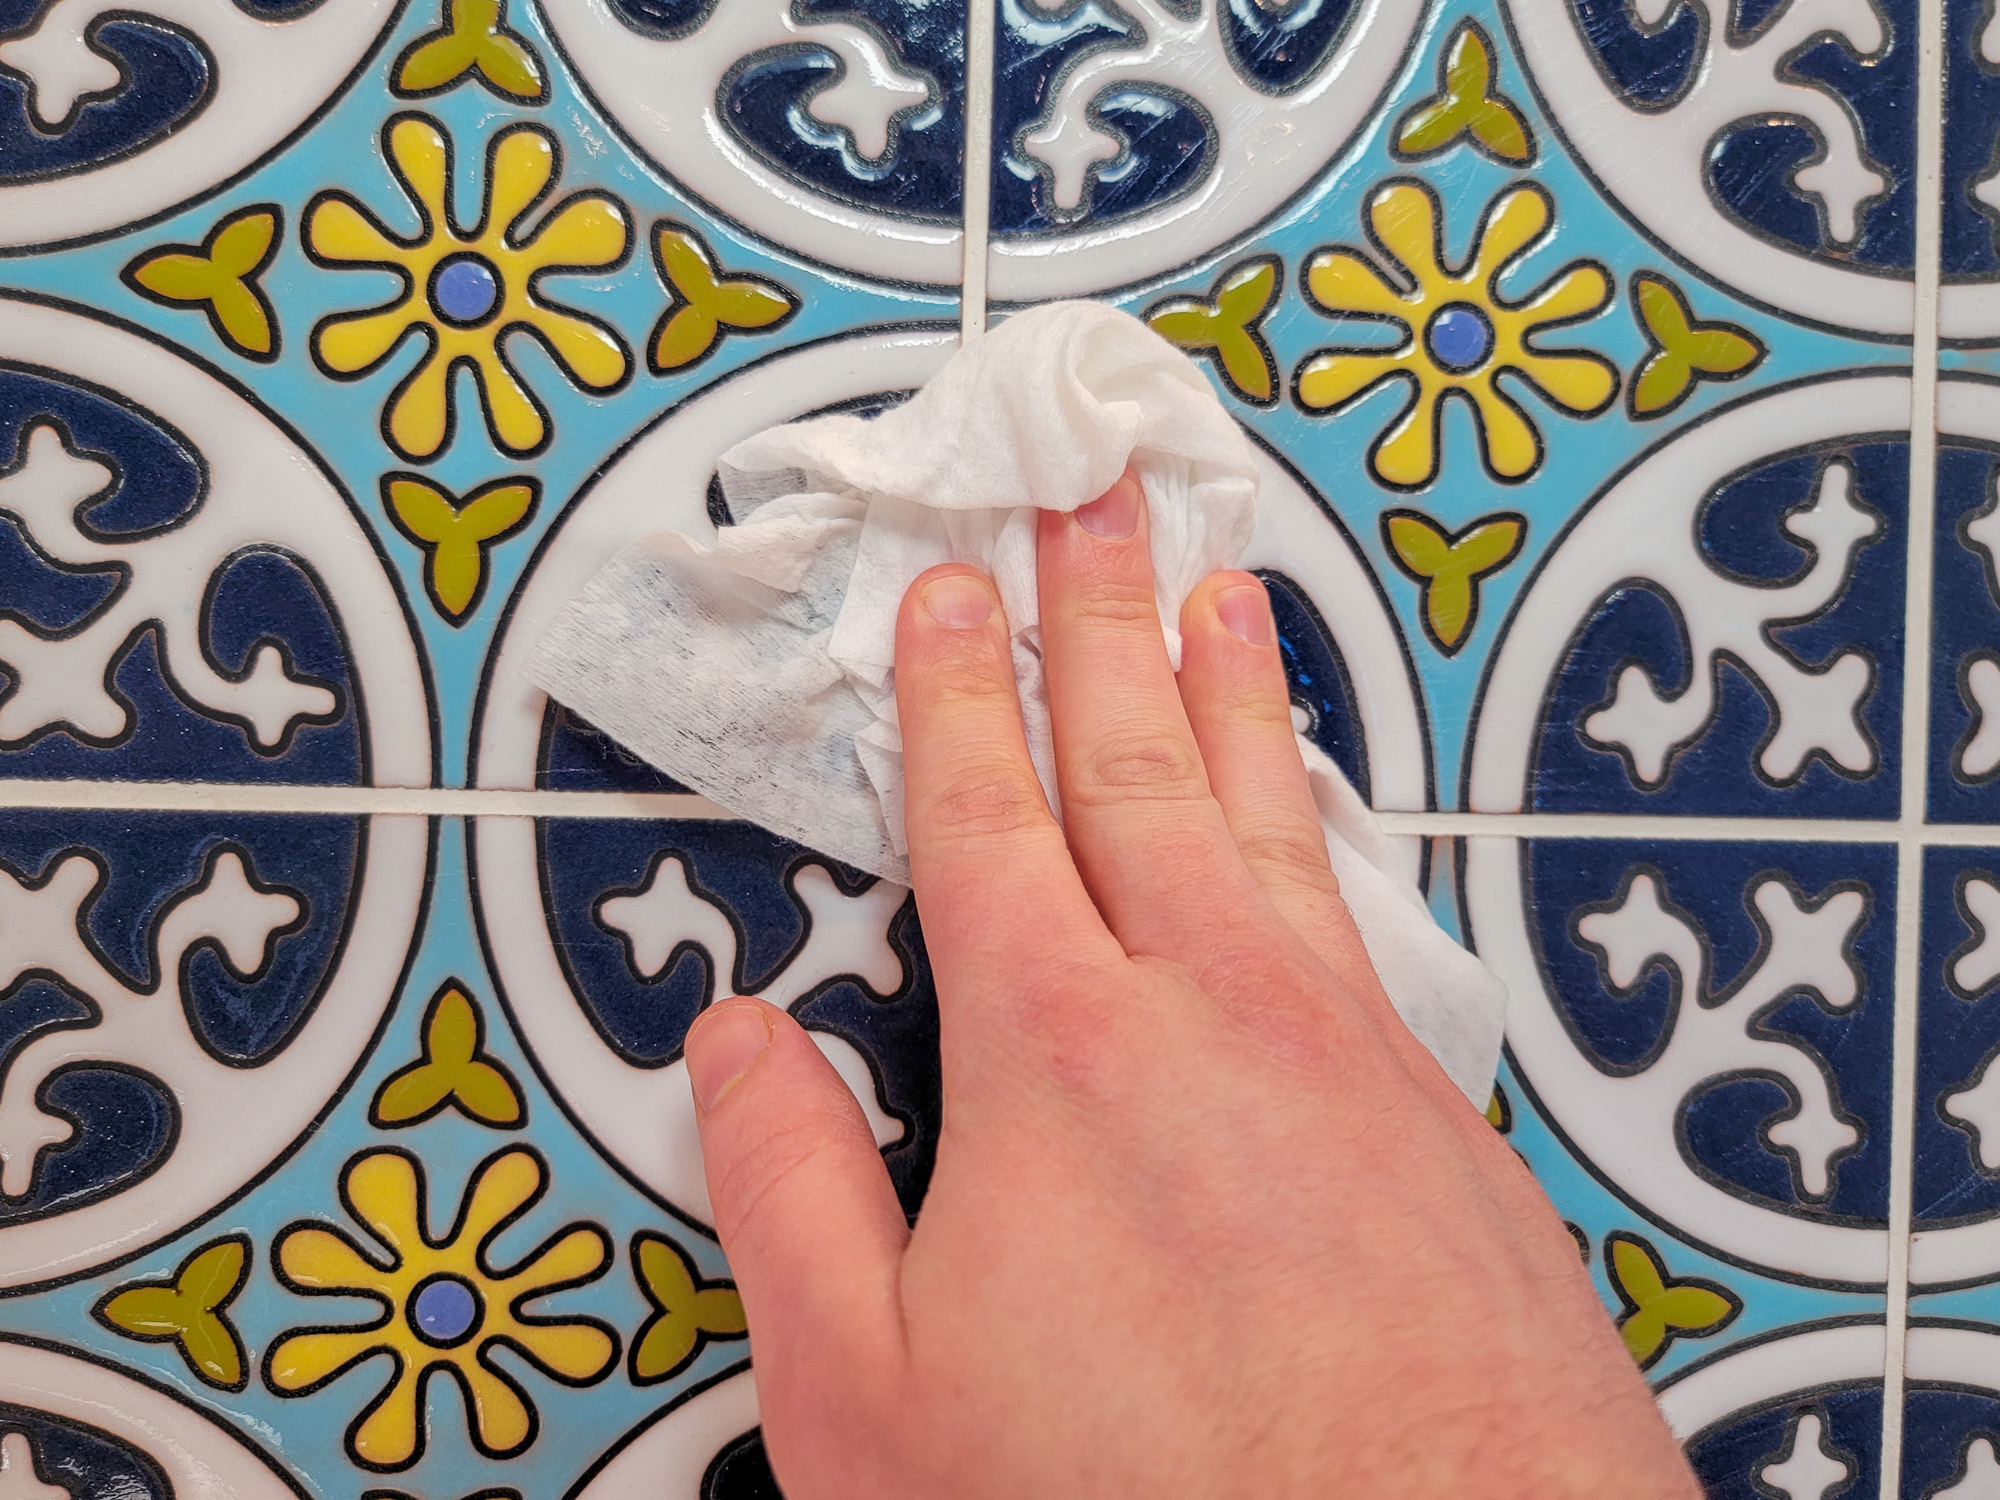
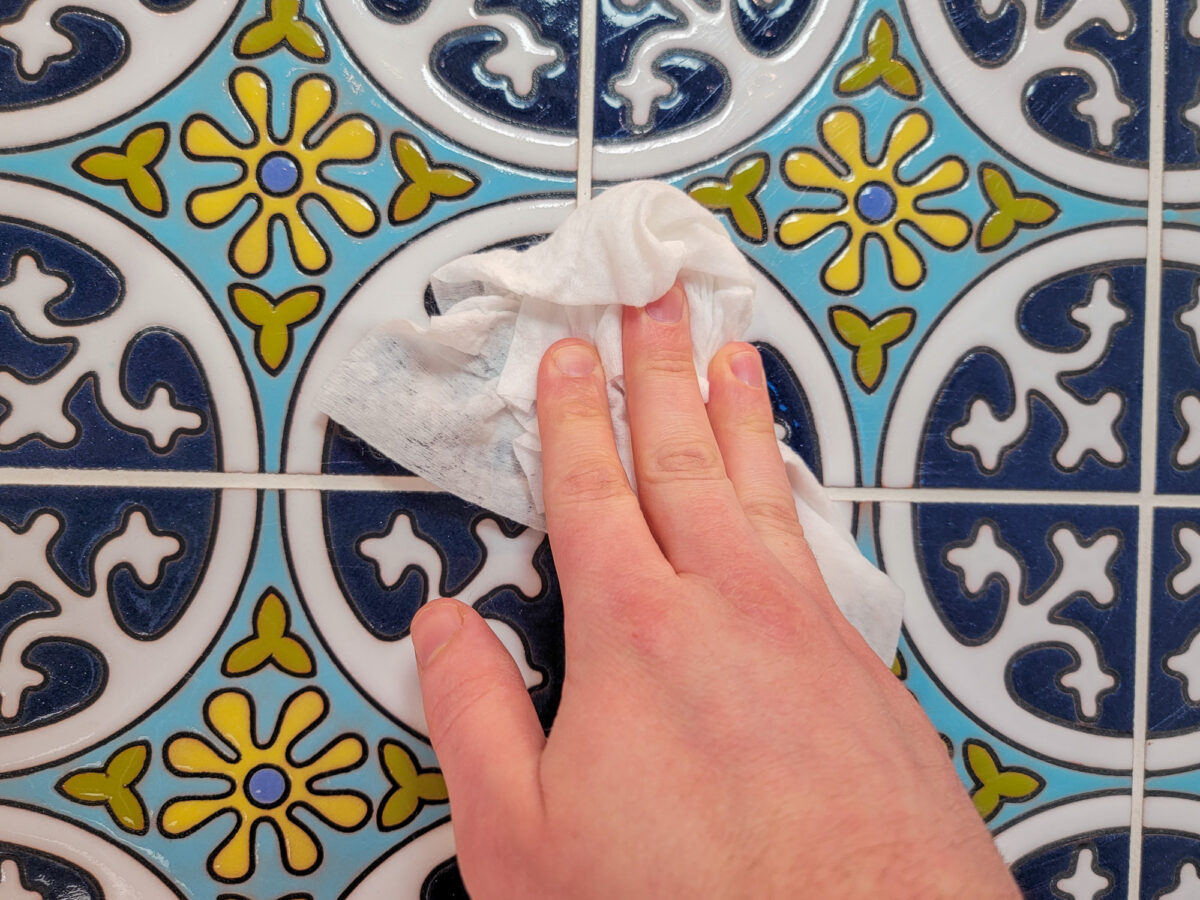
One trick I found online that worked for others was using baby wipes on the tile. These contain mild detergents that can remove grime and, in our case, grout haze without being too harsh on the surfaces below.
They are, after all, designed to be used on the most delicate of creatures- babies!
I went through a pack of baby wipes while removing the grout haze from our tile. Much like with dilute acid and vinegar, I found that they removed some haze and on some tiles even a great deal of haze, but at the end of the day the baby wipes also only got me so far as our install was particularly messy.
Verdict: This one worked surprisingly well for the level of haze removal we got, but did not get us to the final point that made us happy on a few particularly stubborn tiles.
Magic Eraser
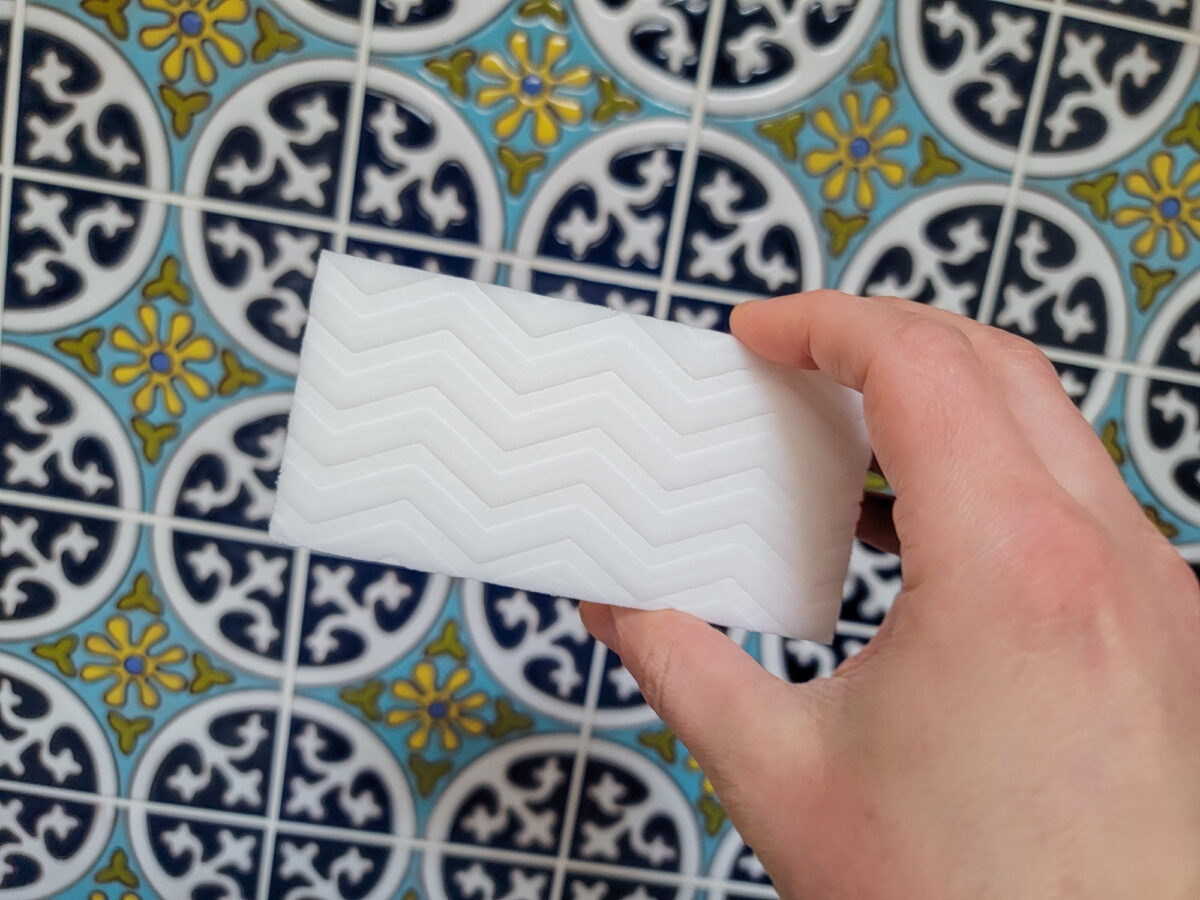
We stumbled upon a recommendation in a forum that suggested Magic Eraser would work well on our glazed clay tile. While not overtly mentioned in our manufacturer's list of cleaning products, we read that this one is typically fine on ceramic and porcelain tile (wood, non-glazed painted surfaces, and others, not so much).
As this one felt like a bit more of a risk simply because the influence of melamine on our particular tile was unknown, we decided to start with a clean on a corner tile and see what happened.
Not surprisingly, this one was fine and did not seem to damage our glazed tile (as always, your mileage may vary). What was a surprise, however, was that the grout haze all but vanished in most of our tiles. If dilute acid was a marked improvement over water, but not perfect, this one was a leap to a new level while, unfortunately, still not being 100% perfect.
It took using a few Magic Erasers in a couple of passes to get all the grout off, but this one worked like a charm for our specific tile.
As Magic Eraser can be pretty abrasive on some surfaces, we were especially cautious when working around grout lines. We do not know the impact of melamine on grout, so we decided to play it safe. But, as noted above, since this one was not officially sanctioned by our tile manufacturer, proceed with caution- your results may be drastically different than ours.
Verdict: Surprisingly, Magic Eraser worked quite well in getting the last pass of grout off on our tile (we'd say 95%+). While we would also be concerned about compatibility here with some tiles, if you have a persistent haze that needs to be removed and the other methods did not help, we could see the merits of this one.
Custom Grout Haze Cleaner
Finally, if none of these work, you can find a custom grout haze cleaner to use on your surface- typically in the form of a spray bottle.
Much like the other products recommended above, grout cleaners should be checked with your tile manufacturer and the brand of grout you use to ensure compatibility. When we checked with our tile supplier, they said to check with the grout supplier, indicating likely compatibility with most brands.
That said, as the Magic Eraser did the trick for us, we stopped there. We are only including this as a possibility for those who have stubborn haze and need what is, most likely, the best (and most expensive) option.
Verdict: We admit we stopped at a previous step here; however, if you have tried everything else and still have grout haze, using a custom cleaner designed for your grout and approved for your tile producer is likely the way to go.
When in Doubt, Test a Safe Spot First
Finally, we have to share one final reminder here about the concern about compatibility between topical cleaning sprays and washes and your particular tile (and grout!) as they are not all created equally.
Our tile manufacturer recommended we be safe and always test a section of tile that is not prominent to ensure compatibility. We would even take this one step further and say test any cleaner on any extra piece of tile you may have lying around after installation. These extra pieces of tile obviously won't have any grout on them but it could be a first sanity check to see if there are any chemical compatibility issues with your cleaner and tile before moving onto an installed surface with grout.
The last thing you want is to test an incompatible cleaner on an installed tile, damage it, and have a big problem on your hands!
After that, pick an inconspicuous tile with grout haze for a test on the installed tile, wait a bit to check the results, and repeat the process until you feel comfortable enough to move on. If that works, you could reasonably move onto giving your hazed tile a proper scrub down.
How did you get rid of grout haze on your new tile install? Comment below to share, and don't forget to include the material of your tile along with the cleaner you used!

