
Disclaimers: Our site uses demographic data, email opt-ins, display advertising, and affiliate links. Please check out our Terms and Conditions for more information.
There are a number of reasons you may find yourself without a full kitchen and needing to build a temporary kitchen at some point in your life, whether you're doing a kitchen renovation, living in a temporary space like an RV or camper van, or something else even we cannot predict.
If you're like us, the thought of eating out three times a day during a kitchen-less transition period is enough to make you cry. That's why during our recent kitchen renovation, we set up a temporary kitchen where we could cook simple meals at home while waiting for our dream space to be finished.
The process to set up our temporary space took a lot more thought and planning than we had anticipated, and there are things we wish we had thought about beforehand. In this post, we outline how to set up your temporary kitchen and things to think about to make it as smooth of a process as possible.
Cooking Equipment

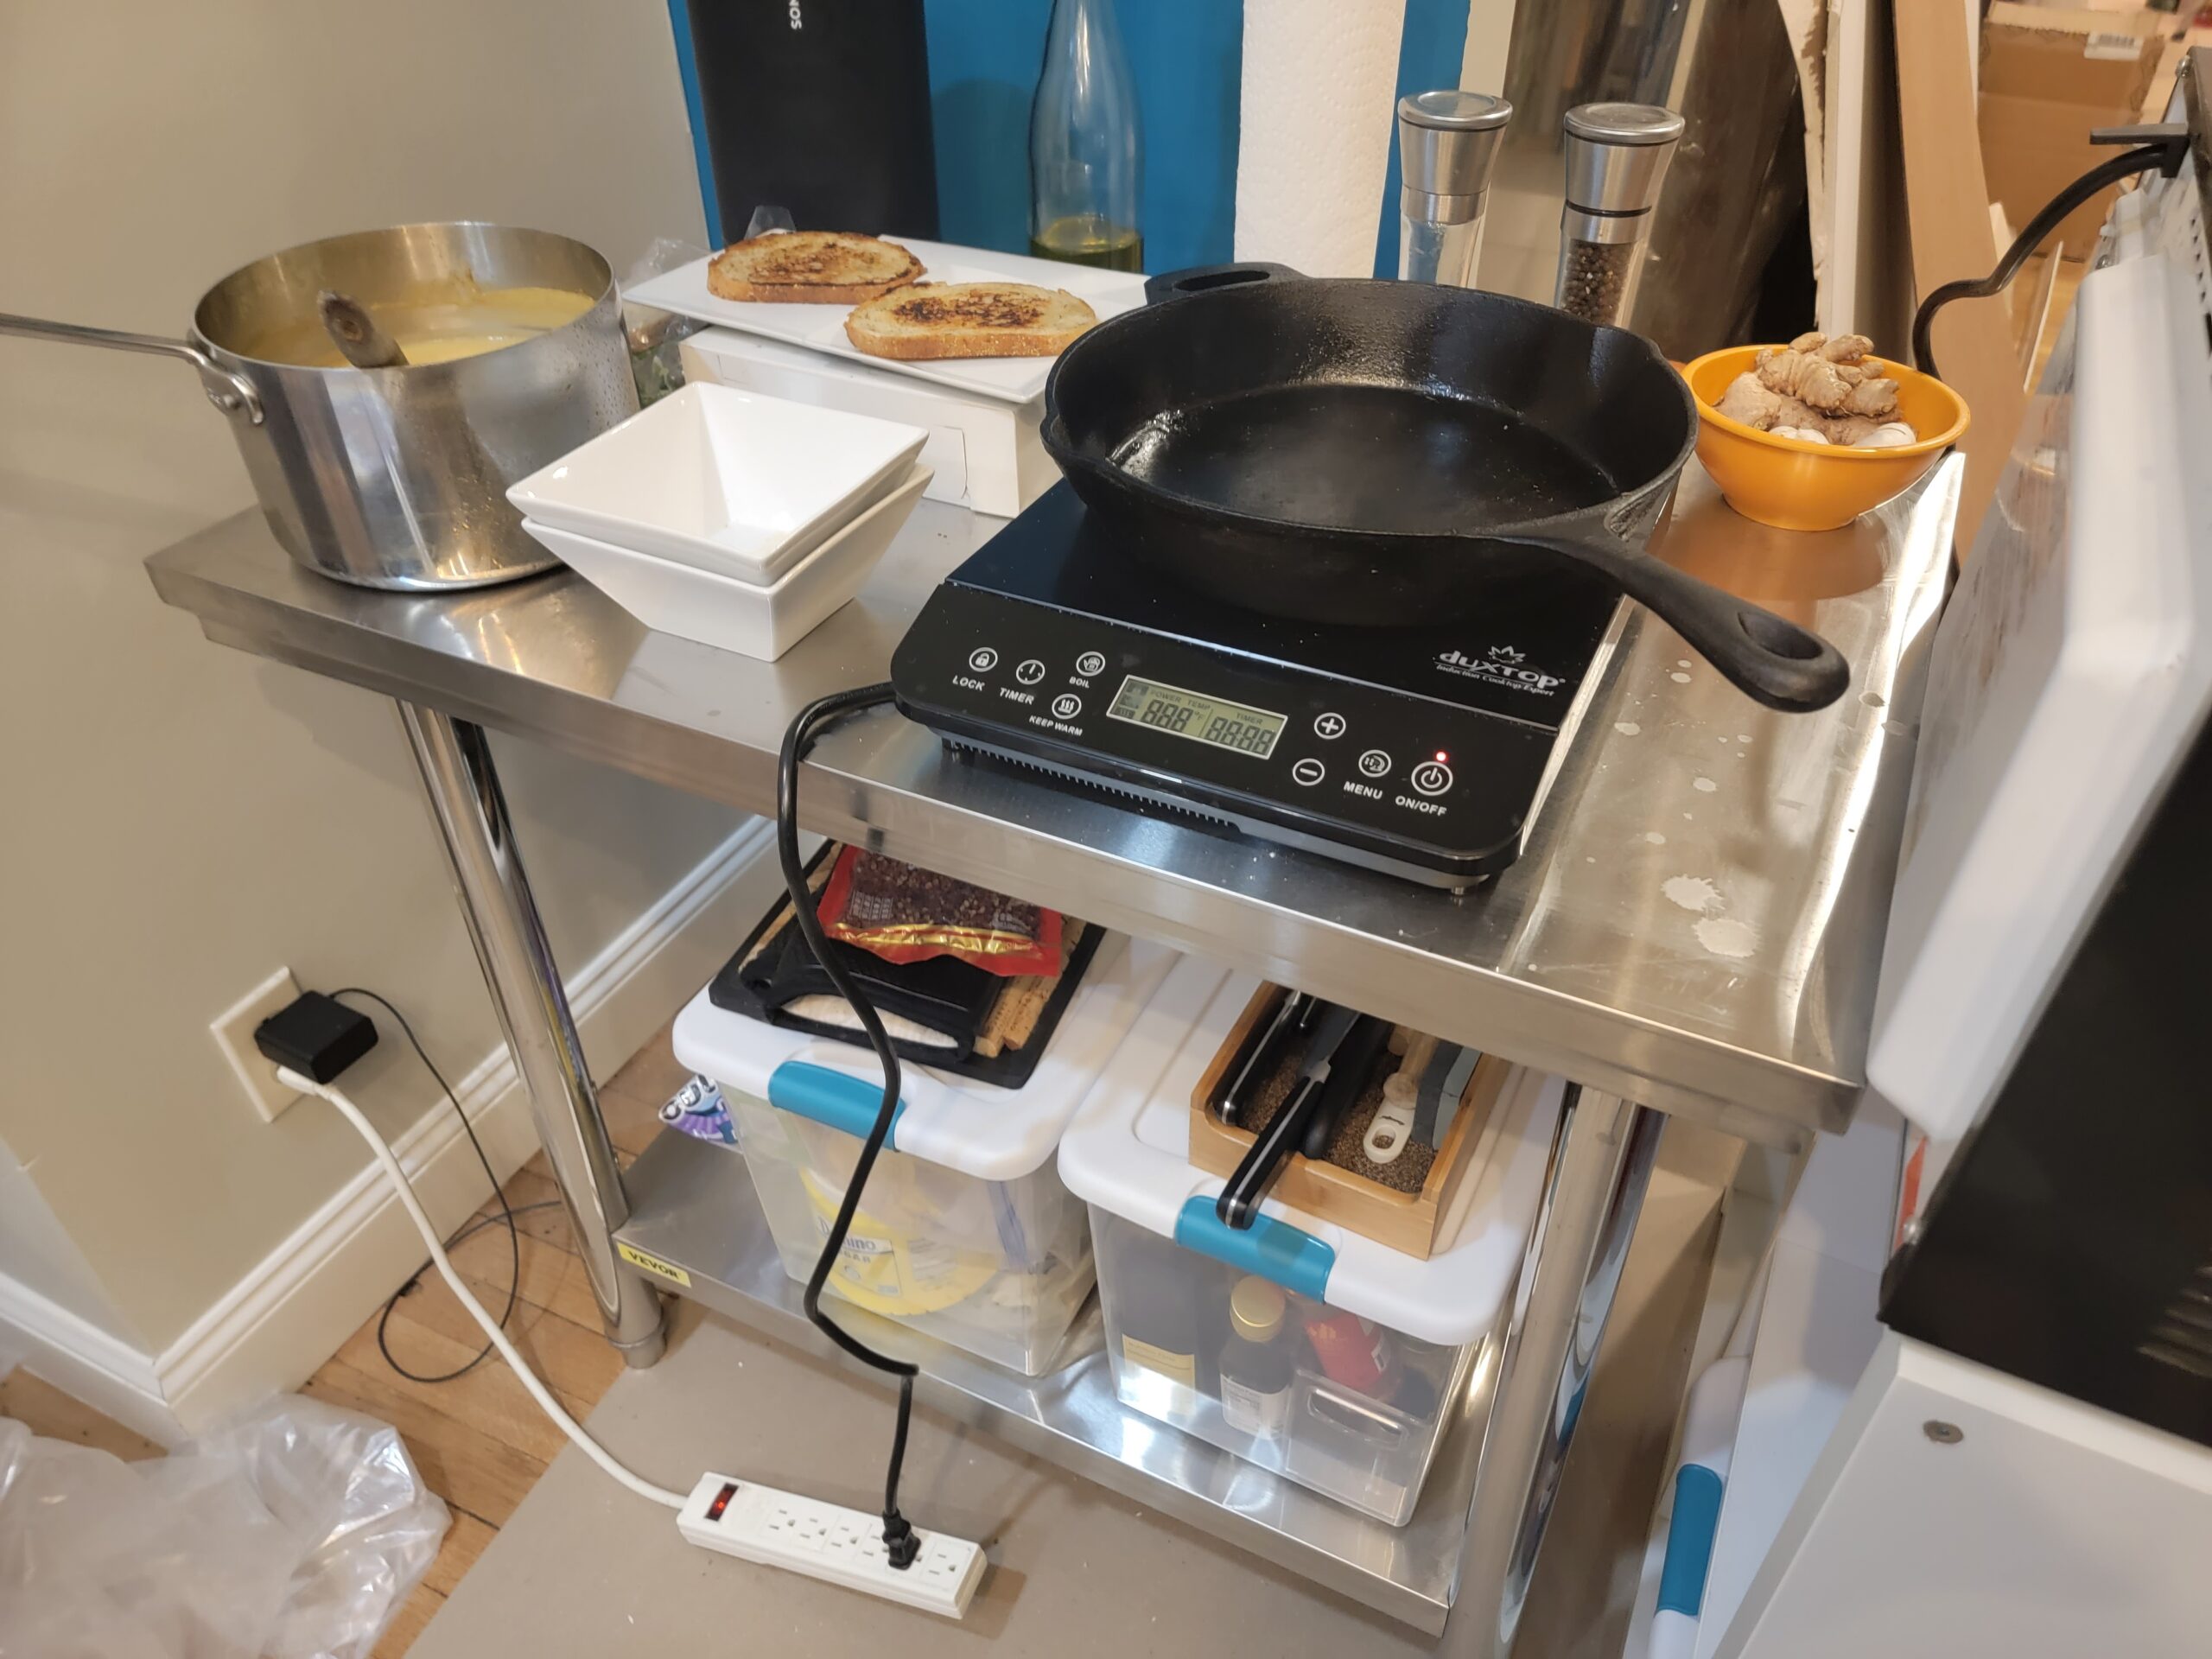
There is a wide variety of cooking equipment you might decide to use in your temporary kitchen depending on the amount of space you have to dedicate to cooking and the availability of an electrical outlet. For example, you may consider using a sous vide setup, induction burner, camper stove, toaster oven, slow cooker, microwave, or any combination thereof.
Unless you're going to get creative with lots of one-pot meals, using a combination of different equipment is key in a temporary kitchen. Or, if you have the space, you could try a two-burner induction or two-burner camper stove to give you flexibility (we used a single burner and often yearned for more- but more burners tend to mean more dishes). For those doing a project in the summer months, don't discount access to a grill, pizza oven, or other outdoor cooking options, too!
During our kitchen renovation, we used a combination of sous vide, an induction burner, and a microwave to pull off some truly great meals. We found sous vide particularly invaluable as it allowed us to cook the main course passively early in the day. It freed up the induction burner for cooking side dishes, finishing sears, and plating while everything was still hot. This flexibility would also hold with other devices like a slow cooker.
- For those looking to buy an induction burner, note that this piece of cooking equipment does not work on all types of pots and pans (pans made out of aluminum and some non-magnetic steel will not work). As such, confirm this prior to purchasing!
Cooking devices you may need:
Prep Space

The worst part about our temporary kitchen setup was the lack of countertop/prep space. There was never enough space for chopping, mixing, prepping, cooking, and plating- especially as meals became more extravagant.
We made do, however, with an indestructible stainless steel table (that we already owned for our Ooni Koda pizza oven) and a simple storage shelf we had from IKEA that we set up in an L-configuration. This furniture served double-duty for storage, too- another key factor given our limited space. But if you purchase a table for your prep space, you will not regret spending a bit more for something larger if you have room for it- especially if you can find a use for it after your project is over!
Prep space items you may need:
Storage Space

Organized storage for your food, pots, pans, and dishes is critical, especially in a temporary kitchen.
We utilized the lower shelves of our prep space for all of our storage needs, organizing everything into large plastic storage containers on the floor nearby. These storage containers with lids were a lifesaver during our dusty kitchen renovation, protecting our food and dishes from dirt and grime and also from the rogue mouse that found their way into our house during the renovation (we share more about the best mouse traps we used to evict that one at the previous link). Organizing in storage bins also makes it easy to move things around and out of sight when not in use if your space is limited.
Another point to consider is your cold storage. We were lucky in that we had access to our full fridge during our kitchen renovation. But if you won't have a big fridge or don't have a second refrigerator or freezer in a basement or utility room, you may want to consider a mini fridge or electric cooler for your temporary kitchen setup.
Another consideration if you're doing a renovation is whether or not you'll have access to the fridge when contractors are working during the day. We always felt we were in the way trying to get in the main fridge, which was deep in the heart of our construction site, so every morning we'd grab everything we needed for breakfast and lunch out of the main fridge and put it in a separate cooler out of the way that we could easily access.
Storage items you may need:
Covers for Construction Site Temporary Kitchens

Now, if your temporary kitchen is going into an active construction space, as ours was during our kitchen remodel as mentioned above, you'll also want to pick up some drop cloths or other plastic sheets to cover the cooking sites when it is not in use to keep it clean.
No one wants to have a temporary kitchen covered with paint, dust, and all of the other dirt that comes along with a renovation, and if your project is anything like ours, every inch of space in your house will get incredibly dirty- way more than you'd otherwise think. So spending a few dollars on some coverings will go a long way for your sanity.
Covers you may need:
A Space to Eat
Initially, we thought we might eat on our couch in our bedroom during our kitchen renovation as our dining room was used for furniture storage. But we quickly realized that having a dedicated eating space would save our sanity and keep things slightly more normal.
We re-purposed a small table and chairs in our basement to use as a temporary dining area in our bedroom. This helped us out in another way, too, by getting some of our existing furniture out of the construction area. Either way, you may need to think about where you are eating once a meal is completed, too!
Seating items you may need:
Washing Dishes

Figuring out a dishwashing set up in a temporary kitchen can take some creativity. Do you have a really big bathroom sink that you could use, a bathroom tub, or a laundry room utility tub? How far is the sink from where you will be cooking and eating? We initially thought we might use our utility sink to wash dishes, but quickly realized that wasn't going to happen given it was two floors below where we were eating and required walking through our construction site to reach.
So we settled on using our bathroom tub.
If you go this route, a dish drying rack is critical, but so is a surface to set the rack on. For example, we washed in the tub but had to purchase a small shelf and a drying rack (the drying rack to set the dishes off the tub to drain and the shelf to set the drying rack on when we were trying to shower). Likewise, we used our tub mushroom head drain to catch bulk particles that may not have gotten scraped off into the trash (rice in a pot was a killer here) to help minimize clog risks.
Also, consider where to put other items like dish soap, sponges, and towels for drying. The shelf we bought had multiple levels, so we could put all of our accessories on one shelf and use the other shelves for drying.
- If you want to minimize your dishes slightly, compostable plates and utensils could also be a good temporary option!
For those doing a construction project in nicer months where you can wash dishes outside, you may want to pick up a couple of portable sink basins to wash dishes outside your bathroom easily. One basin for soapy water, one for rinsing, and easy draining make you good to go. Just remember you'll still need a space to dry the dishes either way!
Washing accessories you may need:
Trash
Finally, don't forget about your trash setup. It may be worthwhile to have a separate trash can in your prep, dishwashing, and eating areas if they are all separate spaces. Our regular kitchen trash can got utilized as our temporary kitchen trash can in our prep area, and we relocated small bathroom trash cans to our other spaces as well. One thing to consider when going this route, though, is whether or not your trash can has a lid. A lid helps contain odors and, in our case, for keeping critters out (until we had our mouse problem taken care of at least).
In our dishwashing area (the bathroom), we already had a trash can but didn't realize how much we'd be scraping off small food scraps into it to avoid washing them down the sink. All we needed were small trash bags for the existing bathroom trash can and we were set.
Trash accessories you may need:
Overall, setting up a temporary kitchen takes a lot of planning, forethought, and adjustments along the way as you go through the process. But we hope our guide has given you many things to think about to make setting up your temporary kitchen as smooth as possible.
Do you have any favorite items used in your temporary kitchen setup? Comment below to share!