
Disclaimers: Our site uses demographic data, email opt-ins, display advertising, and affiliate links. Please check out our Terms and Conditions for more information. To see more of our content, set us as a Preferred Source in Google.
After buying many, many fruit trees to grow at our house, both in containers (such as tropical fruit trees) and in the ground (more suitable fruit trees for our climate), we have certainly learned a lot.
Some of that has to do with the first things you should be doing once you receive a plant at your house, as transplant shock on trees is a very real issue that could have long-term impacts.
So in this one, we thought we’d share five things you should consider doing after receiving a fruit tree at your house- most of which should be done before planting or transplanting to a more permanent container!
Note: We’ll have some commentary here that may only be applicable for different cases, including buying a tree at a local nursery vs having one shipped in a box as well as putting a tree in the ground vs growing in a pot. Your mileage may vary on whether all of these are necessary.
Remove from Any Extra Packaging

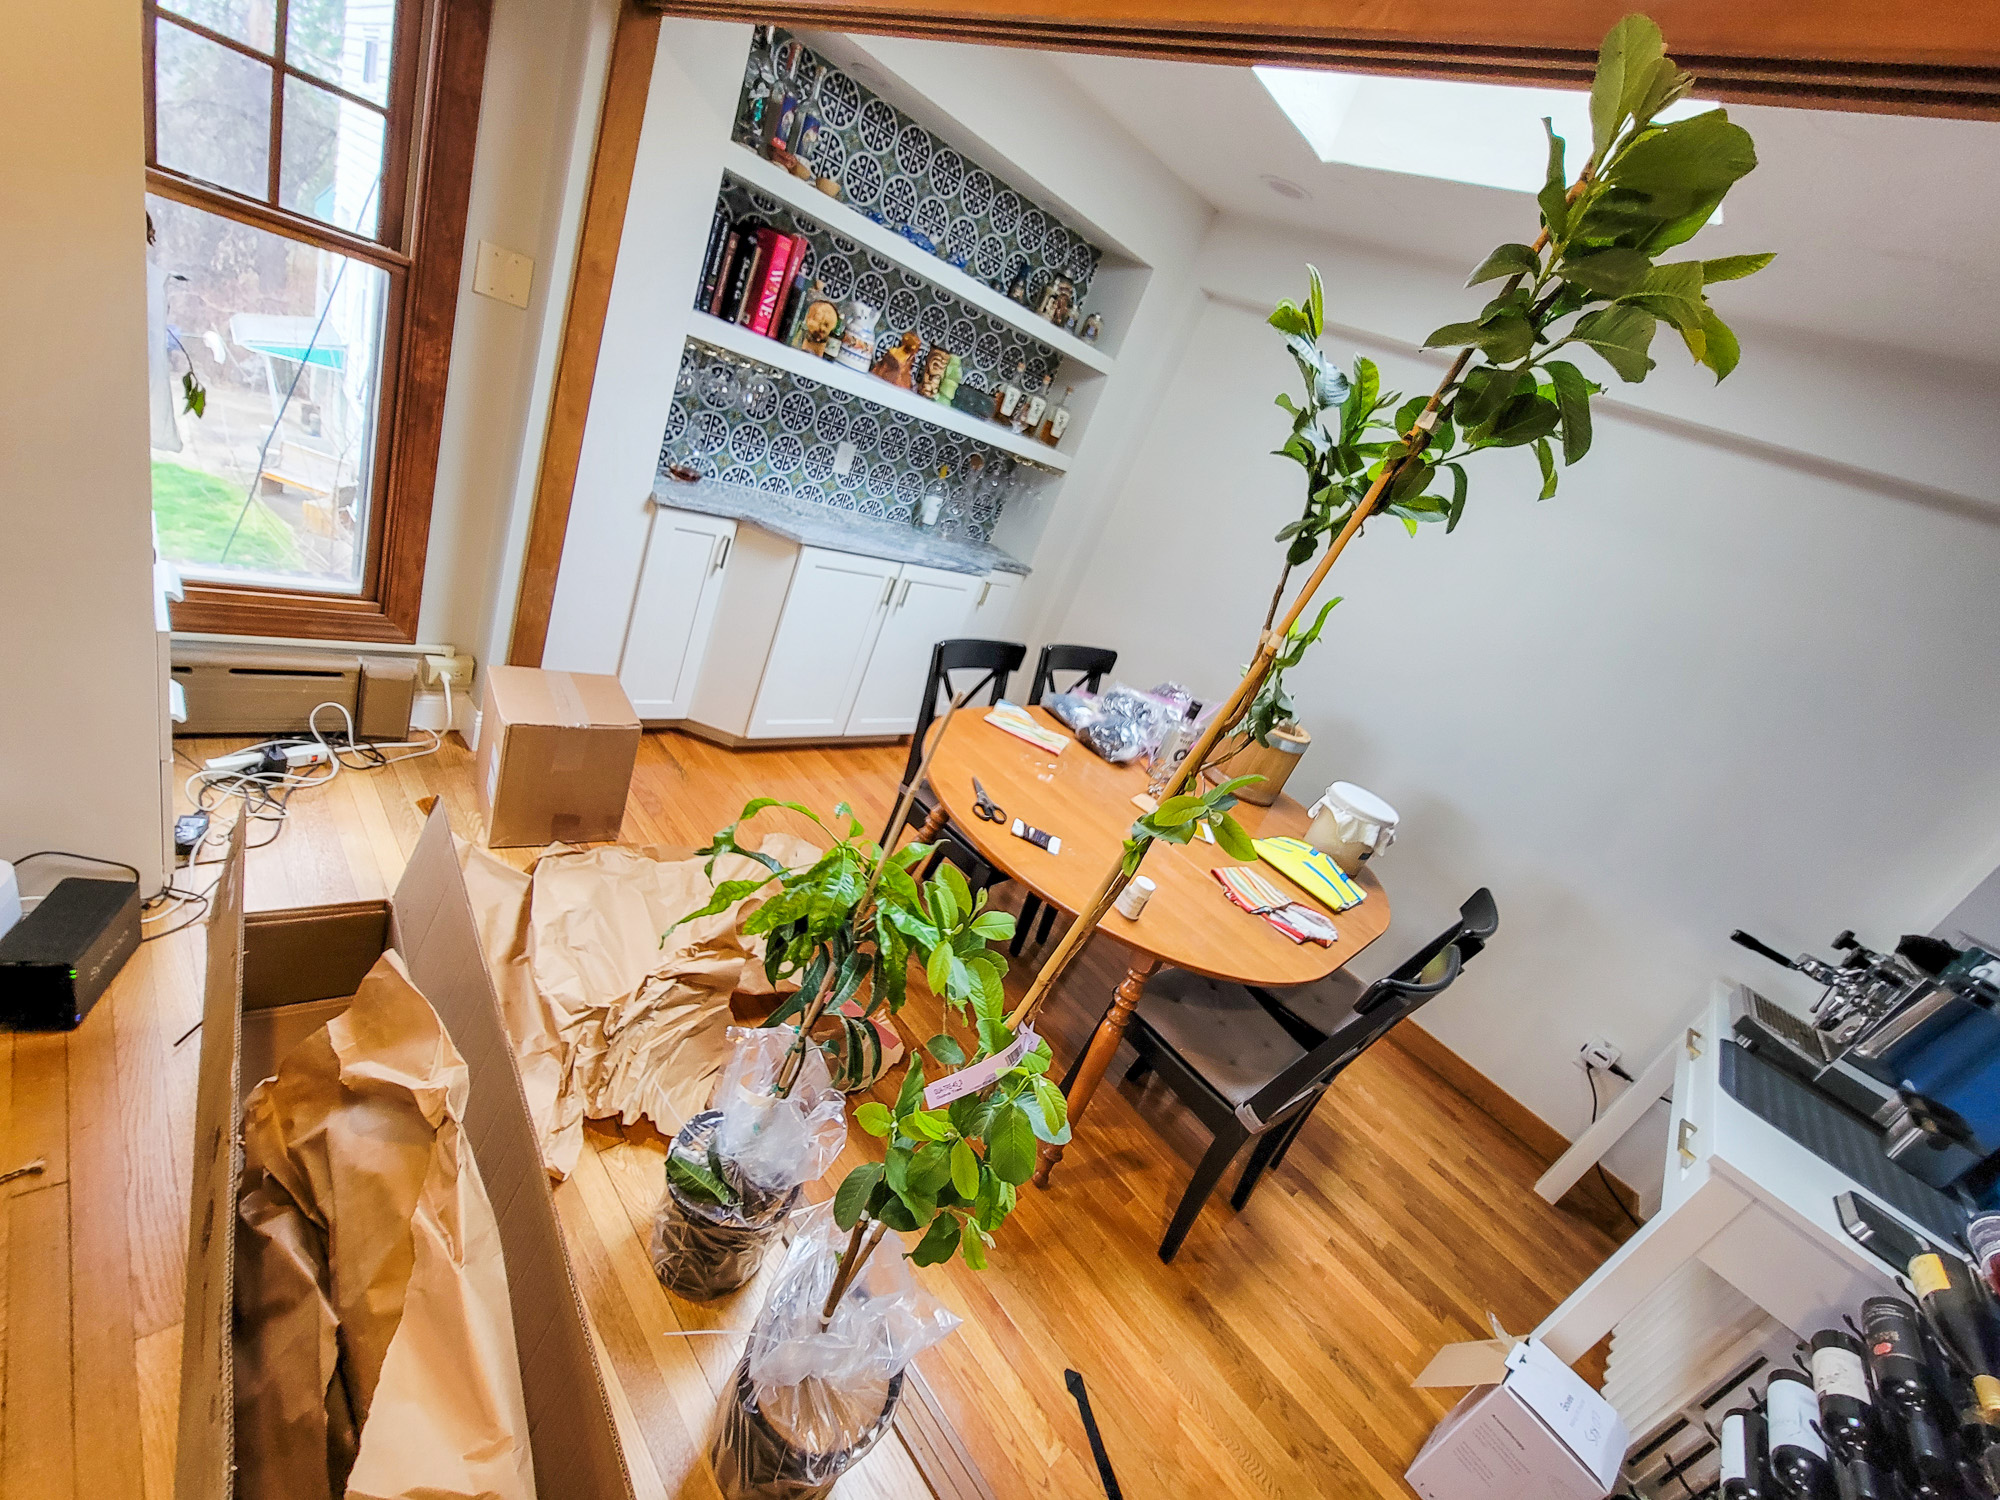
First and foremost, before doing anything else, if you buy a tree that has come with any extra packaging beyond a pot, like a box (if shipped) or plastic wrapping around the base (to contain soil and trap in moisture- again, common if shipped), remove it as soon as you receive your plant.
This one is a bit obvious, but we don’t like having anything touching our plants once we have them in our possession beyond the pot and soil it came in for a number of reasons.
Boxes, naturally, block light. Plastic wrapping around the base can retain water and may even increase the temperature around the roots when in the sun. We even take off any plant tags that may be wrapped around the trunk or a branch as it may choke the tree off as it grows over time (a future problem, but still a problem one day).
We want our trees to equilibrate in our house quickly and true to ambient growing conditions, so removing any and all packaging elements is an important first step.
Check for Tree Health and Growing Concerns

Next up, you will want to inspect your tree from all angles to look for damage, pests, fungus, or other concerns. We even go as far as taking photos of the tree from all sides as well to get a proper snapshot of what it was like when we first received it (particularly important if you did not buy from a local nursery and instead had a random tree shipped, as we often do).
Understanding any issues going on with your tree at the start is quite important as you may need to take extra steps to help nurse it back to health.
We’ve had trees delivered with branches that were outright dead and needed pruning. We’ve had trees come with pests out the wazoo that needed treatment and isolation from others in our collection. We’ve had trees come so dehydrated that they were on their last legs (but thankfully rebounded after a bit of water). We even had a citrus tree delivered where rootstock was growing and overtaking the tree that was grafted!
We could go on.
Suffice it to say, doing a thorough once (or thrice) over on your tree is good practice whenever you are buying one, and documenting it via images is also a safety net in case the tree struggles or fails and you happen to have an insurance policy on it (something that is common in our online ordering experience- although most of the time you may be asked to wait a period of time to ensure the tree does not rebound, as that is also possible).
- If you are buying a tree directly from a nursery, it should go without saying that you should do this prior to purchasing the tree to ensure you are only buying healthy stock.
Gradual Adjustment to New Surroundings
Now that you’ve established a baseline health of your tree and are working to correct any possible concerns, do not immediately rush out to plant it in the ground or place it in its permanent home (particularly if full sun is a requirement).
Trees that are transported can undergo a period of shock, and unless you know exactly where the tree was prior to you receiving it (e.g. at a nursery down the road), you may want to incrementally move it to its final location.
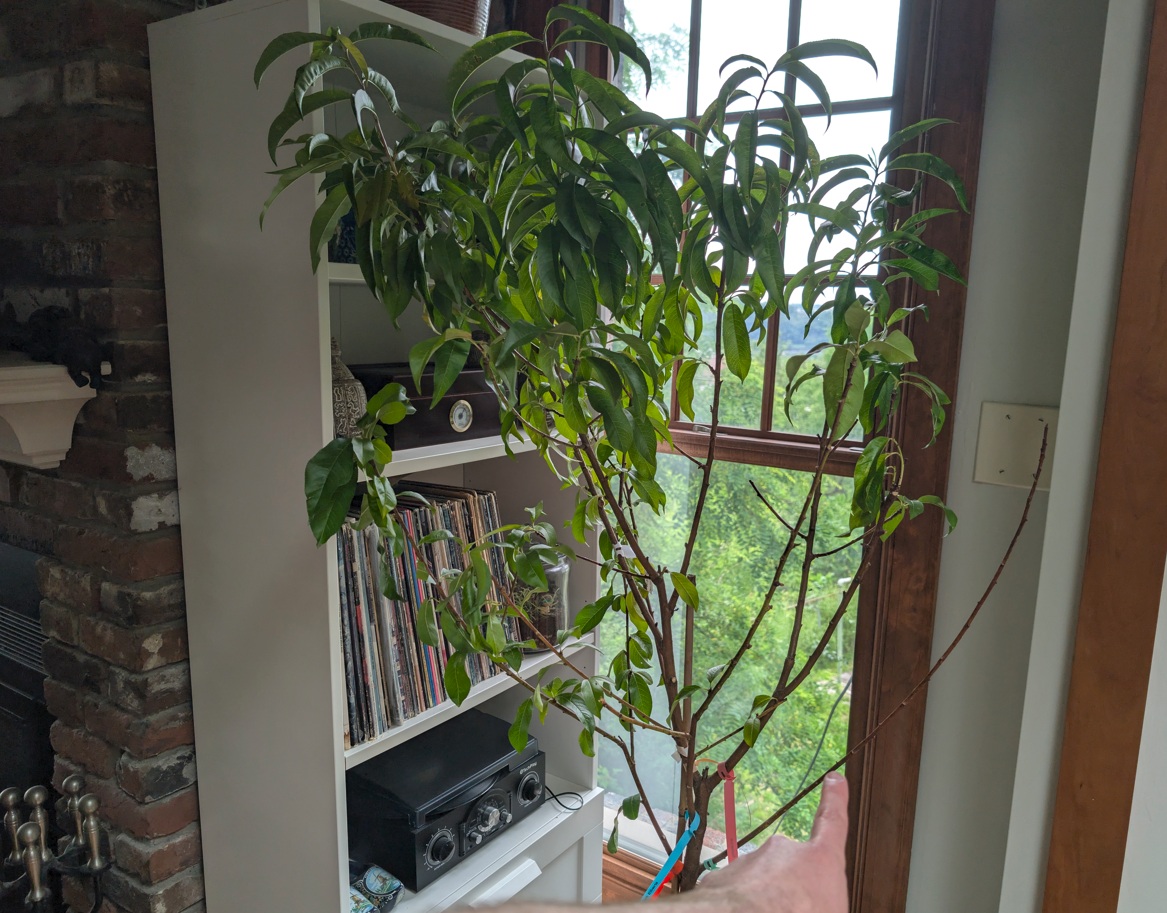
When we receive a citrus tree in the mail (that we keep potted year-round), we often unpackage it and put it on a drip pan inside in a west facing window. Enough that it can get some sunlight for part of the day, but not too extreme as being outside in hotter temperatures in full sun. This is an incremental step from it being in a completely dark box for an unknown period of time at questionable temperatures and humidities.
Over a short period, a few days to a couple weeks, we move our trees from the west facing window, to a south facing window, to taking it outside for short periods at a time in partial shade, and then transplant it into a permanent pot before finally leaving it outside in its target location during the growing season.
Your exact acclimatization plan may vary based on many factors, notably where the tree originally came from and its individual requirements (we’d have a slightly different plan if a tree required part shade, for example), but we take it slow with ours so as to not shock it at any step of the way. Trees are resilient, of course, but we are also their best coach all the same.
Water, But Don’t Fertilize Unless Instructed
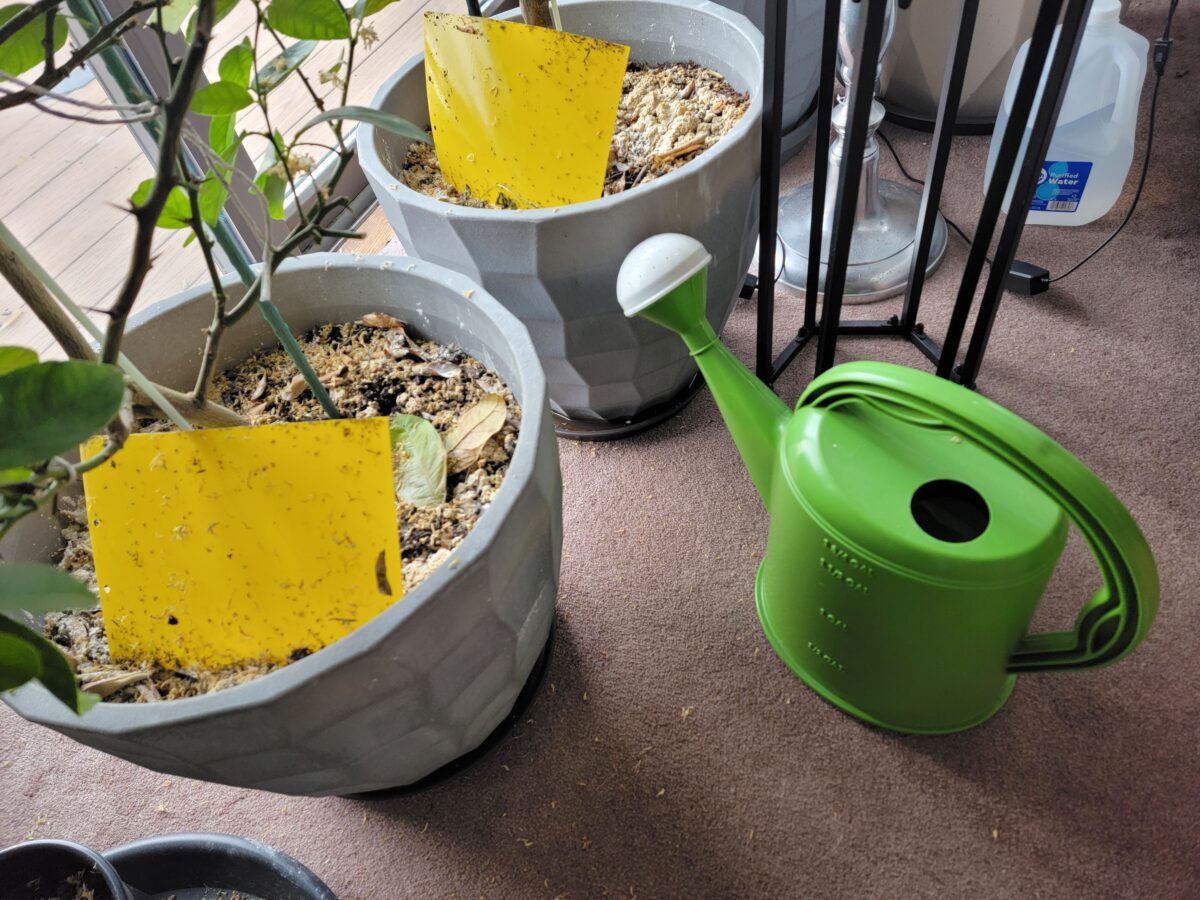
One problem we learned early on when growing tropical citrus trees was that fertilizer was not necessary in the early days of growing. We bought a few trees, threw on a generous helping of fertilizer, and a couple of the trees promptly died because of salt burn on the roots.
Whoops.
We could theorize many reasons why this happened, but the truth is that we simply didn’t know the past history of the trees and just assumed they would need fertilizer (as citrus trees are naturally voracious feeders).
After doing countless hours of research online, we came to the general conclusion that fertilization of a new tree is typically not necessary for a number of reasons. First, the nursery that grew it was likely keeping it on their own fertilizer schedule (which, again, is unknown to us). Second, the potting soil that you add into a new pot when transplanting likely already has sufficient fertilizer in it to start. Finally, fertilization and adding nutrients is often something you do to correct an imbalance, which is, as you may guess, unknown to us at the time of receipt.
Now that we have established trees, I have a regular fertilization schedule if only because I am more in tune to their seasonal needs (plus adjustments with micronutrients, where needed). But for a new tree? We skip fertilization until the tree tells us it is time, and that’s all there is to it.
Treat With Insecticidal Spray
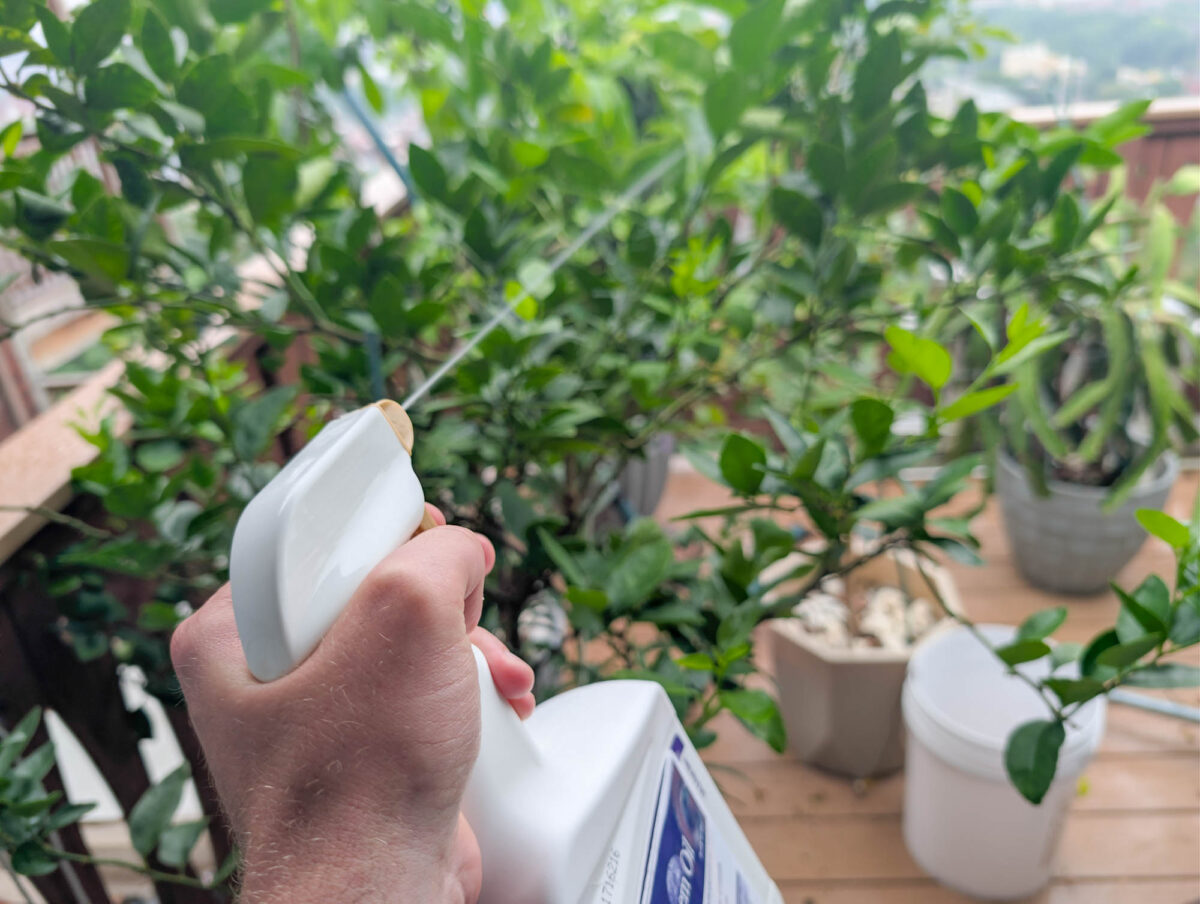
Finally, although this one is a tangent to our above commentary about checking for tree health concerns upon arrival, we’re going to make this one a separate statement anyway- treat for pests regardless.
The truth is that many pests on fruit trees are microscopic. Others may hide themselves quite well that you may think it is just another part of the tree. Or in the soil, too. More often than not, you could very well have a pest infestation and not notice it even when going over a tree with a fine toothed comb unless you really, really know the signs of what to look for.
It is because of this that we always treat our plants with an array of sprays after they come into our possession including, but not limited to, insecticidal soap, Neem oil, horticulture oil, copper fungicide, and more. We have a full article on why you will need tree sprays, but the quick answer for each is all the same- they target pests and disease that you may or may not see with the naked eye.
If your garden is like ours with over a dozen of fruit trees, it wouldn’t take much for an afflicted tree to spread and cause a lot of damage. We would know, we’ve lost many trees to pests over the years, too- some of which we suspected came along for the ride at the time of purchase.
Now, do you need to do all of these steps for every tree in every circumstance? Maybe, maybe not. If you bought a tree at a local nursery and know they have maintained it well, you may be able to skip some steps here (although we’d probably still treat ourselves).
But despite that, you really should take it easy with new trees and let them acclimatize and be isolated for a while all the same. An ounce of prevention is worth a pound of cure, as it were, and we really hate scrambling to fix mistakes that we should’ve caught when we first received our trees!
Do you have a process for acclimating new trees to your garden? Comment below to share!