
Disclaimers: Our site uses demographic data, email opt-ins, display advertising, and affiliate links. Please check out our Terms and Conditions for more information.
One of the goals we have here at Hipster Homesteaders is to work on building a garden on our 3,000 square foot, south-facing hillside.
While we have many challenges associated with this, one of the biggest is that we've found buying young fruit bushes and trees for planting can be quite expensive. With the going rate and how much we want to plant on our hillside, buying all the plants, even from local sources, would cost thousands of dollars as most cuttings range from $10-$25 a pop.
Thankfully, plants are incredibly versatile. Many fruit plants can be grown from saved seeds from the previous season and others can be propagated via cuttings outright. Over the years, we've found that there is no shortage of cuttings available from neighbors in Buy Not a Thing social media groups, and as we learned more about plants, we've found many wild berry patches to cultivate from as well.
One of our first attempts at this process was with fig trees as they're known to be quite easy to propagate via cutting. We purchased a couple of trees at our local farmer's markets and received cuttings of white figs from a friend as well. When we wanted to propagate our two trees into a small orchard (along with the gifted cuttings), we thought it'd be fun to put together a fig propagation test to see what technique works the best!
In this one, we wanted to share our process and our findings.
Fig Propagation Tests for Over Winter Rooting

When you research the best way to propagate figs, you'll literally see every technique under the sun come recommended. Root in a cold, dark place or a warm place. Use root hormone or don't. Propagate in the summer or winter. Only root thick cuttings (> 1″ diameter) or thin (anything thicker than a pencil). Keep the soil wet or lightly mist. Use nutrient-deficient soil or fresh soil. Cover to keep in humidity or don't (admittedly, the latter recommendation is rare). I could go on.
Despite the variations in published best practices, the recurring theme is that figs are one of the easiest plant species to root from cutting- especially when they're dormant over winter and do not require as much water for survival. (Propagation is a fair harder in the summer, but we'll talk about that later on.)
As there are so many different recommendations of how to propagate fig cuttings, we thought we'd put together a test of four common ones to see what works best for over-winter rooting. They were the following:
- Cuttings planted in a small pot inside next to a radiator. These were loosely covered with a tarp with a few small holes for minimal airflow.
- Cuttings planted in a small pot outside directly beside the house. These were covered with a smaller pot that was cracked <1″ on the side for airflow.
- Cuttings planted directly in the ground away from the house. These were wrapped in burlap over winter.
- Cuttings placed in a plastic bag with a damp paper towel and planted in the spring.
From there, the cuttings have had a number of variations we are hoping to track as well. Some cuttings were planted without root hormone, some were planted with root hormone. Some were scratched slightly near a node to help roots take hold, while others were not. For the in-ground test, we also planted some cuttings of small size (6-12″) per traditional recommendations as well as some that were much larger (2-3′ tall) just because we had an abundance of large cuttings gifted to us.
Suffice it to say, we are testing just about every recommendation out there and this is likely overkill since we only really need 2-3 trees to survive for our planting needs (the rest we intend to give away if we have any luck).
Final Results – Some Worked Better Than Others

Ultimately, the results of our tests were not terribly surprising. But we did learn a few lessons along the way.
First off, it is worth noting that we had an exceptionally cold winter as well as a late spring freeze during the course of this test. Our larger fig tree that is planted in the ground had significant dieback despite being wrapped in burlap and having two-year-old roots and started showing leaves much later than anticipated. As such, keep this in mind as it likely impacted some of our test cases as well.
So let's start with the failures.
The cuttings planted outside in a small pot next to our house and were covered with a smaller pot did not survive. I suspect it was a mix of the cold and the fact that we didn't replicate any humid conditions that well despite some moderating warmth of our house. When I inspected them in early spring, most of the roots were rotted so its entirely likely they just got too wet.
The larger cuttings (3′ tall) planted in the ground outside also all died. It is worth noting here that per a scratch test that they all survived until spring, but it was possibly the late spring freeze or heavy rains that hurt them when they should've been sending out roots (some roots seemed rotted out when I pulled them up). I would not be surprised if a large cutting could survive if you have good conditions, but we did not.
So, what worked?
Surprisingly, one of the smaller cuttings (6″) planted in the ground outside and wrapped with burlap did survive. I honestly missed unwrapping this one so it had a bit longer protection from cold and likely didn't need to send out nearly as many roots to keep the small cutting alive. It is thriving quite nicely.
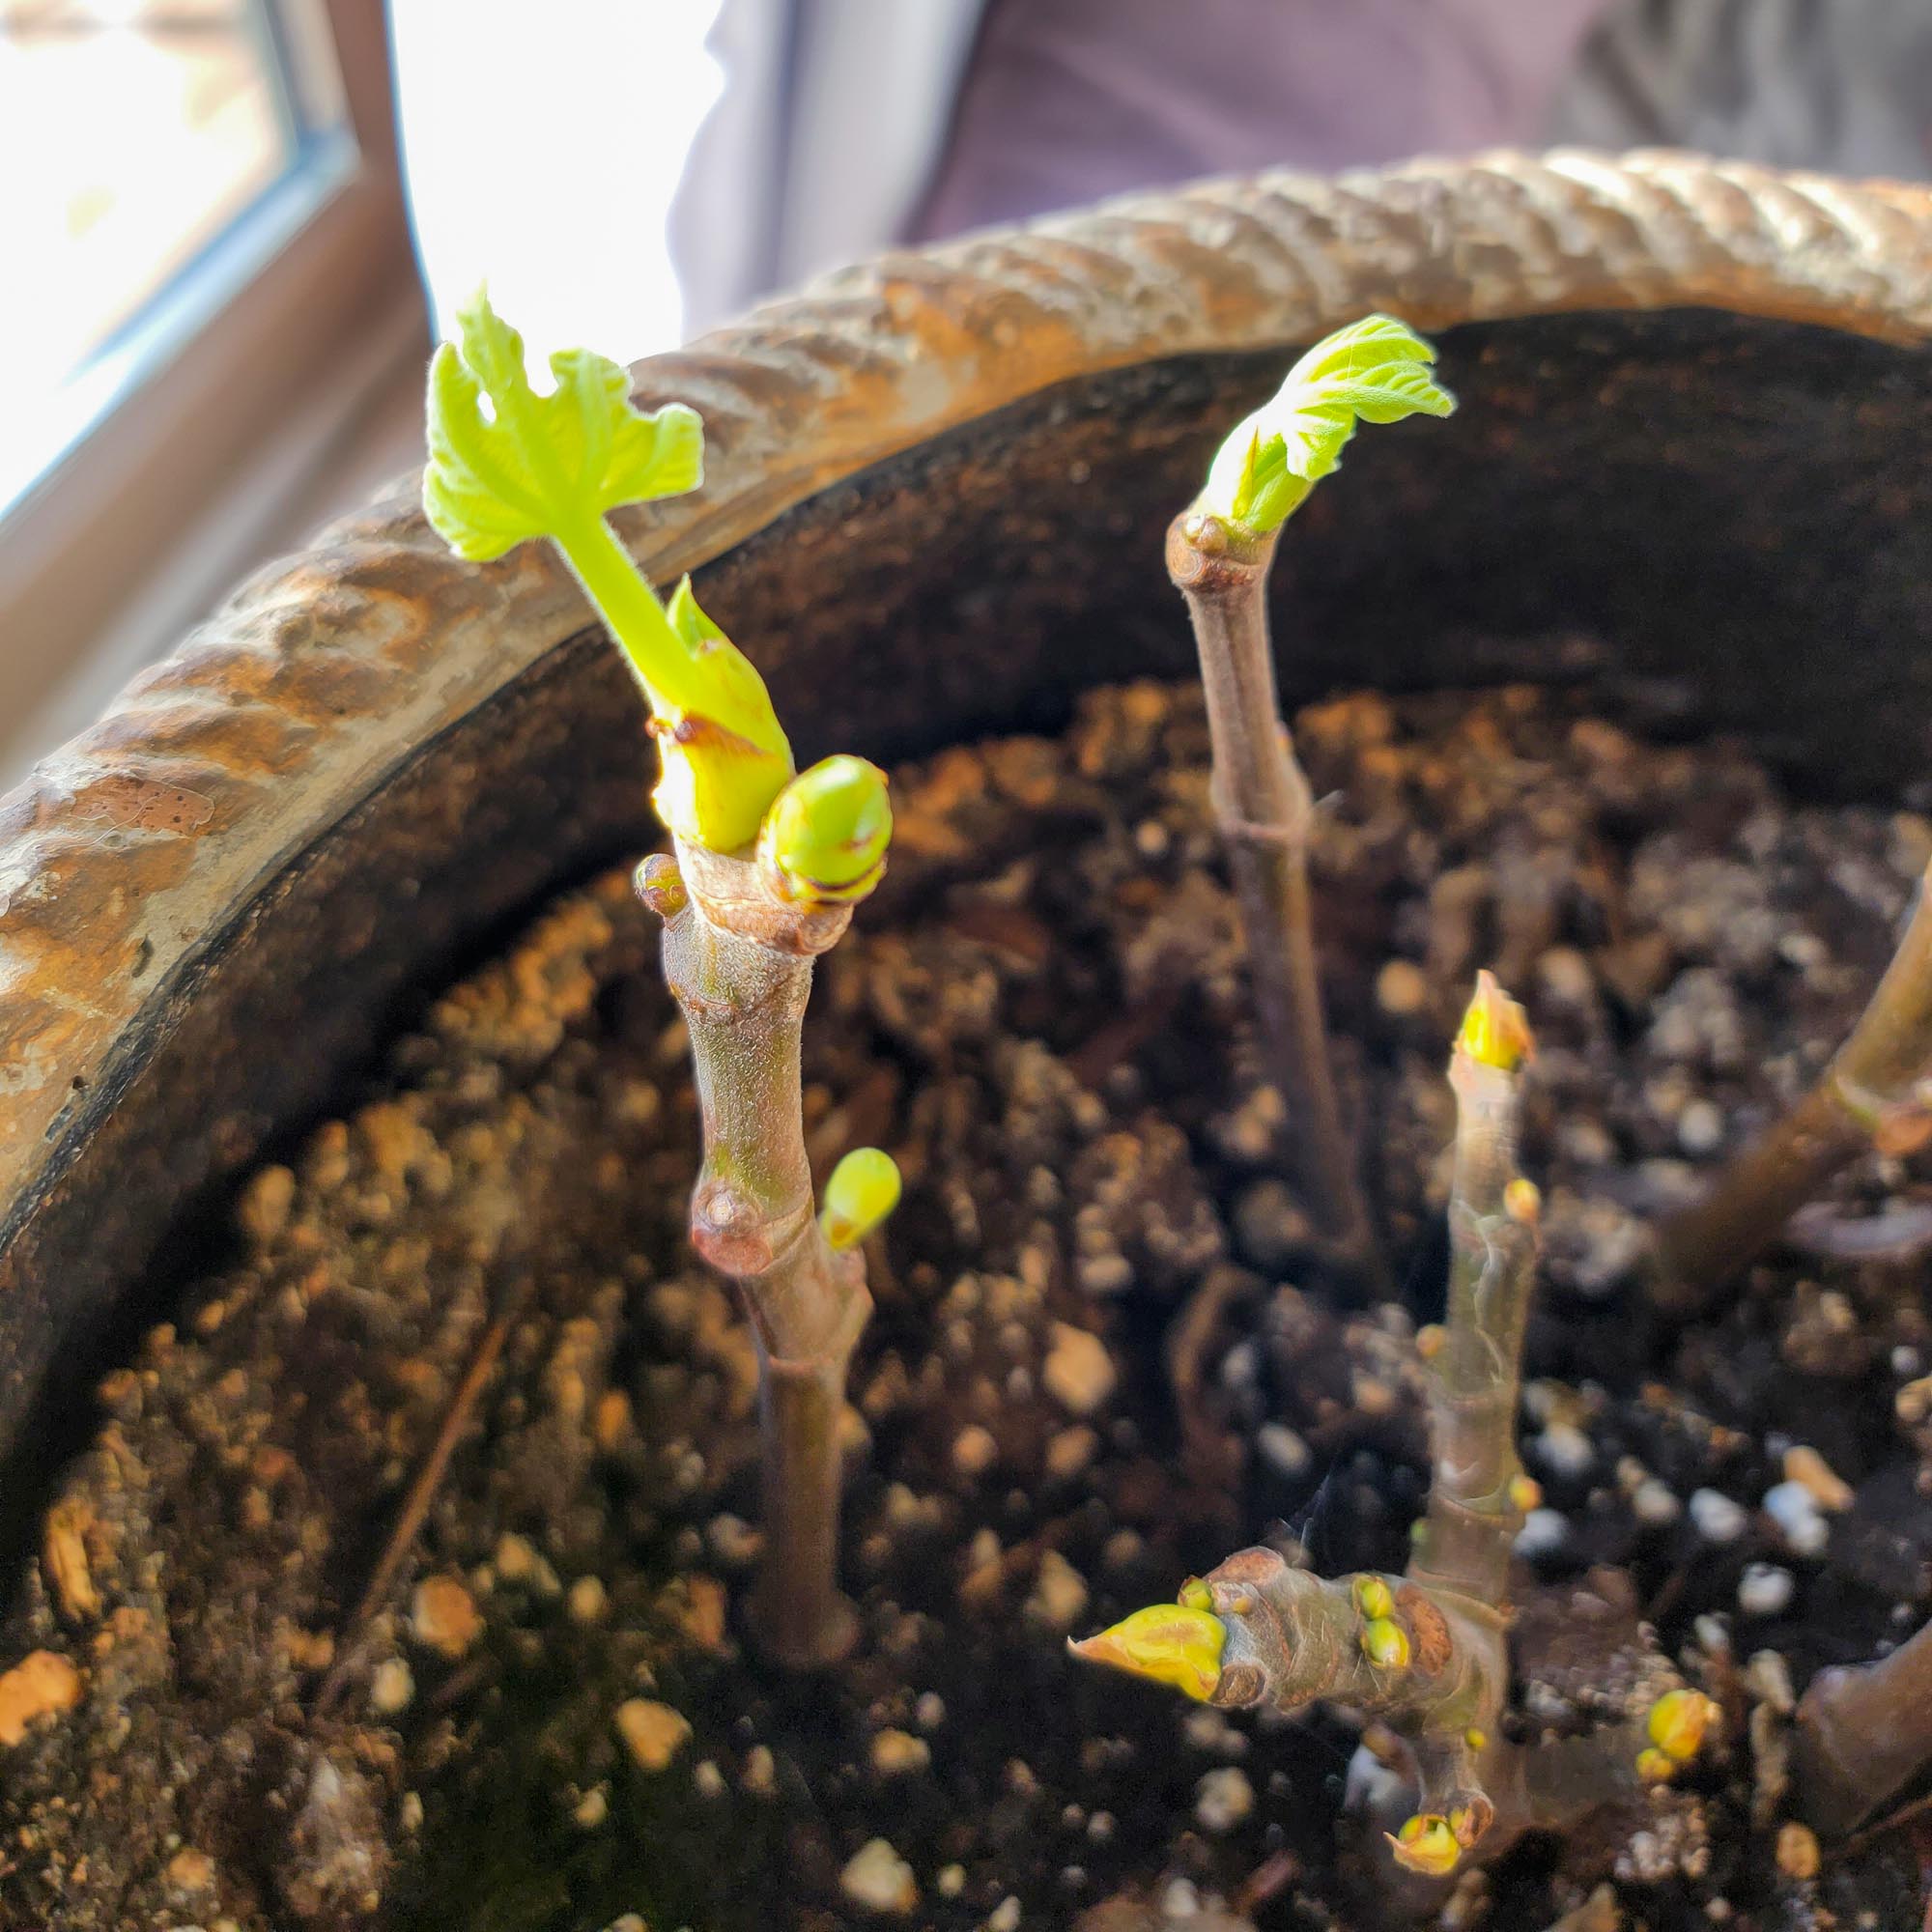
Many of the cuttings we planted indoors, covered, and next to the radiator started showing leaves in late January. I mistakenly decided to move them to our south-facing bedroom window to get direct sun, but it was either not intense enough or the heat was not warm enough to keep root development going and they died (and no cutting that hadn't leafed out yet progressed to that stage from then on, either). In retrospect, I should've put them under our grow lights and near another radiator for warmth and more direct lighting- the success rate doing that likely would've been higher than zero.
The most successful test was simply storing the cuttings in the refrigerator until spring and planting them in a pot after the last spring frost had passed. About 50% of these cuttings survived and started sending out leaves, so we had our highest success rate on these small cuttings more than anything. We believe these were also dipped in root hormone, but honestly it is hard to tell in retrospect.
Overall, if we were to do this test again we would likely do a mix of keeping cuttings in the refrigerator and then storing covered cuttings by a radiator and supplementing with a grow light once they start showing leaves. Those had the most cuttings start to come out of dormancy over all of our tests. That being said, if you had better conditions than us for planting dormant cuttings in the ground directly, I would not be surprised if you could get better results than we did (but if you go this route, do another method or two because it is likely not terribly reliable).
In any case, even in our most successful tests we had 50% or more of our cuttings not come out of dormancy at all and die through one factor or another. So when you're propagating fig-trees, be sure you have large volumes of cuttings to ensure that you walk away with a few viable options all the same.
A Few Notes on Fig Propagation Techniques

When it comes to rooting fig cuttings, there are some tried and true recommendations that we followed in the above tests. They were the following:
First, cuttings were taken from a dormant tree in late fall/early winter. We've seen that this could also be done in early spring before budburst, but we caught friends right before they trimmed their tree and scored cuttings, so December it was for us.
Second, most of our cuttings were the ends of new growth, including many buds, trimmed to 6-12″ in total length. The bottom cut was taken just below a node (the round line going across the branches). These were then buried roughly 3/4 under dirt and 1/4 above dirt (max 3-4″ above ground). This allowed for more rooting possibilities to take hold while still allowing all the buds to grow into branches in the spring.
Third, we dipped the buried end in rooting hormone on some of our cuttings to see if they would help root better. Likewise, we made very thin cuts vertically along the sides of some cuttings (to expose the green, fleshy parts- not terribly deep) to help facilitate rooting as well. The hormone-dipped cuttings were dipped after these slits were made. I suspect that by spring this will provide little difference, but we did notice the hormone dipped cuttings rooted much faster as discussed above.
Fourth, the pots we used for two of the tests used old potting soil from the previous season. They likely still had some nutrients left but were used once previously by tomatoes and peppers so they have been depleted to some unknown degree. Again, I don't think this is going to impact things, but just being complete in sharing our method.
There are, of course, even more schools of thought on the best propagation techniques, but these are all the possibilities we attempted to address.
Can You Root Figs in Summer?

To end this one, we thought it'd be worth discussing our tests for summer fig propagation a bit more for those who are interested.
While summer propagation of figs can be done, the reason yields are typically lower is simply that non-dormant plants require more water than dormant ones for survival. When you cut them, you're cutting off all the roots that take up water. This disrupts the evapotranspiration process that plants undergo which takes water up from the soil, traveling up the trunk and branches, and coming out as water vapor from the leaves (where CO2 then enters for photosynthesis).
As such, live cuttings need to be in a humid environment at all times to help them take on water via the stem and leaves (or, an alternative way to look at it, to minimize water loss via evaporation) while new roots are developing to resume water uptake.
Make them too wet, mold will likely develop, and they'll die. Make them too dry and they'll also die. We had both cases happen to us because our systems for trapping in humidity just weren't that great. Too loose a cover, humidity escaped and they died. Too tight a cover (especially if they touch the cuttings), mold developed. Plants that were kept in water were dealt the same fate too. In all our tests in the summer season, just one cutting survived long enough to root in the ground on its own out of well over a dozen- so a much lower success rate than some of the others in our tests.
There is a reason so many who propagate figs suggest a greenhouse is the best for summer cuttings, and from our experience, we can see why that is- maintaining the right humidity, warmth, and lighting is challenging.
If you do attempt summer rooting, we would highly recommend using root hormone to speed up the root development process (we did not), and covering your cuttings with a large, plastic housing (like a 2 L bottle or a larger pot) to trap in humidity. The caveat here is that whatever covering you use should not come in contact with the cuttings at all as any contact could be a point for mold to develop. Then it is a matter of being careful with how much water you add either via lightly wetting the soil or misting.
No matter what you do, when rooting figs in summer or winter plan on starting a decent volume of cuttings because even in the best scenarios odds you may run the risk of losing some for one reason or another. This is obviously more likely in the summer, but when we're talking long timescales like these it is best to be prepared no matter what. So if you want one fig tree to survive, plant six. If you want six, plant twenty. Scale helps when propagating fruit cuttings and worse case you will have extra to give away!
Overall, we found that rooting during winter dormancy had a far greater chance of success purely from the fact that cuttings need far less water in order to survive. This, in turn, gives the roots a better chance to develop before they need to take in water in the spring. But doing so isn't foolproof, so you will likely want to try a few different conditions to see what works best for you!
Have you propagated fig cuttings at home? What are your favorite tips? Comment below to share!
Looking to propagate berry bushes instead? Click the previous link to read tips! Or, if you are looking to buy an already flourishing fig tree, click here.