Disclaimers: Our site uses demographic data, email opt-ins, display advertising, and affiliate links. Please check out our Terms and Conditions for more information.
When I said that I wanted to convert our weed-covered hillside into a fruit patch full of berry bushes, fruit trees, and more, Angie had one rule for me starting out- “don't spend money”.
This was partly because she (rightly) knew that our weeds are absurdly challenging (I'm still working on that one) but also because buying fruit trees and bushes can be very, very expensive. So since we were at extreme risks of failure for any endeavor on our hillside, it was logical to try and approach things for free.
So over the last two years, I've been trying just about every idea I can think of to see what will propagate berry bushes and vines at home, and have settled on three techniques you may want to try yourself.
But be warned- some have much higher rates of success than others and, while they can be achieved for free, those who have some equipment at home will be able to increase their success rates accordingly.
A Quick Note About The Three Berry Propagation Techniques
In this article, we're going to share three ways to attempt to propagate berries for free at home. Each of these may be used in a very specific circumstance and have varying degrees of success.
Likewise, some of these techniques lend themselves to work better with some berries over others. Strawberries, for example, naturally propagate themselves via sending out many runners, but you can also dig up and transplant individual plants easily- five or ten strawberry plants turned into 50+ after they sent out runners in just one season. Berries that grow into bushes may be harder to engage in tip layering if only because they may not send out branches that can reach the ground the way other vines do. Likewise, some of these techniques also require you to have existing plants to begin with!
As such, your specific situation may limit you from trying all of these methods- this is simply a broad starting point of what we've worked with over the years.
Planting from Seed Has Challenges
Success Rate: Low
For those who do not have berry plants, or have access to wild plants or plants at friends' houses, you may be resigned to attempting to propagate berries from seeds.
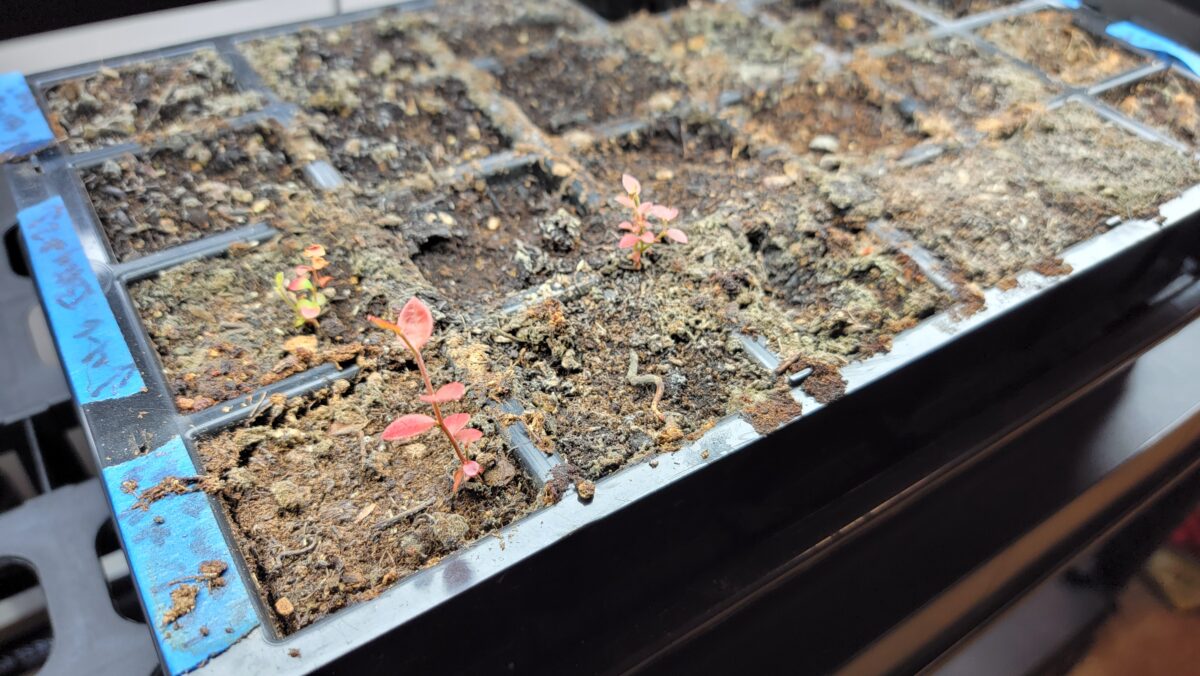
Every year, we save all of our fruit seeds from products we've purchased from area farmer's markets. This amounts to putting seeds in a lightly damp (not wet) paper towel inside a ziplock bag, often with a bit of peat moss on the outside, and placing it in the back of our fridge until the following spring (many seeds require a cold dormancy period before they can germinate). If you do not have the ability to save seeds, you can also attempt to sow them into the ground directly where you wish for a plant to grow in hopes that they survive to the next spring (this attempts to mimic the natural spread of seeds via birds and other animals).
Come late winter or early spring, we then plant our seeds either directly in the ground or in germination pods under our grow light and hope for the best.
We will be the first to admit that our success rate for propagating berries from seed is quite low. They are small, get lost easily, are prone to rot or other indeterminable seed death, and simply have not been the best for long-term germination. Those that do survive often get stunted and have a hard time surviving transplant shock outside as well.
We have to admit we've had much bigger luck with this step for fruit trees over berries if only because seeds are much, much larger and seemingly germinate with this process far easier, but if you have the means this can be a completely free step to try and grow berries at home all the same.
- Note: It is also important to highlight that starting fruit plants from seed may result in variations from the parent species as seeds are the result of fertilization, whereas the below are propagating an existing plant outright and are more like a clone of the original. As such, by the time your plant produces fruit (if it does at all), you may have some different characteristics than the plant you got it from!
Propagating Berry Cuttings from Existing Plants
Success Rate: Moderate
Whenever we go out on a walk or a bike ride, I'm always on the lookout for wild, edible plants. Over the years, I've been fortunate enough to find wild fruits in Pittsburgh, including blackberry, raspberry, black raspberry, grapes (vinifera no less), and even mulberry trees to name a few. Not only do I go out for a little bit of urban foraging during fruit season at all of these secret spots, but I also like to take cuttings from these plants in order to help build a fruit garden at our house as well!
While we cannot help you find these plants in your own neighborhood (and we're not going to share our sources if you live by us, sorry), this one is going to focus on what you can do once you can get a cutting from a 3rd party location.
When you're ready to propagate these fruits, you have a few options:
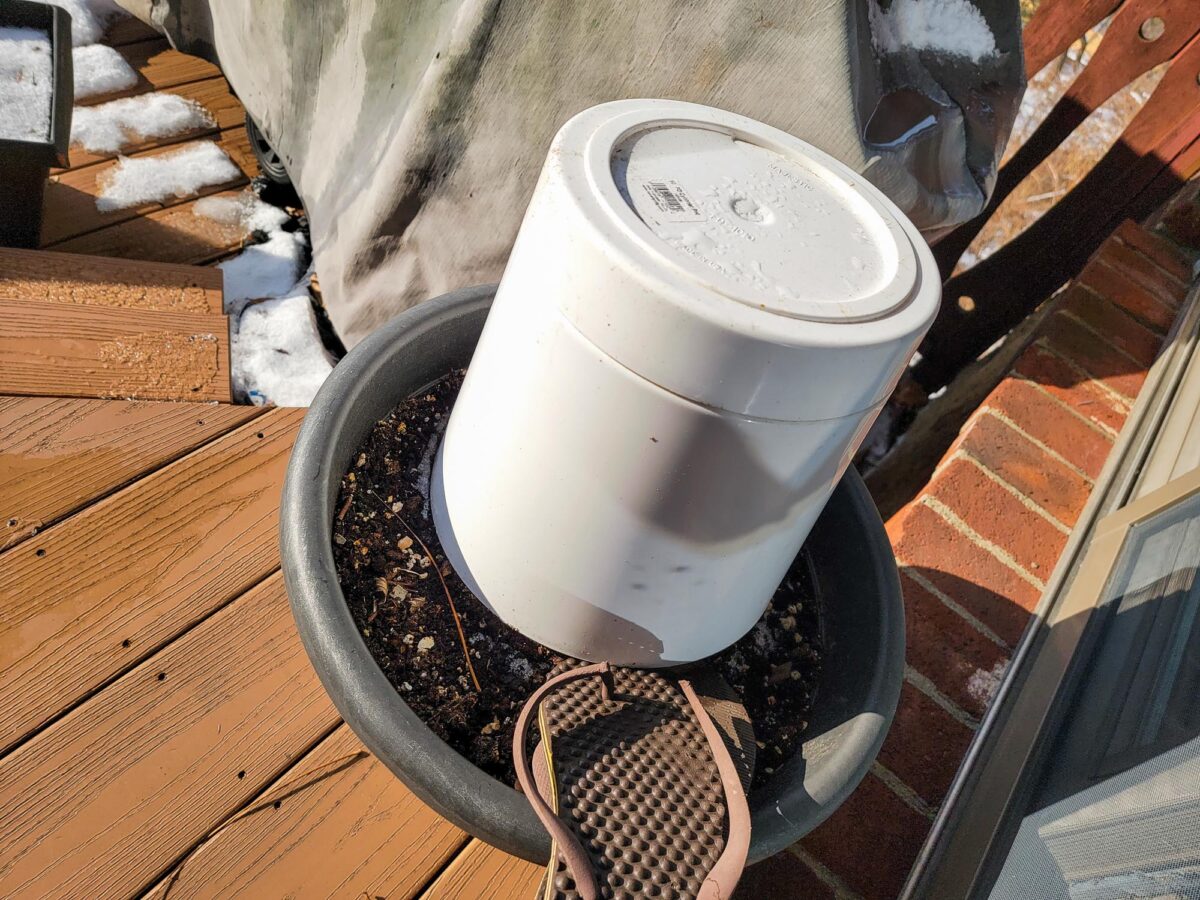
- Take cuttings during dormancy, plant the cutting in a pot so a few nodes are below the dirt line, and cover the top to trap in some humidity. By spring, some of these will hopefully have roots and can be transplanted after a period of new growth.
- Take cuttings during the growing season, plant them in a pot or the ground, and maintain frequent waterings to minimize evapotranspiration (water loss).
- Actively growing plants that lose their roots will have no means to take in water from the ground. Watering these two or even three times a day may help keep the leaves wet enough that they do not shrivel and die- although note there becomes fungus/mold concerns here if there is too much water applied.
- Take cuttings during the growing season, put them in a vase with a little bit of water covering the bottom few inches of the cutting, and cover to trap in the humidity.
- The cut end of a plant will continue to take in water as it roots, but the high humidity nature of putting these in vases can cause the cuttings to rot as well.
Technique number one works out well for any fruit that fully loses its leaves during dormancy (grapes and fig trees do better than berries), whereas techniques number two and three work better with those that do not (most all berries). But these two end up becoming a race against time as you are trying to maintain a balance of giving the plants enough water while waiting for them to root, and as such, some gardeners like to use rooting hormone to help speed the process along ever-so-slightly.
I've successfully rooted cuttings from plants as small as about six inches, and others as long as two or three feet. I've done this both when dormant and actively growing as well, but admit fully dormant propagation is likely the easiest (you can read my fig propagation endeavors here for more on that). For rooting green, nondormant cuttings, I've found that cuttings that contain the youngest green “tips” of vines (blackberry, raspberry, etc) seem to have the best chance of successfully rooting over attempting to propagate multiple cuttings from an existing vine.
So when you head out to a berry source, don't get too aggressive taking multiple cuttings from any given vine- six to ten inches of the very tip is what I start with first. Plant that, see if it is still alive in a few weeks after frequent watering, and return back to your wild vine to see if any new growth is available to continue harvesting. (This also helps preserve the wild fruit vines for any other foragers out there- a win-win for all.)
Likewise, do not be surprised if your initial cutting dies within the first season. This is okay because if it has survived long enough to send out roots, a new shoot will likely come out quickly. Virtually all my successfully propagated berries have been much more vigorous with the first growth from a new root over the existing stalk.
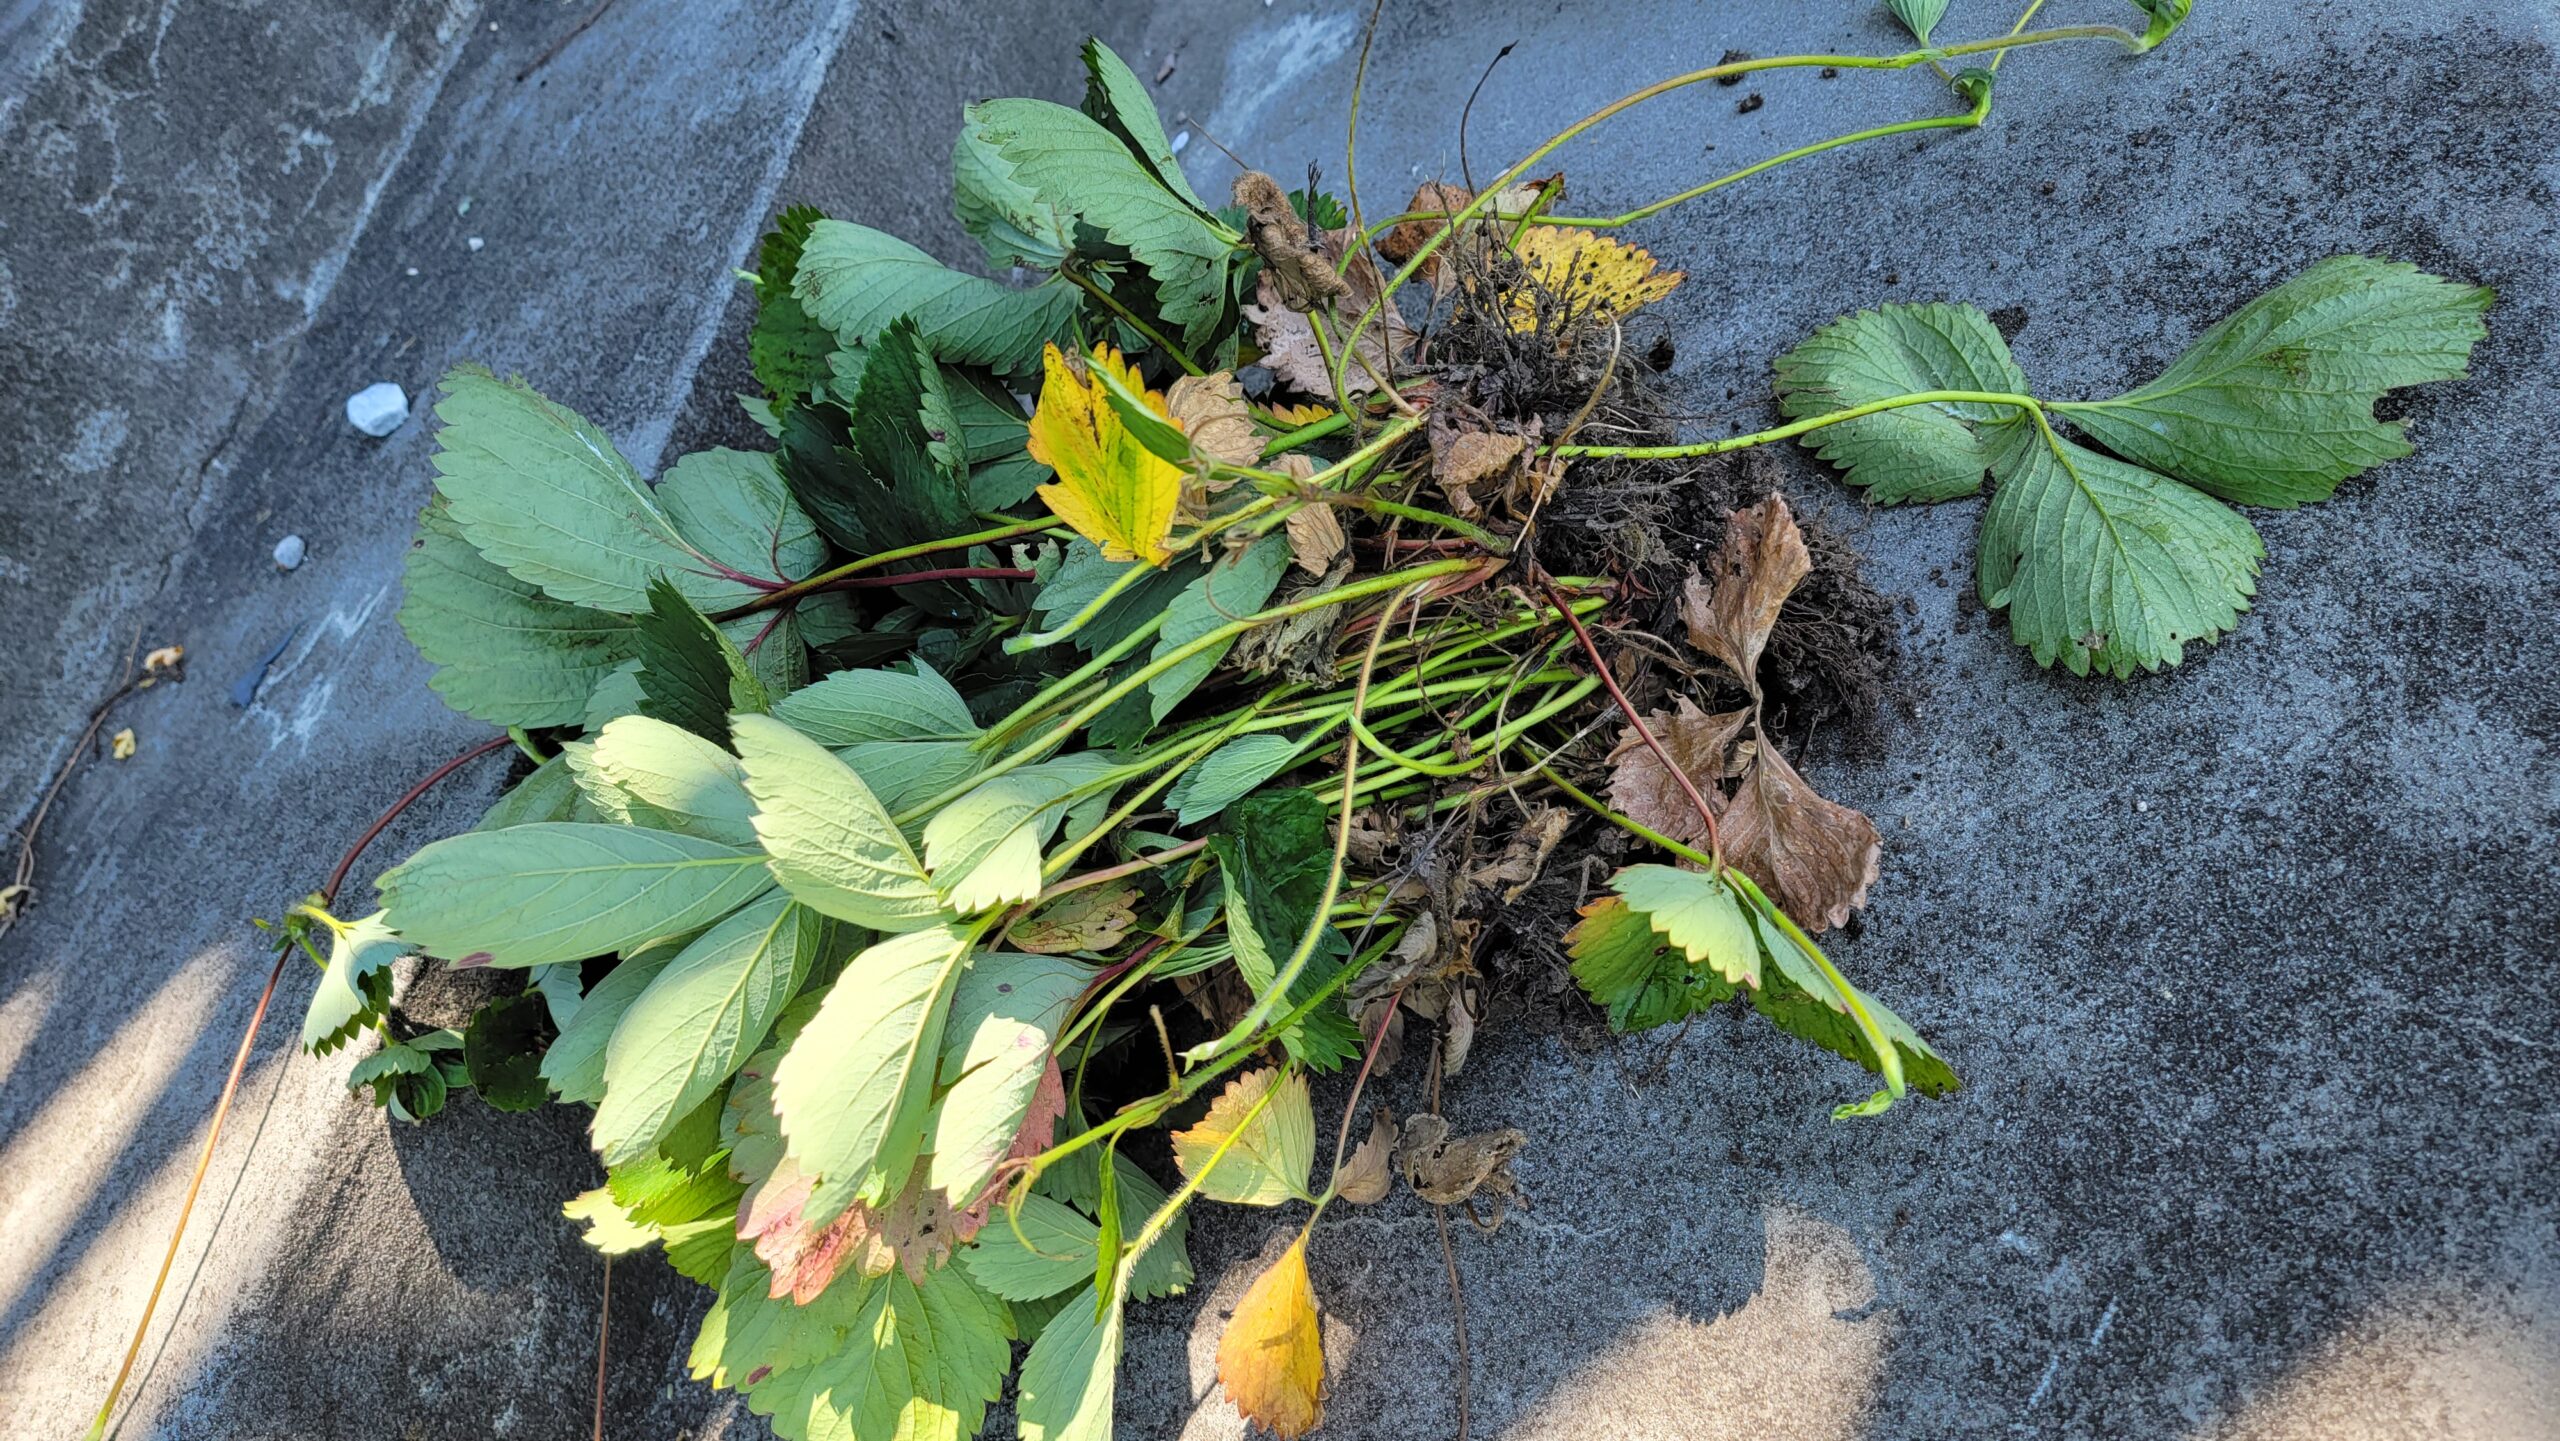
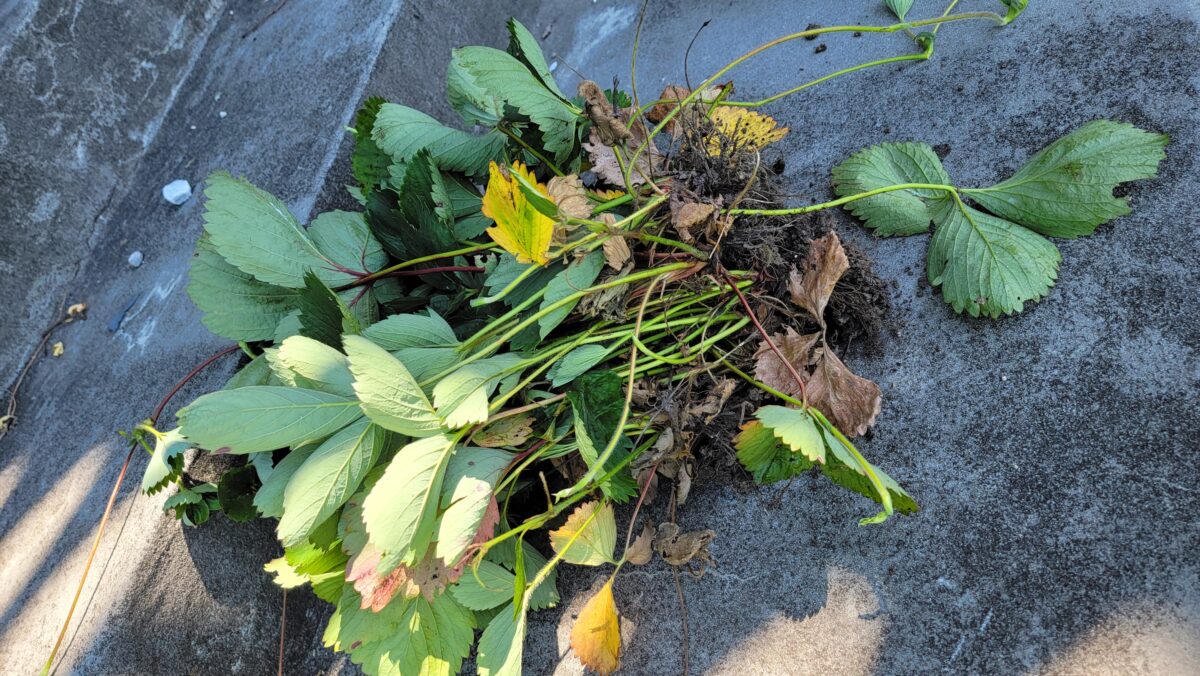
For other berry plants, in particular strawberries, you can propagate them simply by digging up an existing plant (including roots) and transplanting it to a new location. These berries send out runner vines when growing, and after fruiting season one plant can propagate itself to three, four, five, or more plants in the span of a few weeks. That being said, strawberries are prone to drying out just like berry cuttings (even with transplanting roots) and need to be somewhat wet for several days- so these are best propagated just before a period of several rainy days. That being said, even if leaves die, don't be surprised if you see new growth from the roots in a few weeks!
- Note: If you are able to entirely uproot a plant and take it with roots, you'll have a much greater chance of success as roots are the key to life for plants. That being said, we never uproot wild berries unless we know they're otherwise going to be cut down as a means to keep wild fruit out there in the world.
Tip Layering of Berry Plants for Fast Growth
Success Rate: High
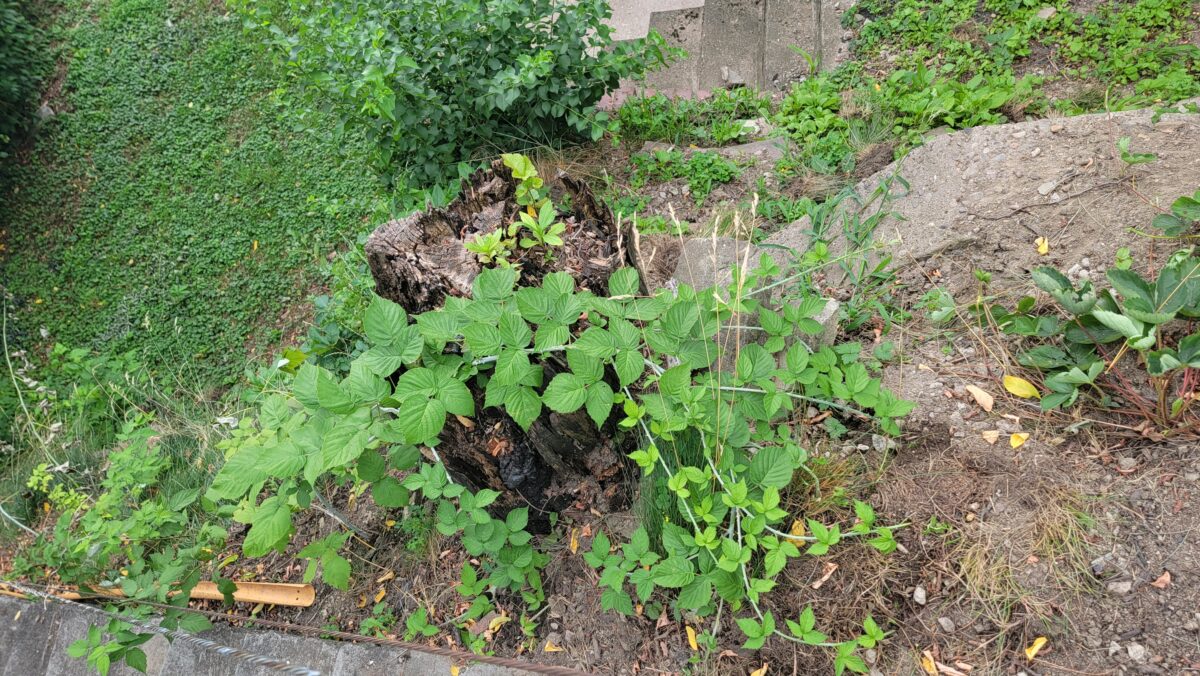
One of the best ways to propagate existing berry plants in your garden is simply to engage in tip layering. This is by far the easiest for vine-growing berries (think things like raspberries and blackberries) whose stalks grow rather large and naturally drop back to the ground.
When a plant is long enough that it reaches back towards the ground, all you have to do is simply dig a small hole (an inch or two), bury the tip of the cane in the ground, and wait. The plant will naturally start to root itself in as little as a week, and may have appreciable roots within a month pending weather and type of berry. You should water these frequently, but they will do their magic on their own all the same.
From there, it depends on what point in the season you are for further growth, but it may take a few more weeks or months beyond that for a new shoot to grow ~6-12 inches such that you can then cut the original layer to have two separate plants. (Many sources say to wait until the next season in addition to that minimum amount of new growth, which is what I do.) After this, you can either dig up your new cutting to move somewhere else or keep propagating to create a nice little berry patch!
When I did this one for myself, I was shocked at how quickly my black raspberry plant started to root. I accidentally pulled a tip out of the dirt just about two weeks after burying my first cane and was rather surprised at just how developed the roots were at that point despite no rooting hormone or other external chemical added. So when my first plant grew about three or four feet in length with about ten secondary branches, you know what I had to do- I layered each one to really grow my berry patch in a hurry!
The downside to tip layering is that you really cannot control where your bushes are spaced short of digging up a rooted plant and transplanting. As such, my berries are forming a very tight-knit patch, likely a lot closer than most gardeners recommend, and I don't have any intention to separate them (I do keep individual berry types separated, like raspberry vs blackberry, to minimize any disease risks).
Still, it is hard to beat this method as I have a virtually 100% success rate, very low risk of failure, and can simply use time to grow new plants.
Do you have a favorite way to propagate berries at home? Comment below to share!
Want to buy already propagated berries instead? Click here to check out options!

