Disclaimers: Our site uses demographic data, email opt-ins, display advertising, and affiliate links. Please check out our Terms and Conditions for more information.
Before our kitchen renovation, we tried to research what our project could ultimately cost. We looked for rough estimates online, but they varied so widely that we knew we had to dig a little deeper to get a better estimate.
After talking to dozens of contractors, vendors, designers, and other professionals, we developed our own detailed spreadsheet broken down by category, outlining item by item our projected costs. And you know what? Our method worked.
In fact, we ended up coming in exactly within budget when our project was all said and done!
In this article, we're sharing what we learned about the cost of kitchen renovations, including a breakdown of our own expenses, simply because we wish something like this would have existed online for us when we were starting our project. Your own spending will vary, but our hope is to shed light on all of the categories of expenses you may come across in a kitchen renovation.
General Factors Affecting Overall Budget
First, we'll outline a few general factors that affect the overall budget and where we fell on the spectrum of these, so that you can compare your project and budget to ours.
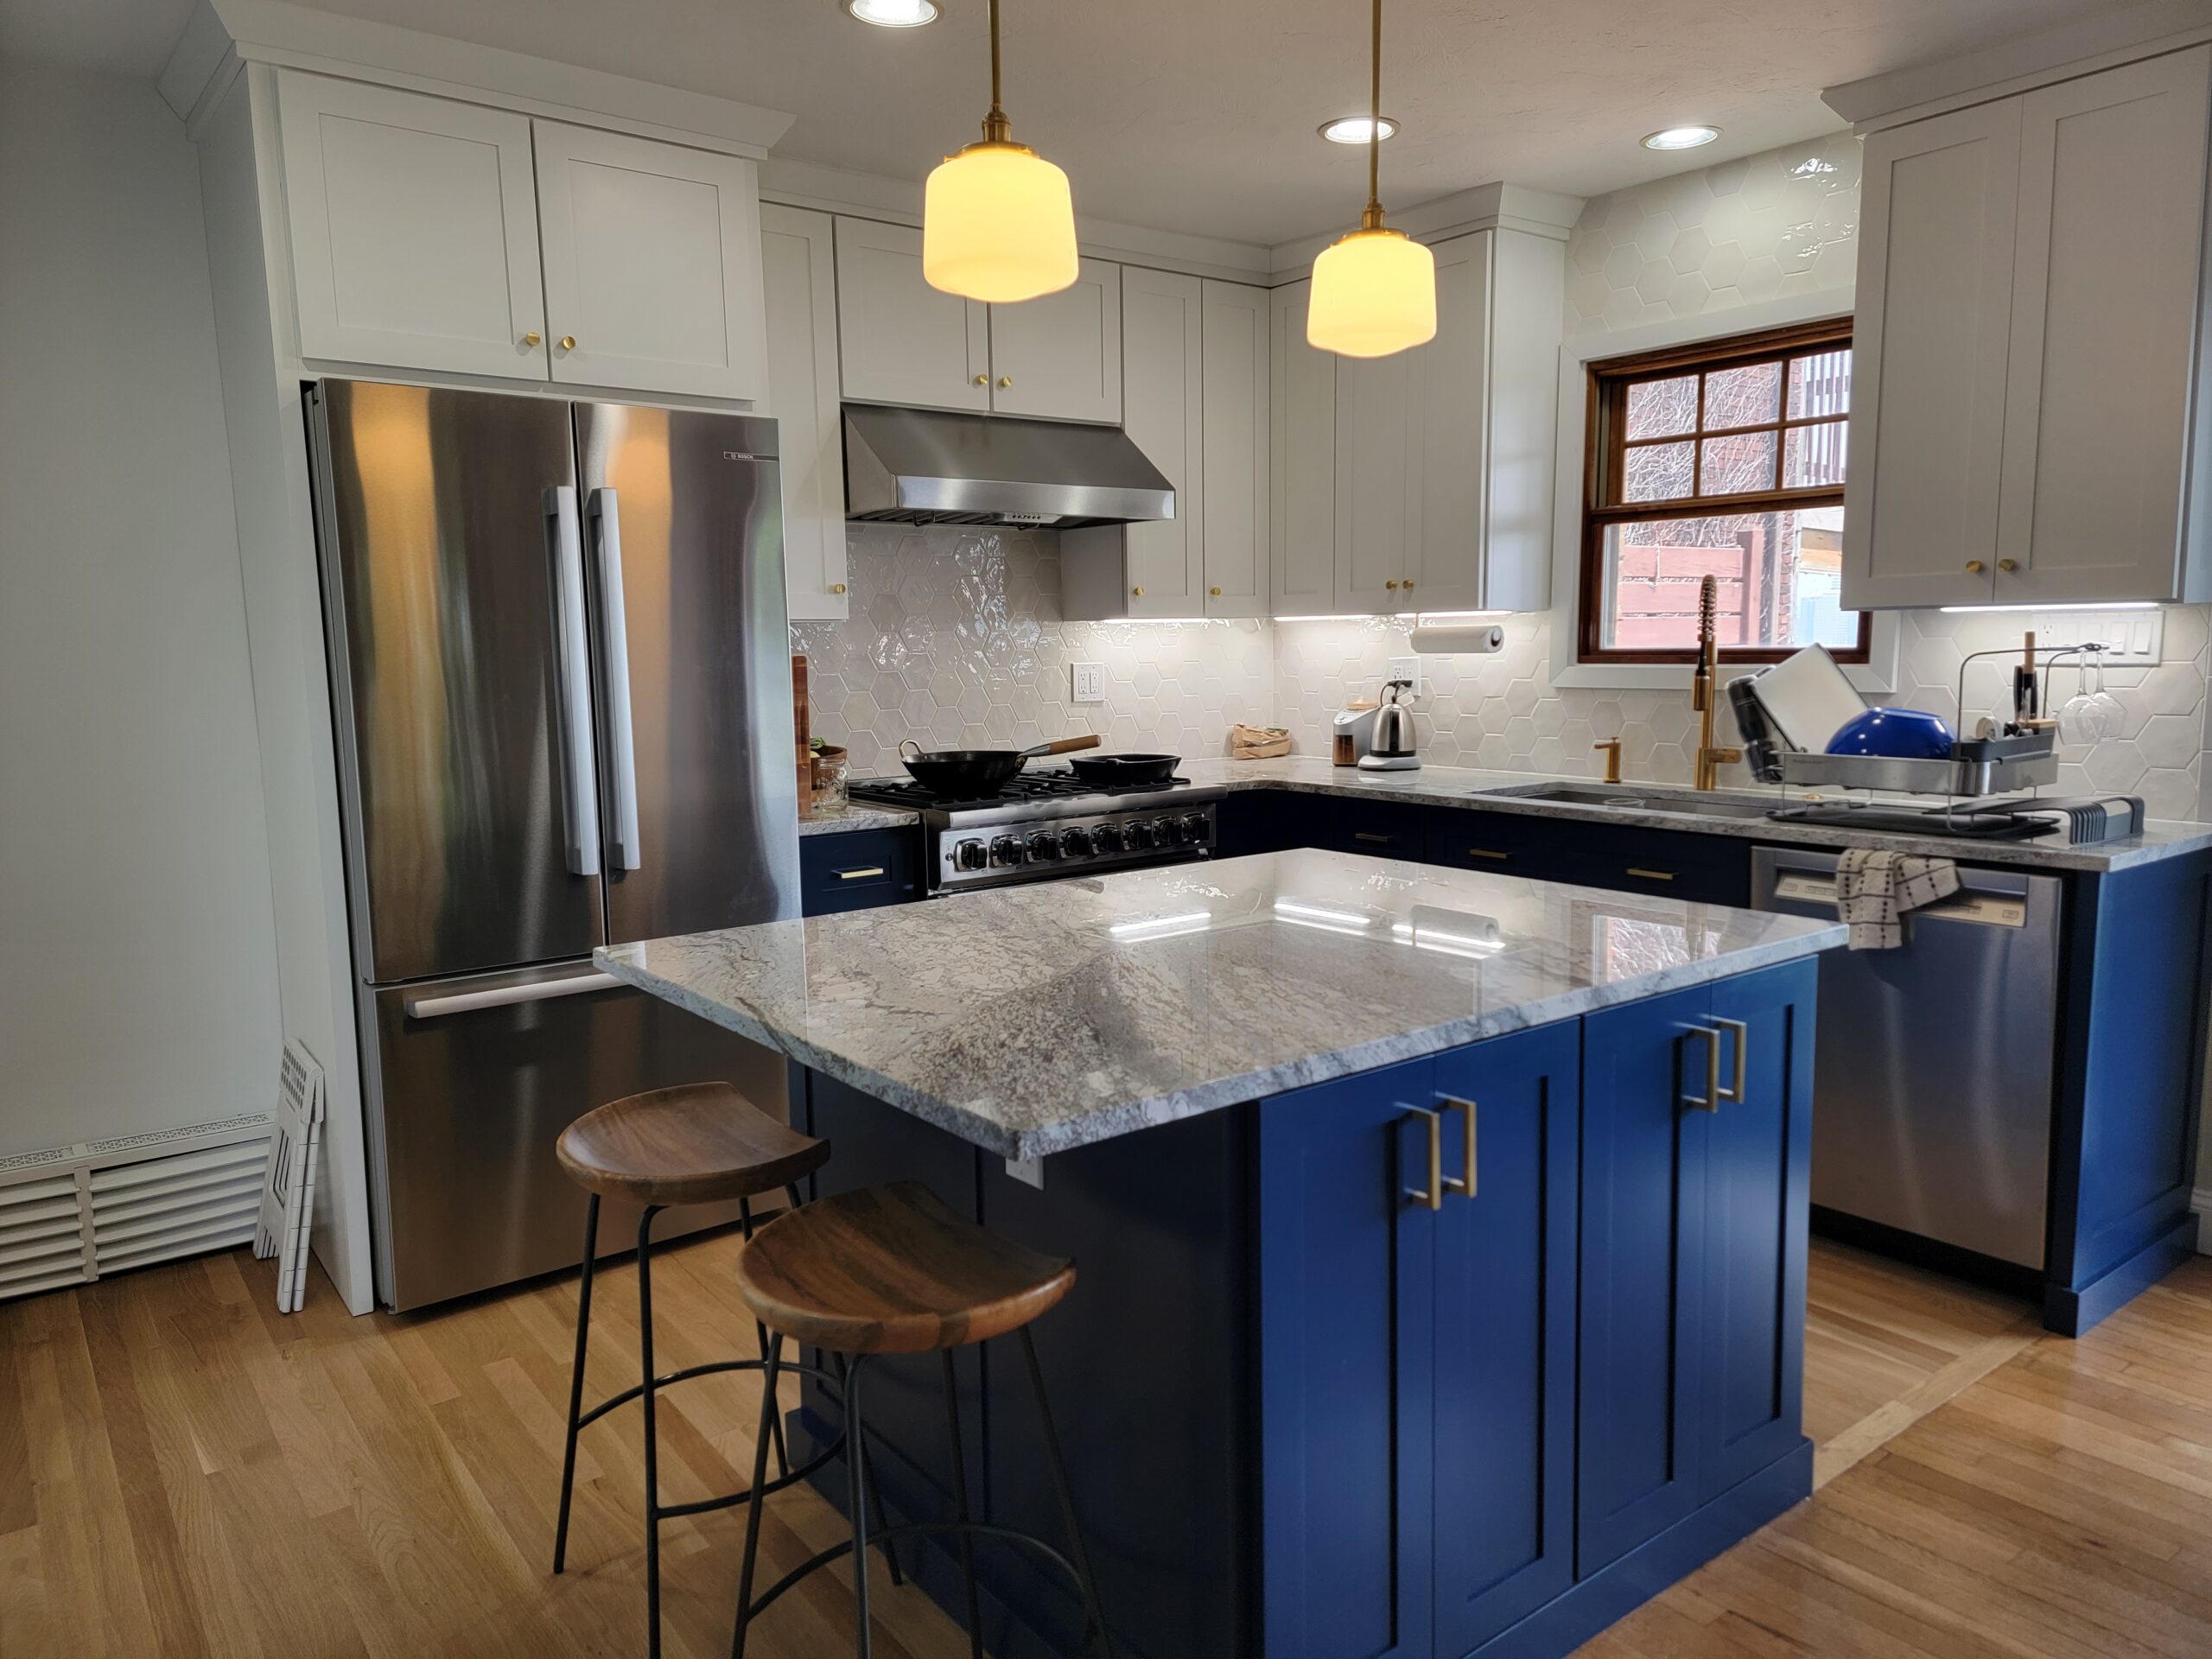
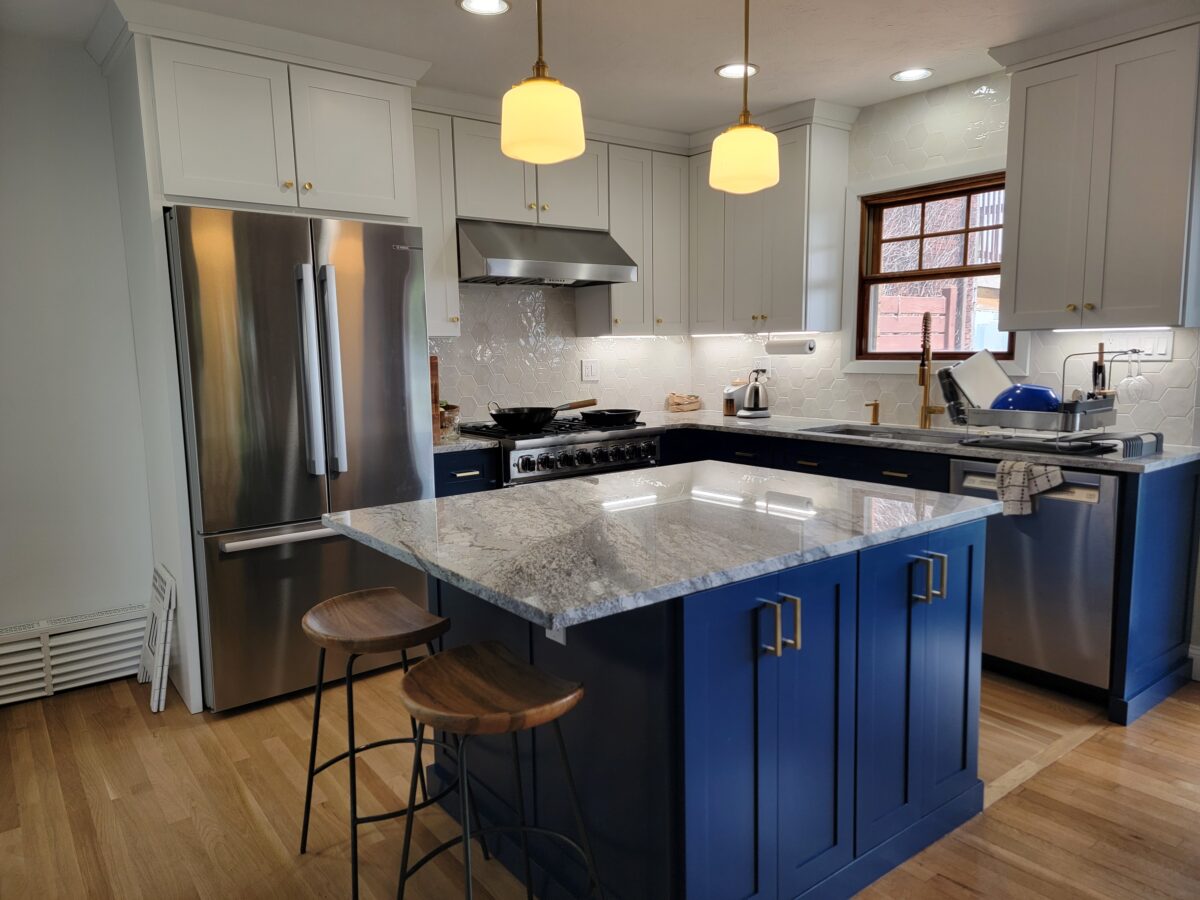
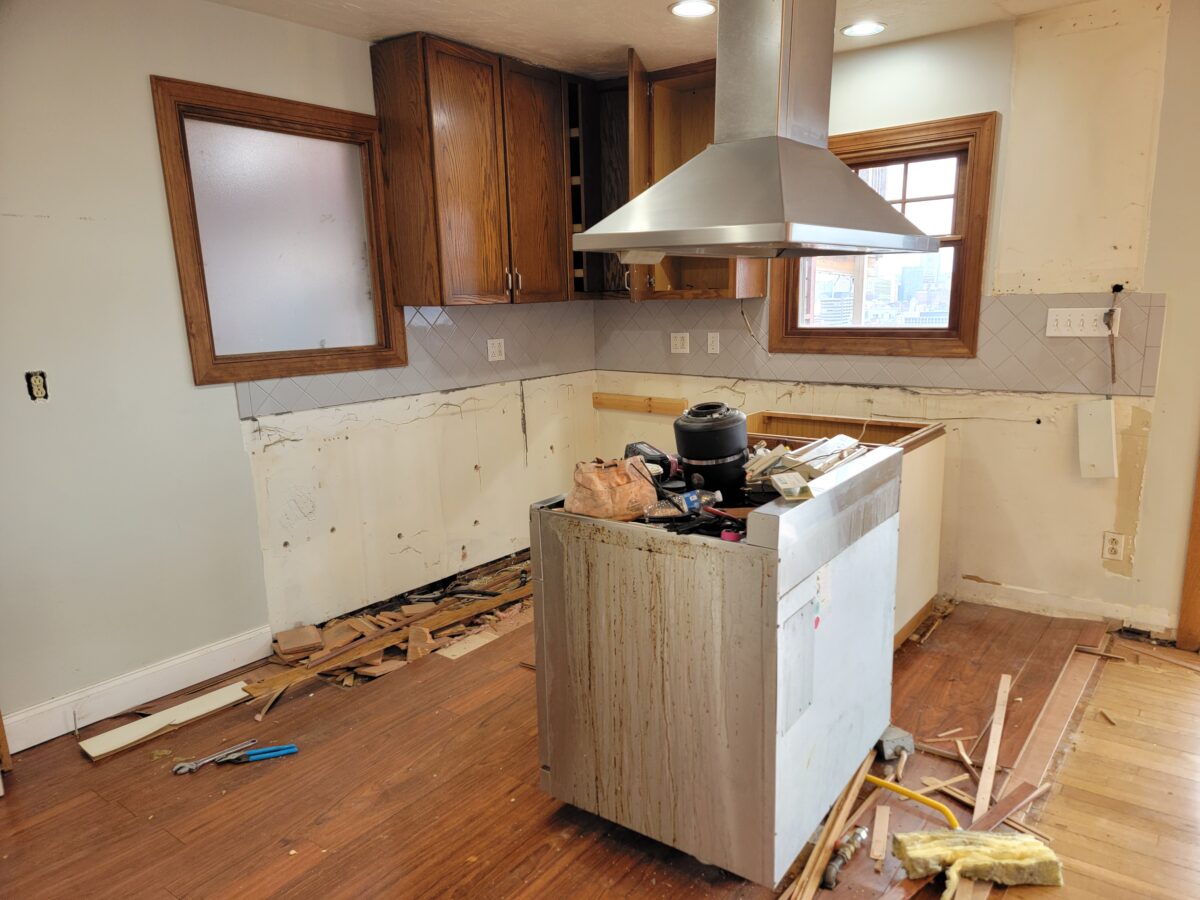
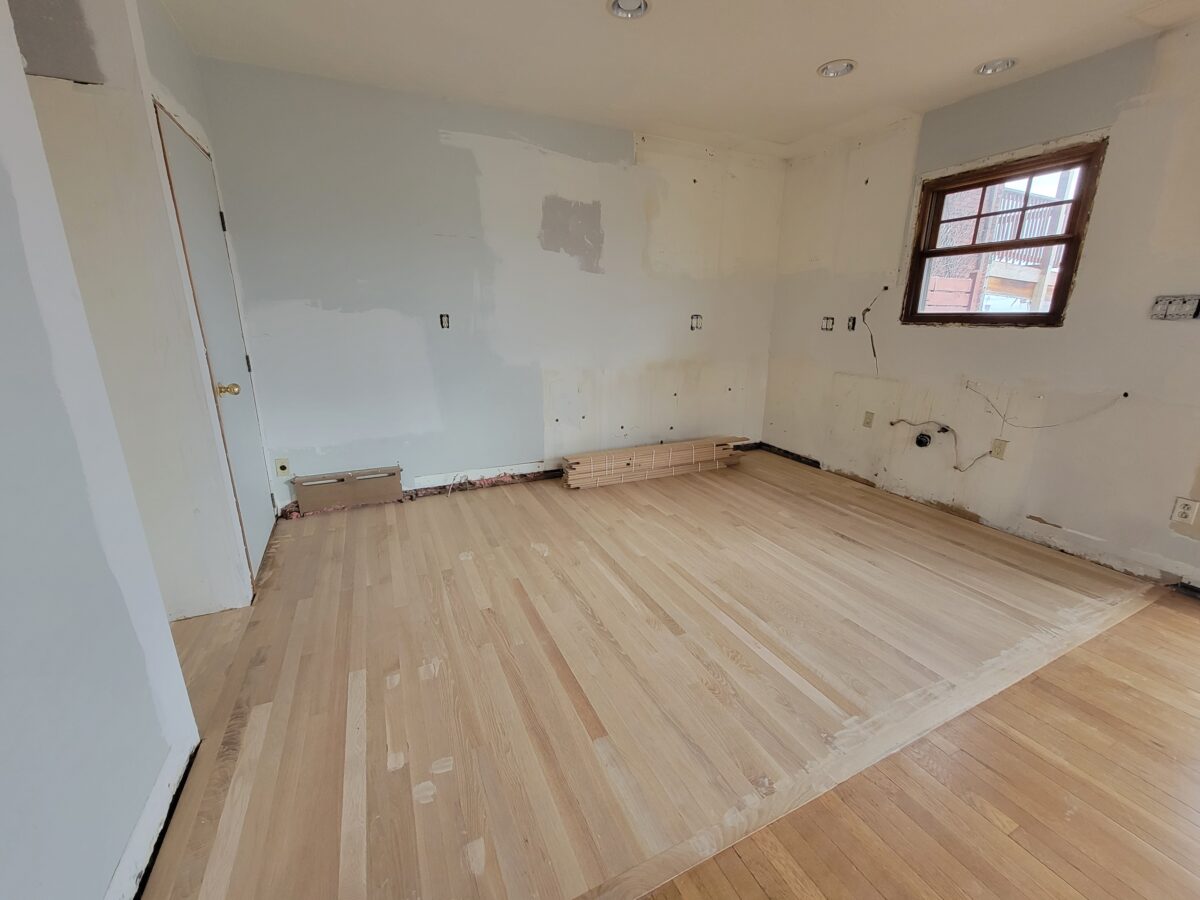
Project Scope: The scope of your project will obviously have a huge impact on your project cost. For example, we did a complete gut job, ripping out everything including the floor (the only thing we kept were a few recessed lights in the ceiling). If you're keeping your flooring, cabinets, and/or appliances, etc. your budget will vary accordingly.
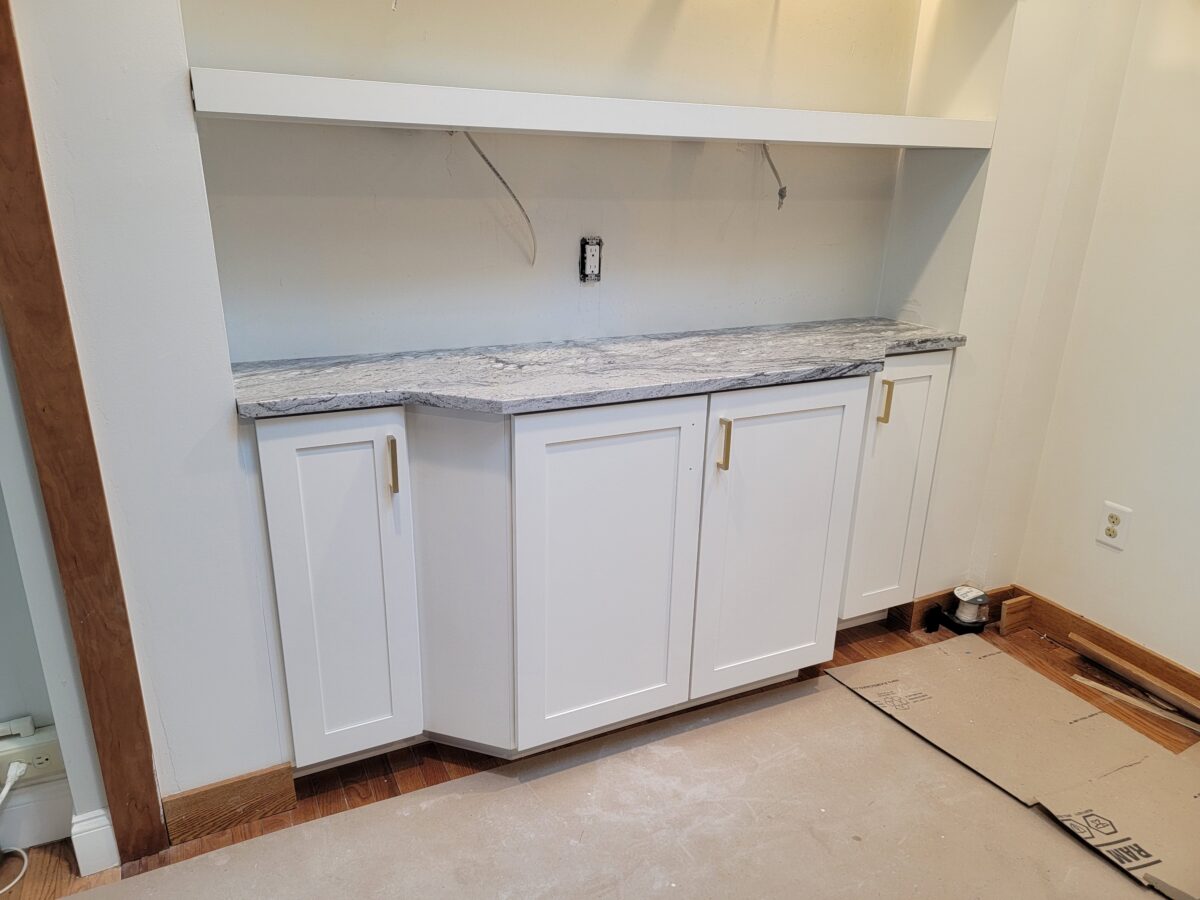
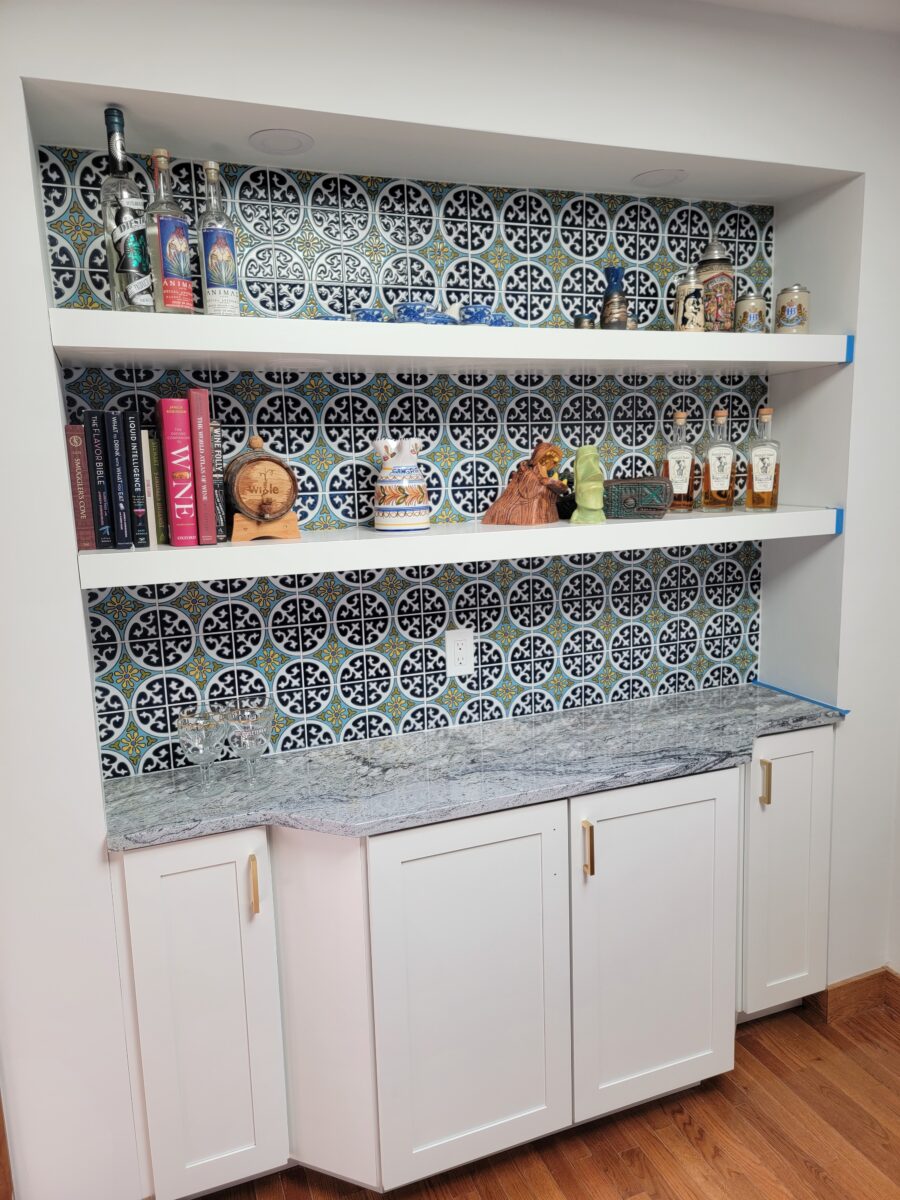
Another thing to note about the scope of our kitchen reno is that we lumped it in with a small dry bar build-out in our dining room (all numbers in our budget include this dry bar space). This dry bar consisted of four cabinets with total dimensions of 6′ x 1′, granite countertops, two shelves, lights, a backsplash, and a drywall frame.
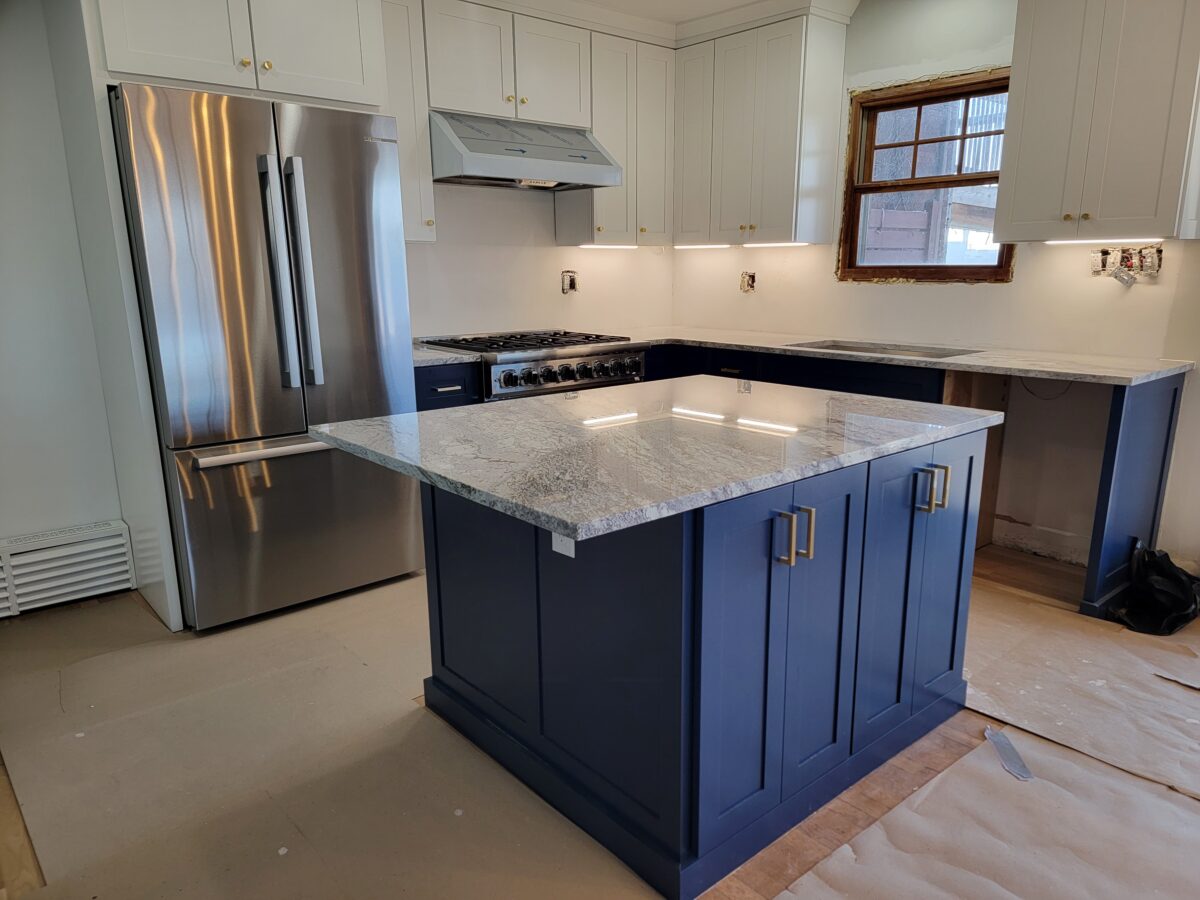
Layout Changes/Structural Changes: If you're making major layout or structural changes (i.e. knocking down walls, moving plumbing, moving gas lines, etc.) you're obviously going to pay for it. We didn't have to move any walls in our renovation, but we did relocate our stove from our island to a back wall which required extending gas and power lines. We also filled in an outside wall in two spots (one where an A/C unit was, and one where a window was).
Kitchen Size: Our kitchen was roughly 9'x13′, which is pretty small. The bigger your space, the more cabinets, floor, tile, countertops, etc. you'll have, and the more time it will take your contractors to install, adding more costs.
Appliances: This is one of the expense categories that can vary widely and change your overall budget significantly. If you want top-of-the-line, professional-grade appliances, you're going to pay for it. It all depends on what your priorities are. Personally, we live in the kitchen and wanted a professional stove, so this increased our overall budget significantly. In fact, our appliances ended up being about one-third of our overall project cost.
Our Costs – Broken Down by Category
Cabinets: ~$15,000
Vendor/Type: Amish custom cabinet maker
We were so lucky in that our kitchen designer referred us to an amazing Amish cabinet maker in PIttsburgh. We also got several other estimates, including one from another local custom cabinet maker and one from Home Depot. It turns out the Amish cabinet maker came in cheapest for custom dimensions (and half the Home Depot cost!). Although we didn't use the other vendors, I'm confident we ended up with the highest quality out of all of our options, too!
- We also had our cabinet maker build a custom table for our coffee station that fit over top of our radiator. This was about $450 and is included in the above figure.
General Contractor: ~$11,000
Vendor/Type: Local friend of a friend
We were most nervous about choosing a contractor, in part because the estimates we got varied so widely. At the end of the day, we went with a contractor our friends had used. We had seen his work at their house and liked it, and we were able to have honest discussions with our friends about pros/cons of their work.
We definitely saved a lot of money on our contractor by using someone who works for himself and not a big company (one estimate we got was more than 4x what we ended up paying- yes, it was over $40,000). That said, we took on some responsibilities like painting, cleanup, touching up some minor issues, and a few other odds and ends that we knew about going into it.
Kitchen Designer: ~$4,000
Vendor/Type: Local designer recommendation from a friend
We know many people don't use a kitchen designer, but we are so thrilled we did. Our designer more than paid for herself by coming up with a game-changing island layout, referring us to our cabinet maker (who ended up saving us at least $15,000 there), giving us her designer discount at our plumbing supply store and tile store (a few hundred dollar savings), designing a bump-out in our bar cabinets to give us more space, and giving us invaluable help with design elements.
While we could've had our designer stay on board for full project management (we took on that role), the cost for a kitchen design paid itself off many times over.
Countertops: ~$6,500
Vendor/Type: Granite from local vendor
Although granite is pricier than quartz, we love the natural variation and patterns of granite and opted for it over quartz. One thing we didn't realize when granite shopping is that even the cost of granite can vary widely depending on the pattern and uniqueness. More exotic or rare patterns can skyrocket in price. Luckily we wanted something more neutral and reserved, and the pattern we chose ended up being in the low to mid-range of tiers.
Electrical/Lighting: ~$1,500
Vendor/Type: Pendant lights from Schoolhouse; all other items from Home Depot
I was fixated on having brass Schoolhouse pendant lights, which are definitely not cheap. Other than that, we opted for affordable under cabinet lights, recessed LED lights, and down lighting for the bar, all from Home Depot.
Flooring: ~$2,600
Vendor/Type: Hardwood
We opted for new hardwood floor installation in our kitchen, as our adjacent living area (open floor plan) had existing hardwood. Our vendor was recommended by our contractor and was on the more affordable end of the spectrum for our small space. The work was solid; however, the color match we were targeting wasn't the best in the end.
Hardware: ~$1,300
Vendor/Type: Cabinet hardware from Schoolhouse; Doorknob from Wayfair
We wanted our cabinet hardware finish to match our pendant lighting finish, so we went with brass hardware from Schoolhouse. This was definitely pricey, and an area where cheaper options are available if matching a particular finish or style is not as important to you. The door to our basement is also in our kitchen, so we replaced the existing doorknob with one from Wayfair.
Organization/Accessories: ~$1,000
Vendor/Type: Cabinet organization, shelf liners, and drawer organizers from Amazon and The Container Store; Wall shelves from Schoolhouse
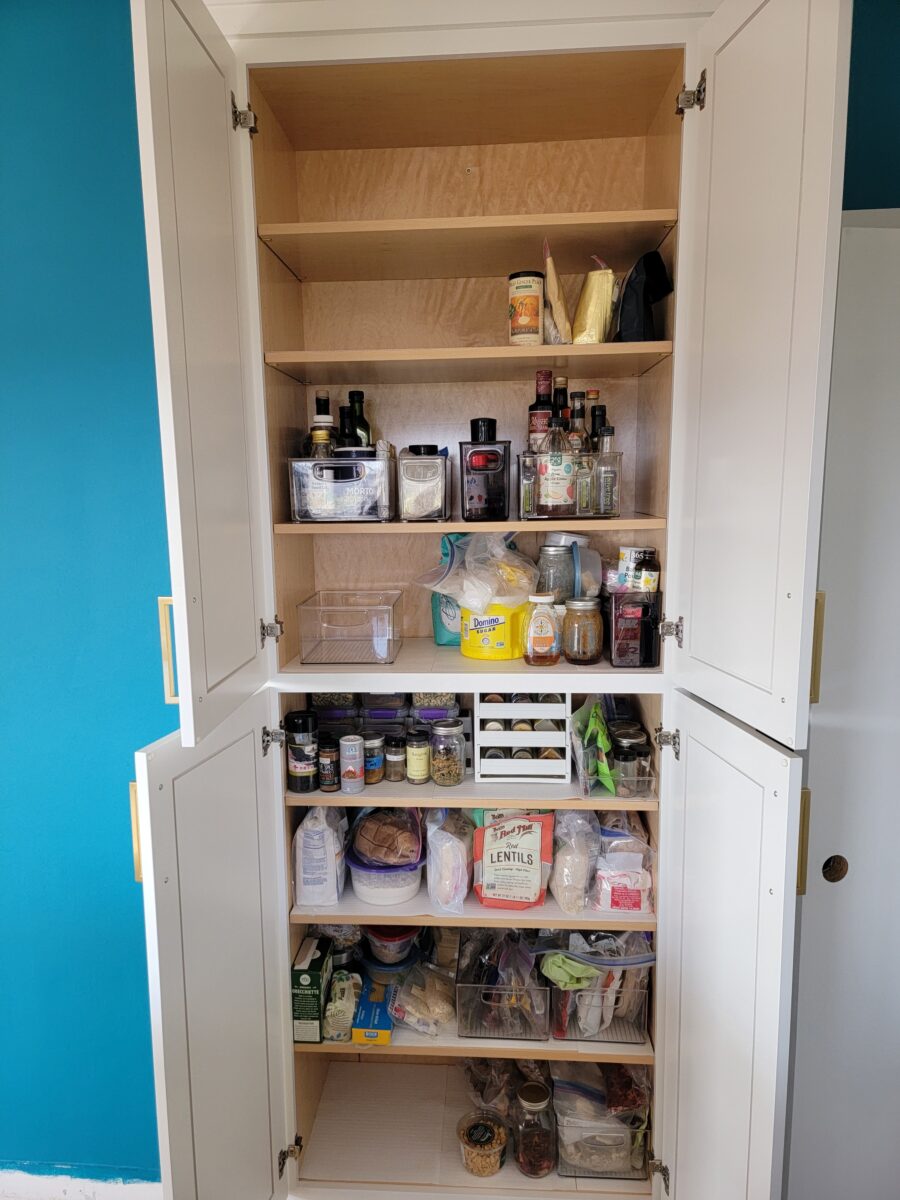
This is one category that sneaked up on us in price. If you're changing cabinet shapes/sizes, odds are a lot of your former organization things aren't going to fit your new space. Or, maybe your old organization tools are just old and need replacing. We felt like we lived at The Container Store for a few weeks after our reno was done (but it was all worth it, and our organization is now impeccable!).
Paint: ~$300
Vendor/Type: Sherwin Williams
Our contractor didn't like to paint as part of their service, and when we realized how much money we could save painting ourselves we begrudgingly did so. We had to paint our kitchen walls and ceiling, but also our adjacent living room ceiling and walls as they were continuous with the kitchen. We also painted the entire dining room where our dry bar went in.
This one could've been cheaper had we not painted our ceiling, but we figured with everything being ripped out and covered, it was the best time.
Plumbing/Sink: ~$2,000
Vendor/Type: Faucet, soap dispenser, and garbage disposal from Moen via local plumbing store; Sink from Create Good Sinks
After visiting a local plumbing supply store recommended by our kitchen designer, we fell in love with the warm brass finish of Moen's faucets. They're pricey, but we saved a little by not getting the motion sensor on the faucet (these feel good in theory, but we just don't like how they function in practice). For the sink, our options were limited because we needed an offset drain, but we ended up finding a fantastic offset drain sink on Create Good Sinks in a mid-range price point.
Tile: ~$5,000
Vendor/Type: Kitchen backsplash from WOW Design via local tile shop; Bar backsplash from Fireclay Tile
Our kitchen backsplash tile was affordable white hexagon tile, but we splurged like crazy on our bar backsplash. We fell in love with Portuguese tile on a trip there a few years ago, and we knew we wanted to re-create that aesthetic in our bar. We got dozens and dozens of tile samples from so many places, but they all looked cheap and fake. Then we found the handpainted tile at Fireclay and were instantly in love. The tile is the focal point of our bar- no regrets!
That said, when it comes to price the 6′ x 4.5′ wallspace for our bar was 80% of our total spending here. There are definitely more reasonable options depending on your tastes here.
Appliances: ~$25,000
Vendor/Type: Bosch fridge and dishwasher; Viking stove
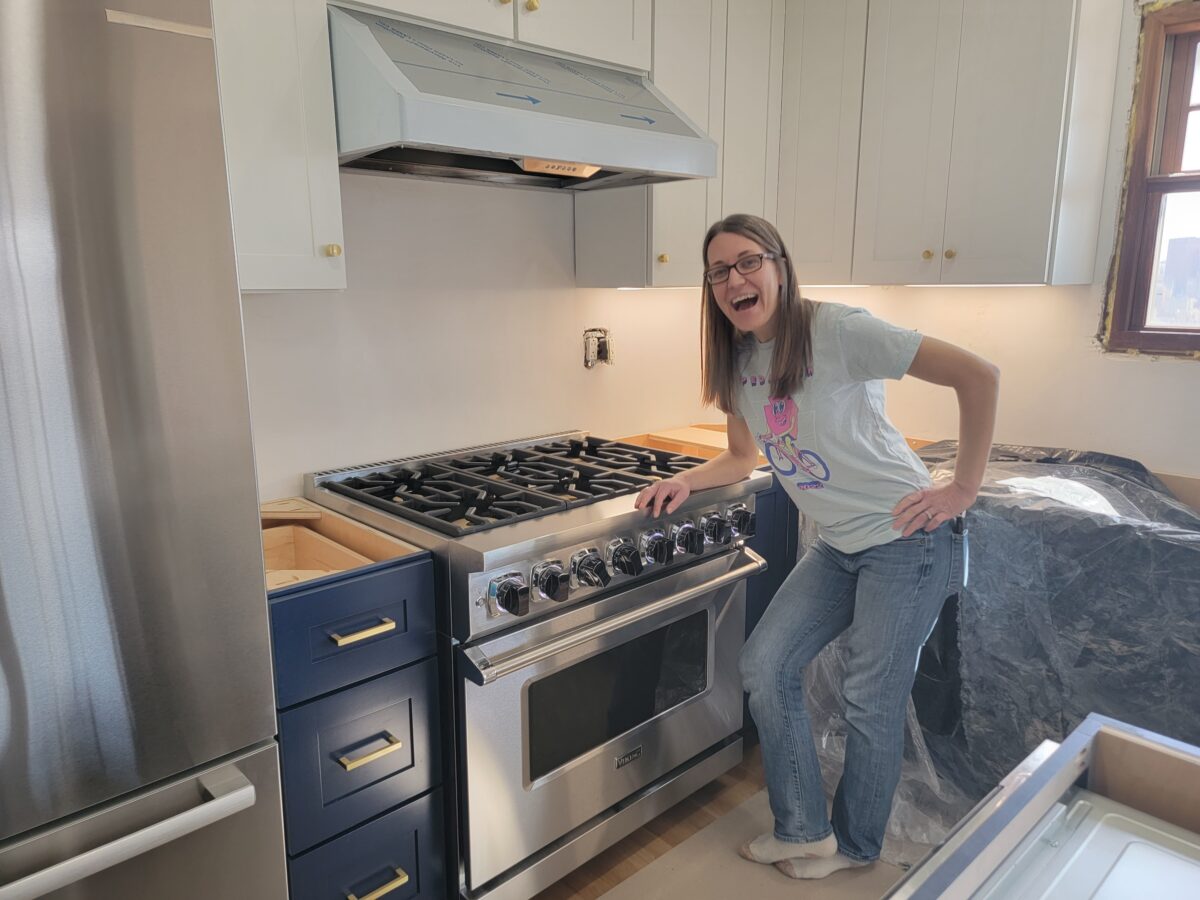
Our other major splurge was on appliances, specifically on a Viking professional model, 36″ stove. Our love affair with Viking started when our appliance repair guy made dozens of visits to our house fixing our old stove. We asked him what brand was reliable and awesome, and he said Viking. Our stove elevates the look of our kitchen, is one of the fastest heating stoves on the market, with the highest BTU burners we saw. But we didn't buy it for the looks: we plan on using this thing until we die or it dies.
Total: $61,700 or $500 per square foot
Overall, our kitchen remodel cost us $61,700 when it was all said and done which amounted to about $500 per square foot including the bar space.
This was right on the mark for our budget and we did not have too many unexpected expenses come up (more waits for appliances and granite to be ready). Considering the quote range could've taken our project anywhere from that price point all the way up to $100,000+ (or $800 per square foot), shopping around and finding the best fit definitely worked out in our favor in the long run!
Ways Our Kitchen Remodel Could've Been Cheaper
As mentioned in the breakouts above, we had several opportunities to make our kitchen renovation cheaper overall had we wanted to save a few dollars.
First, if you are good at doing designs and layouts yourself, you likely do not need a kitchen designer. We loved our designer's ideas and recommendations so much that we'd say the expenses were worth it for the layout alone. But saving a ton of money with a stellar Amish cabinet builder rec really came through for cost savings in the long run. Possible savings: $4,000.
Second, we obviously spent the most for top-of-the-line appliances that you may not care about in the slightest. Do you need to spend $16,000 on a stove when basic models run $1,000-$2,500? Well, that depends on how much you cook. We very much could have ventured into the secondary market to save money if we wanted to, too. So while we spent about $25,000 on high-end appliances, odds are good you can be far less if you wanted. Possible savings: $15,000-$20,000.
Third, we had a dry bar as part of our spending here that included 6′ x 1′ cabinets, granite, shelves, light, a drywall frame, and a rather expensive backsplash. Not only could we have done this one cheaper with more conventional tile, omitting this one entirely would've knocked off a significant bit of contractor and material work too. Possible savings: $4,000 (tile only) – $7,000 (no bar at all).
Fourth, we bought higher-end lighting and hardware to have the best color match, and likely could have saved a bit of money here had we gone with more conventional items. Possible savings: $1,000.
Fifth, we'd be remiss if we didn't note that contractor prices are simply all over the place. You may find someone for 4x the cost, may find another at 50% the cost, or, if you are personally rather handy, may be even able to do some of the work yourself. We are not and had to hire this one out, but we also know friends who did kitchen remodels themselves and cut this price out completely. Possible savings: variable.
Overall, for our 9′ x 13′ kitchen with top-of-the-line products, we did our entire renovation (with bar add-on) for $61,700. Had we tweaked our designs a bit and gone a bit more conventional (and/or not had our bar component as part of the project), it is entirely likely we could've saved anywhere from $24,000 to $32,000, making our lowest possible value potentially being about $30,000 or $243 per square foot.
As such, this is why it is so important for us to share our true costs with a project like this as it could've been as low as $30,000 to as high as $100,000+ had we gone with a more premium contractor. So to say that your mileage may vary is an understatement!
That said, ultimately we wished we would have had something like this when we were budgeting for our reno, and we hope it serves you well in your kitchen reno planning and budgeting!
Are you working on a kitchen renovation? What size kitchen are you working on and how does your budget compare? Comment below to share your experiences!

