Disclaimers: Our site uses demographic data, email opt-ins, display advertising, and affiliate links. Please check out our Terms and Conditions for more information.
Koji is an enchanting fungus that is the secret superpower behind many delicious fermented foods worldwide. It's been used for centuries in different cultures to create products like miso and shoyu.
What exactly is koji and how is it used? Well, the word koji can refer to both the actual mold spores (Aspergillus Oryzae), as well as the final product that you get when you grow koji spores on a substrate. The basic premise is that you inoculate a cooked substrate (rice, barley, and soybeans are some of the most common) with koji spores and incubate for about two days. As koji reproduces, it generates enzymes like proteases and amylases.
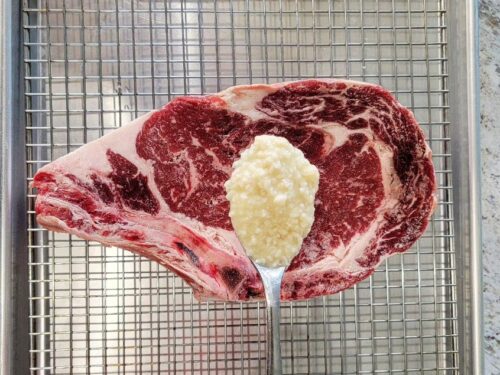
The power of these enzymes can then be realized in a second fermentation step by combining the rice koji (or barley koji, soybean koji, etc.) with other ingredients (like soybeans to create miso, for example). In this second fermentation, the proteases and amylases break down carbohydrates and proteins in the fermenting product into their smaller building blocks. These smaller building blocks give the final product a sweeter and/or more umami flavor depending on what you're fermenting and can really do wonders to improve the taste of a meal!
So, if you are looking to make koji at home, you will want to follow these step-by-step procedures to get started.
Where to Buy Koji Spores

Before you can incubate koji at home, you need to buy your spores and set up an incubation system. If you do not have an incubator ready to go, check out the previous link to learn how to build your own as we did. This will be necessary in order to make koji at home.
Once your incubator is ready to go, your next step is to buy spores.
There are many places to buy koji spores and lots of different types of koji spores available, depending on what final product you want to make. A few to get started include:
I have sourced all of my koji spores so far from Cultures for Health and GEM Cultures and they have both worked great (despite GEM Cultures' website looking incredibly dated). The light koji rice spores from GEM Cultures is a great starting point, and we love the tempeh options at Cultures for Health.
Choose Your Koji Substrate

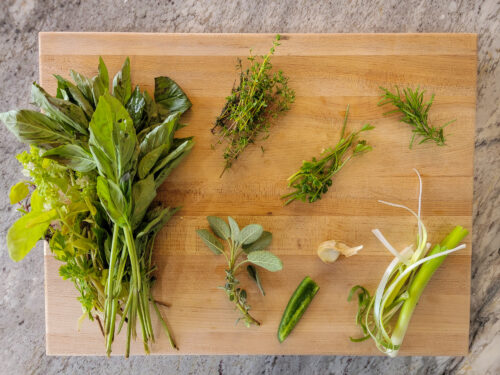
In traditional ferments, koji is typically grown on rice, barley, or soybeans. White rice is probably the easiest medium to start with, but koji really likes to grow on almost anything given the right environmental conditions. Once you have the process down you can experiment to your heart's content- we've seen people grow koji on everything from vegetables to popcorn!
The rest of our steps assume that you're growing koji on rice for discussion purposes, but the steps apply to other media as a starting point as well.
Soak Your Rice
First, soak the rice in plenty of cold water for at least a few hours or up to a day. I typically use 1 kg of rice, but read through the rest of our instructions first to determine if that amount of rice will work with your setup. After you've soaked the rice, drain it, rinse it, and let it drain off any excess water for about 30 minutes.
Steam the Rice and Cool

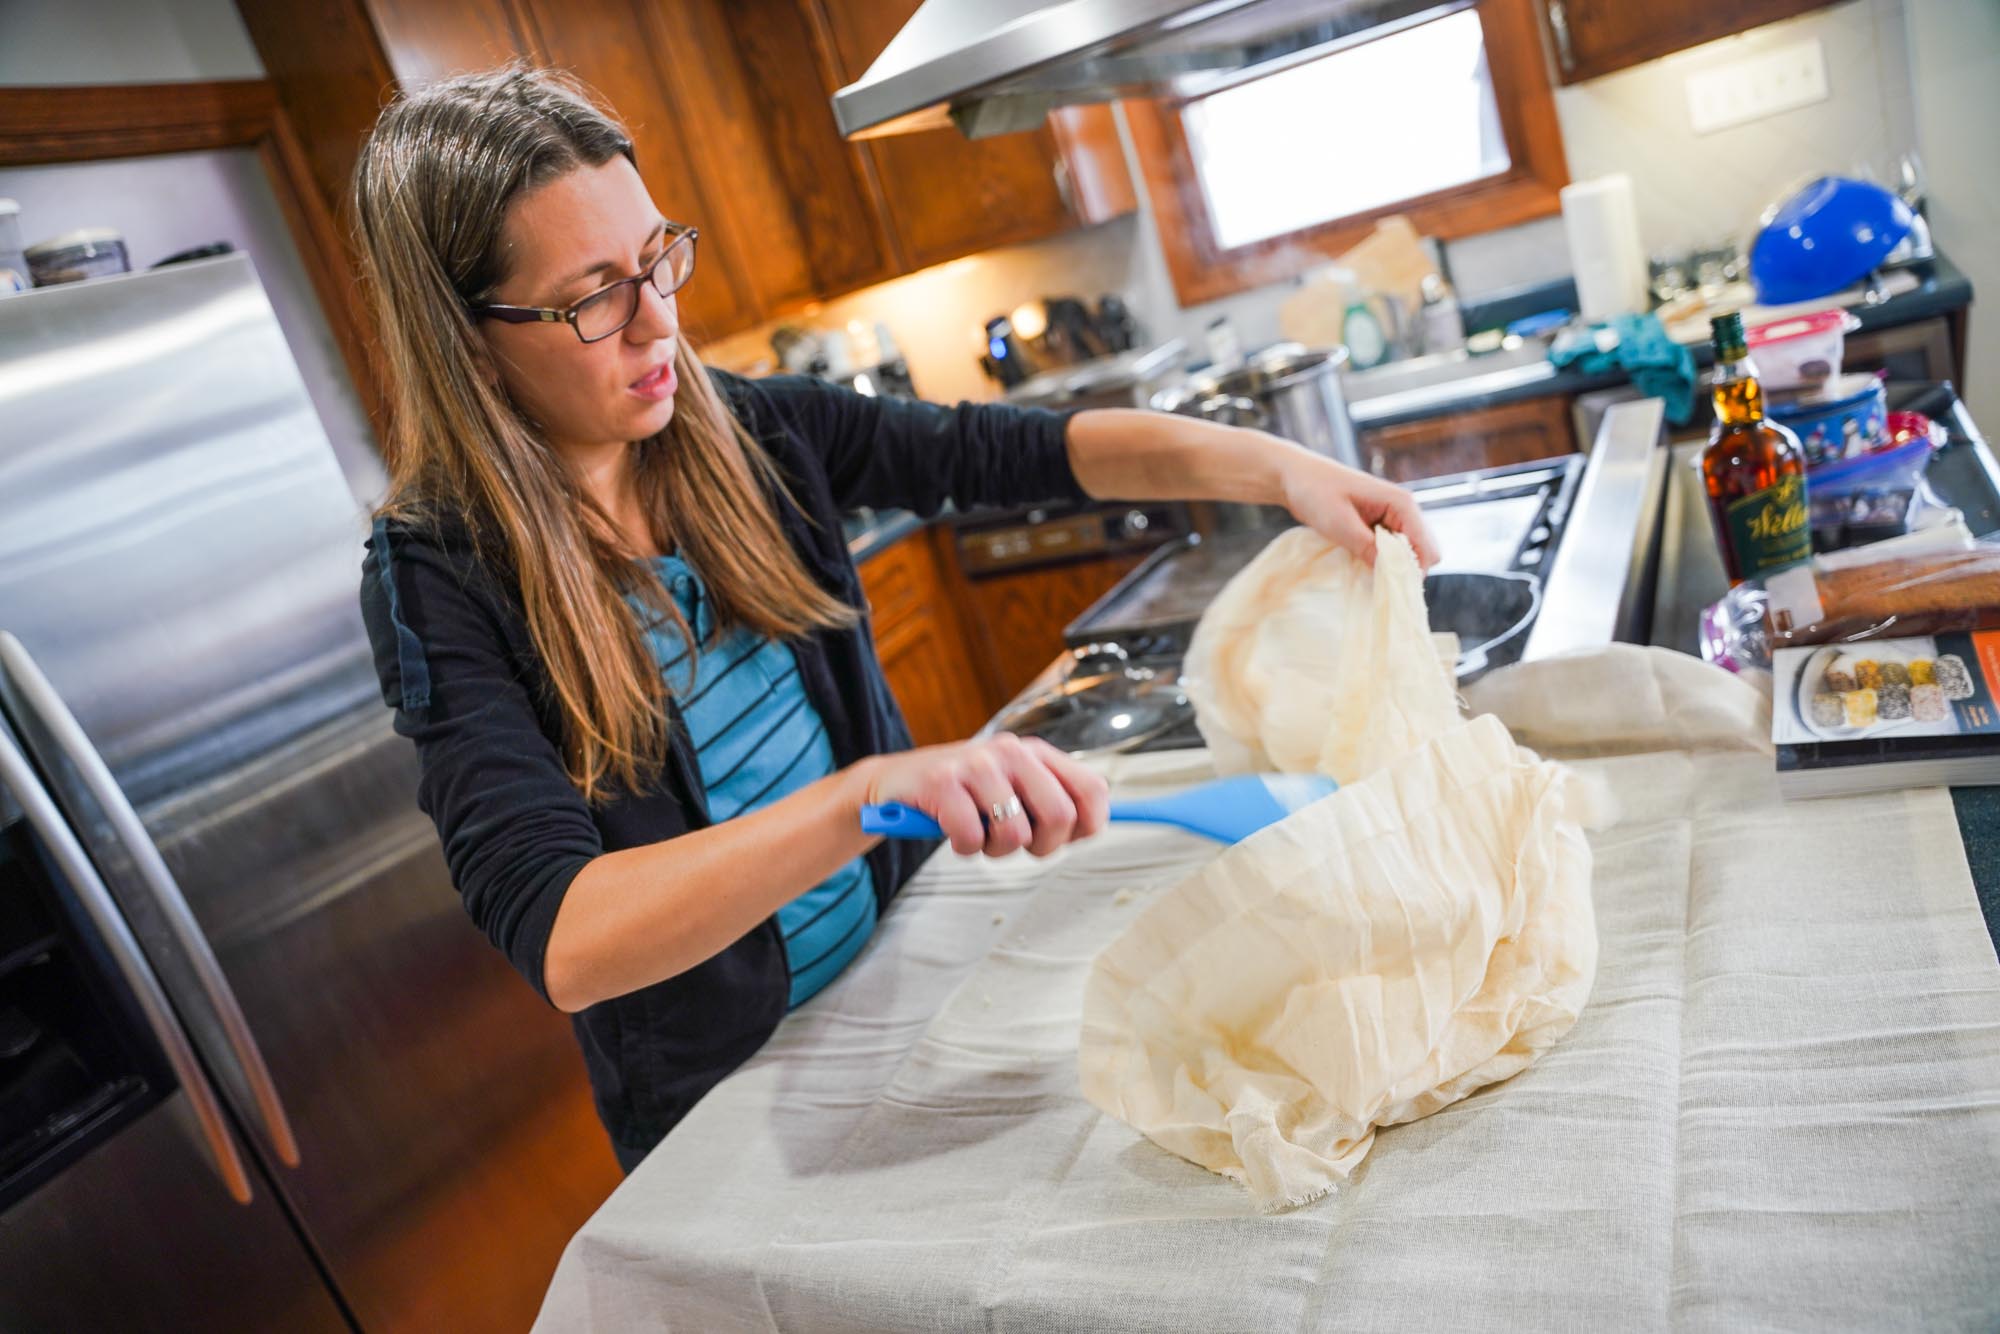
In general, steaming the rice instead of boiling directly in water works better as it keeps the rice from getting too wet. You can use a rice cooker if you have one. I don't, so my setup involves a large pot with a steamer insert. I wrap the rice tightly in cheesecloth or muslin and then set that into the steamer insert.
In my setup, the rice is usually done in about 50 minutes. If you're used to boiling rice to cook it, steaming definitely gives a different final texture- it should be a little rubbery, but not dry and not wet. You can check that your rice is cooked by using your fingers to try and stretch an individual grain; it should be a little squishy and stretch/elongate a bit.
Inoculate Your Koji

It's often easier to inoculate your rice with koji spores if the spores are dispersed in a larger volume of powder, so most people recommend mixing the spores with flour (AP flour or rice flour are fine). First, you'll need to sterilize the flour. While the rice is cooking, heat up 1/4 c. flour (or whatever amount your koji spore packet indicates) in a skillet over medium-high heat. Stir the flour constantly until it is lightly browned, then remove from the heat and let cool. This should be enough to kill any harmful organisms that could be found on it such that your koji will be the only living organism moving forward.
Once your rice is cooked, spread it out onto a large tray or a large clean tea towel or other non-shedding cloth. You'll need to cool the rice down to 104 °F so that you don't kill the koji spores when you inoculate. Use an instant-read thermometer to double-check the temperature at several points within the rice until you are well below this temperature (or an equivalent temperature as indicated on the spores you purchased).
Koji is a living organism and will be killed if it is heated above a certain temperature range, so cooling your substrate to below this limit is quite important. In future steps, we will use our sous vide to control the temperature of a water bath for incubation as well, as if the temperature is too low, koji will not reproduce. There is a sweet spot temperature range for incubation, and we cannot understate its importance moving forward.

Now for the fun part! Once you're sure your flour and rice are 104 °F or cooler (as indicated on your spore package), mix 5 g of koji spores with the flour in a small bowl (or use the amount of spores recommended in your specific package insert). Put the flour/koji spore mixture in a fine-mesh strainer and sprinkle half of it over the rice. Mix the rice several times with clean hands or a clean utensil, then sprinkle the rest of the flour/spore mixture on top. Mix again for good measure.
Make sure you don't take too long to do this step as you don't want the rice to cool down too much or dry out. As we said, the temperature is going to be important from now on.
Incubate for Growth

Next, you'll need to give your koji spores a warm little environment in which to incubate for about two days. There are lots of ways to do this including using an oven with the light on, an aquarium heater in a cooler, heating pads, seedling heat mats, etc. We've written about our incubation rig before which consists of a sous vide immersion circulator in a large water bath, with the koji rice spread out in hotel pans that float in the water bath.
The important thing is to keep the rice between 80 °F and 95 °F for the entire duration of the incubation (or, once again, an alternative temperature as indicated on your particular spore package). If you're new to koji, I'd also recommend sticking a continuously monitoring temperature probe in the rice like the kind that you'd use for barbecue. That way you can adjust your incubation temperature and setup throughout the two days as needed.
Note that after the first day, the koji will start generating its own heat and you should start keeping a closer eye on the temperature. If your rice starts getting too hot, you can give it several good stirs with clean hands or a clean utensil, or create furrows in the rice bed to dissipate some of the heat, in addition to lowering the temperature in your incubator.
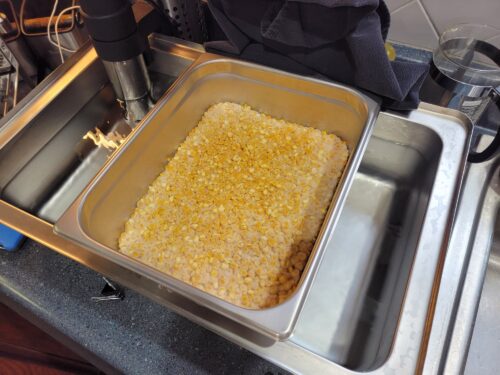
Maintaining the appropriate humidity is another concern. Koji doesn't like being too dry or too wet. Leaving the rice open to the air will likely dry it out too much (unless your air is really humid), but insulating the container too heavily can cause condensation that drips back down on the koji (also not good). We've found that in our sous vide setup, covering the container with a thin tea towel locks in some humidity and keeps water from dripping down into the rice (which happened with the cling wrap in the above photo).
Stopping Incubation

Koji is typically done after about 2 days, but start checking on it after about 40 hours. It's hard to describe how to tell when koji is “done”, but in general, if it looks slightly fuzzy and cottony white and smells delicious (sweet, floral, chestnutty) then it is likely done.
If you start to see green or yellow spores, stop it immediately as this means the koji is starting to sporulate. It's ok if there are a few patches of green/yellow but if it's really thick and pervasive then it will change the flavor of your final product to more funky and dank. When incubating soybeans for soy sauce, we noticed them starting to turn green (less visible in the photo above) and used that as our cue to stop. Note that this color change could be gradual or rather fast, so be especially vigilant when checking before going to bed or leaving your house for an extended period.
Store and Use Your Koji

Once you are finished incubating, spread it out and cool again much like you did with the steamed rice at the start. You can break up clumps with clean hands or a clean utensil. The koji will keep in an airtight container in your fridge for about a week. If you want to keep it longer, you can freeze it or dehydrate it. We typically make large 1 kg batches so we will use about half of it fresh for different projects and then vacuum seal the remainder in small bags and freeze for up to a few months.
We will get into how to use your koji in individual recipes, but for now we hope you have a good idea of the basic process for growing koji on rice. It may seem intimidating at first, but we've actually found koji to be pretty easy to grow. To us, the whole process is mesmerizing and addicting- just wait until you get a whiff of the finished koji and we guarantee you will be hooked, too!
Do you have a favorite process to make koji at home? Comment below to share!
Pick Up Fermentation Gear Today

Improve your fermentation game with some great new products from Cultures for Health- a great spot for buying cultures, spores, and more!