Disclaimers: Our site uses demographic data, email opt-ins, display advertising, and affiliate links. Please check out our Terms and Conditions for more information.
It is generally rare to find a cooking product you can use without any accessories, and sous vide is no different. While you can get by cooking with sous vide in just a stockpot and freezer bags (two things you likely already have at home), there are a number of sous vide accessories out there which may catch your eye.
In this one, we wanted to discuss a few of the best products we personally use in tandem with our sous vide, share when and why you may want to consider them, and comment on cases when you may not, either!
Water Bath Vessel with Lid
As sous vide is a water bath immersion cooking tool, you naturally need to have a vessel that can be filled with water and a thin rim that the sous vide can screw onto.
Many home chefs may find that a standard stockpot will work just fine for their sous vide. But as metal is conductive, you'll probably have a small spike in energy use for the heat loss that is associated (inconsequently small, even). As we don't personally like the aesthetic of having a stockpot on our counter, and also use ours in tandem with many sous vide cooks for sides, you may want to procure a dedicated vessel for your sous vide, and a 12L plastic vessel with lid works great for us.
This serves a few purposes. One, it looks cool watching your food cook (and is practical in the rare event a hole forms in the bag). Two, plastic helps hold the heat in just a bit more than a stockpot. Finally, the lid prevents the evaporation of water in higher temperature applications. If any of these are important to you, you may want to consider a plastic vessel with a lid to go with your sous vide.
- We tested how long it takes to heat water in a 12L plastic vessel and 12L metal stockpot in our sous vide wattage guide. Both work great below about 140 °F, but as temperatures rise closer to 190 °F, the metal stock pot was a bit slower. For most home chefs a few extra minutes of heating probably does not matter, but it is worth highlighting all the same.
Vacuum Sealer or Plastic Freezer Bags
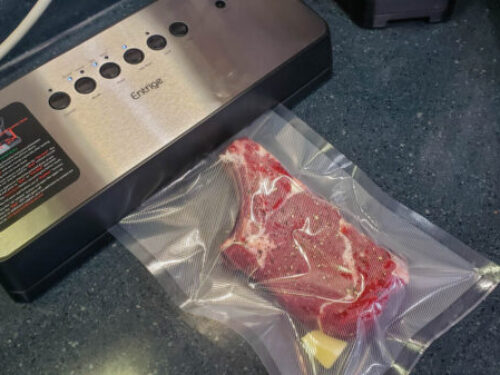
Much like how a water bath is necessary to operate your sous vide, you'll need to make a decision on whether or not you'll go the vacuum sealer route or use zippable freezer bags instead.
We've used both, and it didn't take long for us to become converts for the vacuum sealer method. There are a few reasons for this.
First off is that one of the biggest challenges with sous vide cooking is that air in a bag will help cause some combination of ingredients float to the surface of the water bath. We can fix this with a weight rack (below), getting better at the water displacement method (with freezer bags you can do this in the sous vide vessel directly below 140 °F or via using a separate bowl of water in hotter applications), or by using a vacuum sealing system.
But there is another reason why vacuum sealing gets the edge for us, and that is that the quality of plastic bags tends to vary. Conventional sandwich bags will often leak within minutes of being put into the water bath and are not rated for any appreciable heat (do not use them). Freezer bags can also develop micro holes in long cooks and at higher temperatures (all plastic bags, vacuum or freezer) are not advised to be used above about 190 °F. Finally, we also always try to orient freezer bags such that the zipper is always above the water surface as that is a possible point of failure as well.
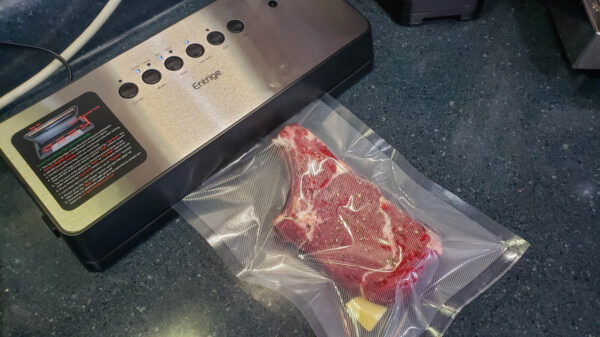
Vacuum bags fix a lot of these issues as they are heat-sealed and pull out as much oxygen as possible. You're left with a bag that is as dense as it can be for any given cook (minimizing floating potential) and your risk of developing micro-leaks goes down substantially. It is still present, as it is still a plastic bag, but the occurrence is much more infrequent than with freezer bags in our experience.
Weighted Rack
As mentioned above, floating food is often an issue when cooking in sous vide as some combinations of ingredients (especially with a bit of extra air in a bag) are less dense than the water that surrounds it.
Food that is at the surface will not be heating up at the same rate as food that is submerged and could result in an uneven or, more likely, a longer cook time overall.
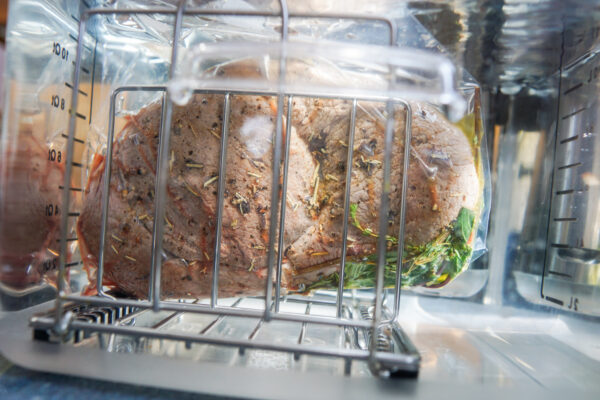
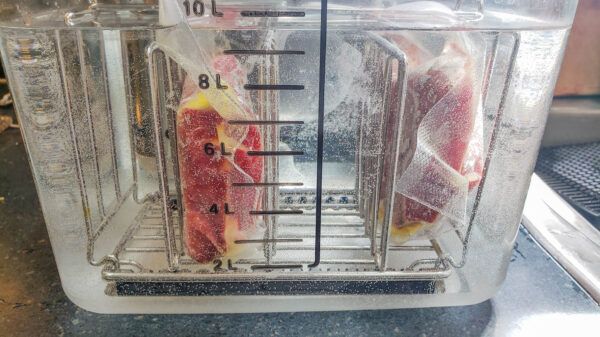
Weighted racks have been designed for sous vide vessels as a means to overcome this problem. The rack we use (pictured) rests on the bottom of the vessel and offers adjustable vertical racks that hold food in place on its sides (allowing for ideal water circulation). It also comes with a small, metal piece that locks the racks in place from above to help prevent floating as well. Other weighted racks exist that act as inserts at the top of the vessel and prevent floating bags from reaching the surface outright as well (often sold in tandem with the vessel itself).
No matter what rack you purchase, these are simple devices and work like a charm; however, our concerns about micro leaks with freezer bags still apply here. Once fully submerged, specifically around the zipper element, those are always a risk. So this one works great in tandem with the vacuum bag option mentioned above. Likewise, always make sure you read the measurements of these inserts to ensure it will fit within your particular vessel.
Cast Iron
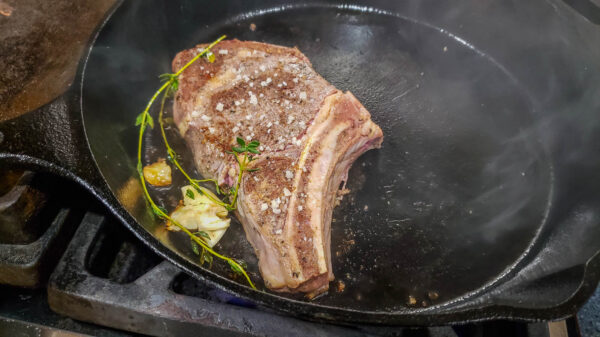
As we mentioned in our article about how a sous vide works, one thing you cannot achieve in sous vide cooking is the Maillard Reaction which converts enzymes and reducing sugars into that brown char we all know and love (think the outside sear on steak). This occurs at a temperature well above the boiling point of water, and as such for certain meat dishes you'll need to tandem your cooking with a grill, cast iron, or even a hand-held broiler (because who doesn't like an open flame)?
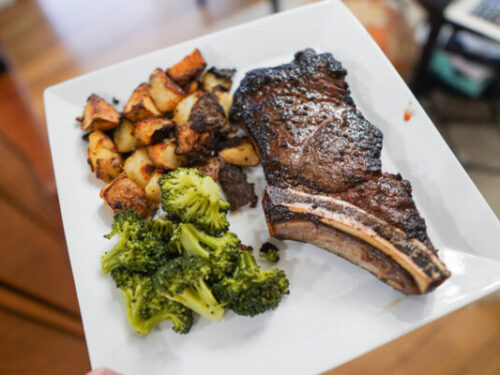
We love giving our meats a final sear on a cast iron, but really you can't go wrong with any of the three tools mentioned above. A steak without that Maillard Reaction just isn't the same, but sous vide is necessary, especially for thick cuts > 1″, to ensure a uniform interior at medium rare!
Instant Read Thermometer
So, you may be thinking, “aren't I at risk of overcooking meats if I put them on a cast iron after my sous vide?” And the answer is yes.
One of the great things about sous vide, however, is that once your food hits your ideal temperature, you know what the internal color, temperature, and texture will be. Think about a medium-rare steak at 130 °F. It will be cooked to medium-rare when you pull it out of the sous vide. But if you cool it off to room temperature or lower (via an ice bath), the inside of that steak will still have been cooked to everything we expect from a perfect medium-rare steak- it does not magically revert back to raw.
You can take advantage of this when searing because you no longer need to hit 130 °F to consider the steak “done”. Cooking a steak to 100 °F on its own would be a raw steak. Reheating sous vide steak to 100 °F, if previously cooked to 130 °F in sous vide, is still a medium-rare steak just served at a cool temperature. This gives you a bit more flexibility when applying a finishing sear. If we pull ours at 110, 115, or 120 °F, it is immaterial for the finish of the steak as the inside has already been cooked to medium-rare (the rest is just serving temperature).
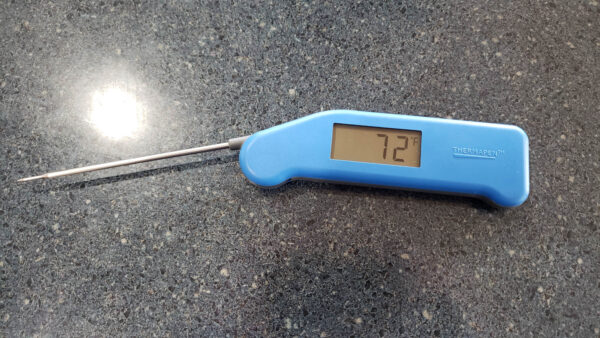
How do you measure this? With an instant read thermometer! This trusty temperature probe is used all the time in our kitchen and helps take the guesswork out of when our food is ready. If we want that burger to be 160 °F, the probe will tell us. If we want our chicken to be 165 °F, same. And again for that perfect medium-rare steak, we pull before it hits 120 °F as most meats tend to rise between 5-10 °F after removing from the heat source. But if we pull it at 100, 110, or 115 °F, no big deal- the steak is still “done” (it just won't be as warm when you eat it)!
We consider an instant read thermometer a must-have kitchen tool at the best of times, but it is especially important when you go for a final sear on meat dishes post-sous vide. You never want to overshoot your final temperature!
There you have it, our favorite sous vide accessories you may want to consider to up your cooking game!
Read More About Sous Vide
Want to learn more about sous vide cooking? Check out some of our top posts:

