5 Ways to Preserve Fruits and Vegetables at Home

If you garden at all, chances are you've been overwhelmed at one time or another with the volume of produce your garden has produced. Or perhaps you participate in a CSA and just can't figure out what to do with those five-pound zucchinis they keep giving you. Or maybe you've just been a little too ambitious with your farmer's market purchases.

We've all been there. However you got there, you've ended up with too many fruits, veggies, or herbs, and there's no way you'll be able to cook with them all before they go bad.

We've been in this position numerous times, and while it used to stress us out trying to figure out how to eat kale for breakfast, lunch, and dinner, we've come to realize that there are so many ways to preserve summer's bounty for future enjoyment.

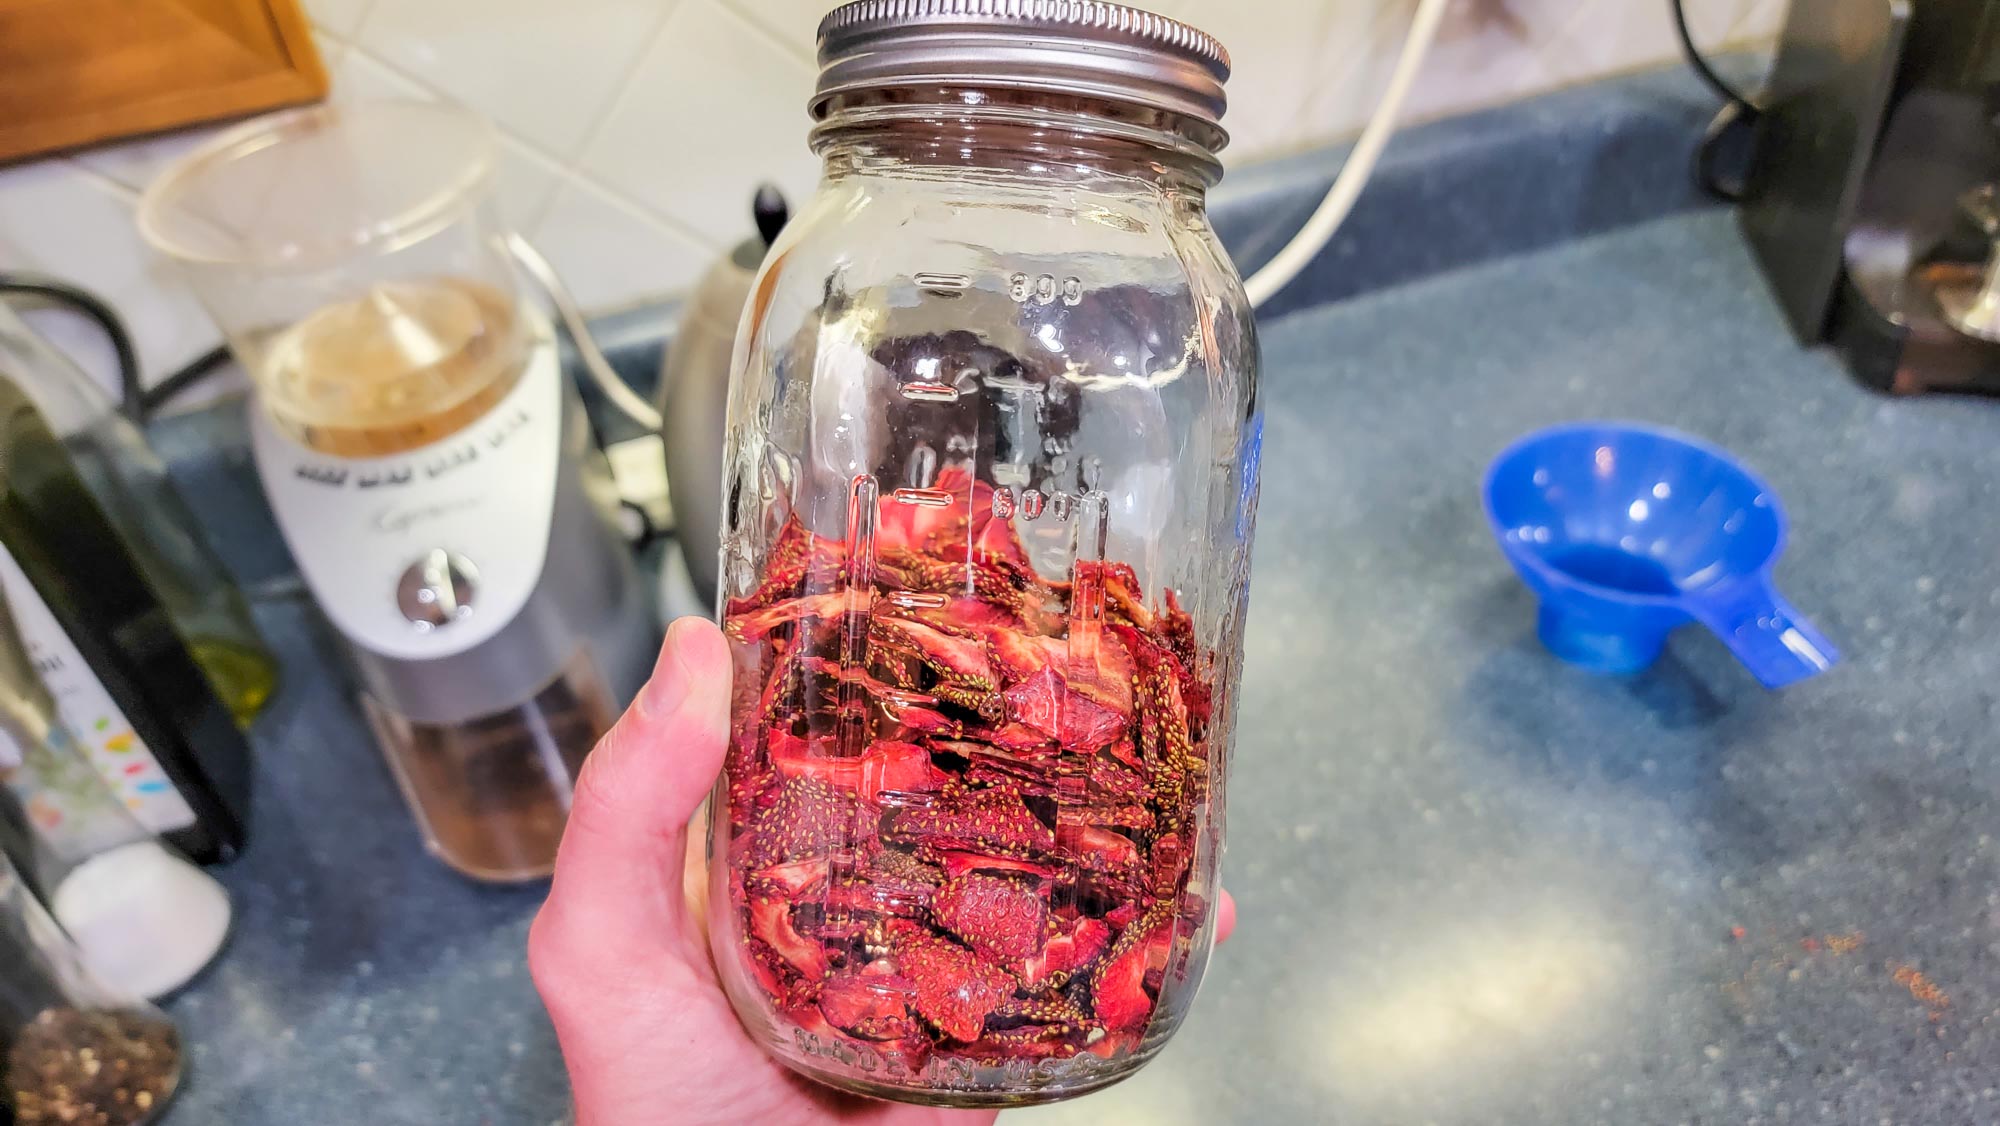
In this one, we dive into an overview of five of our favorite ways to preserve fruits and vegetables- what they are, what equipment you'll need to get started, and some basic ideas to spark your creativity.

Read more

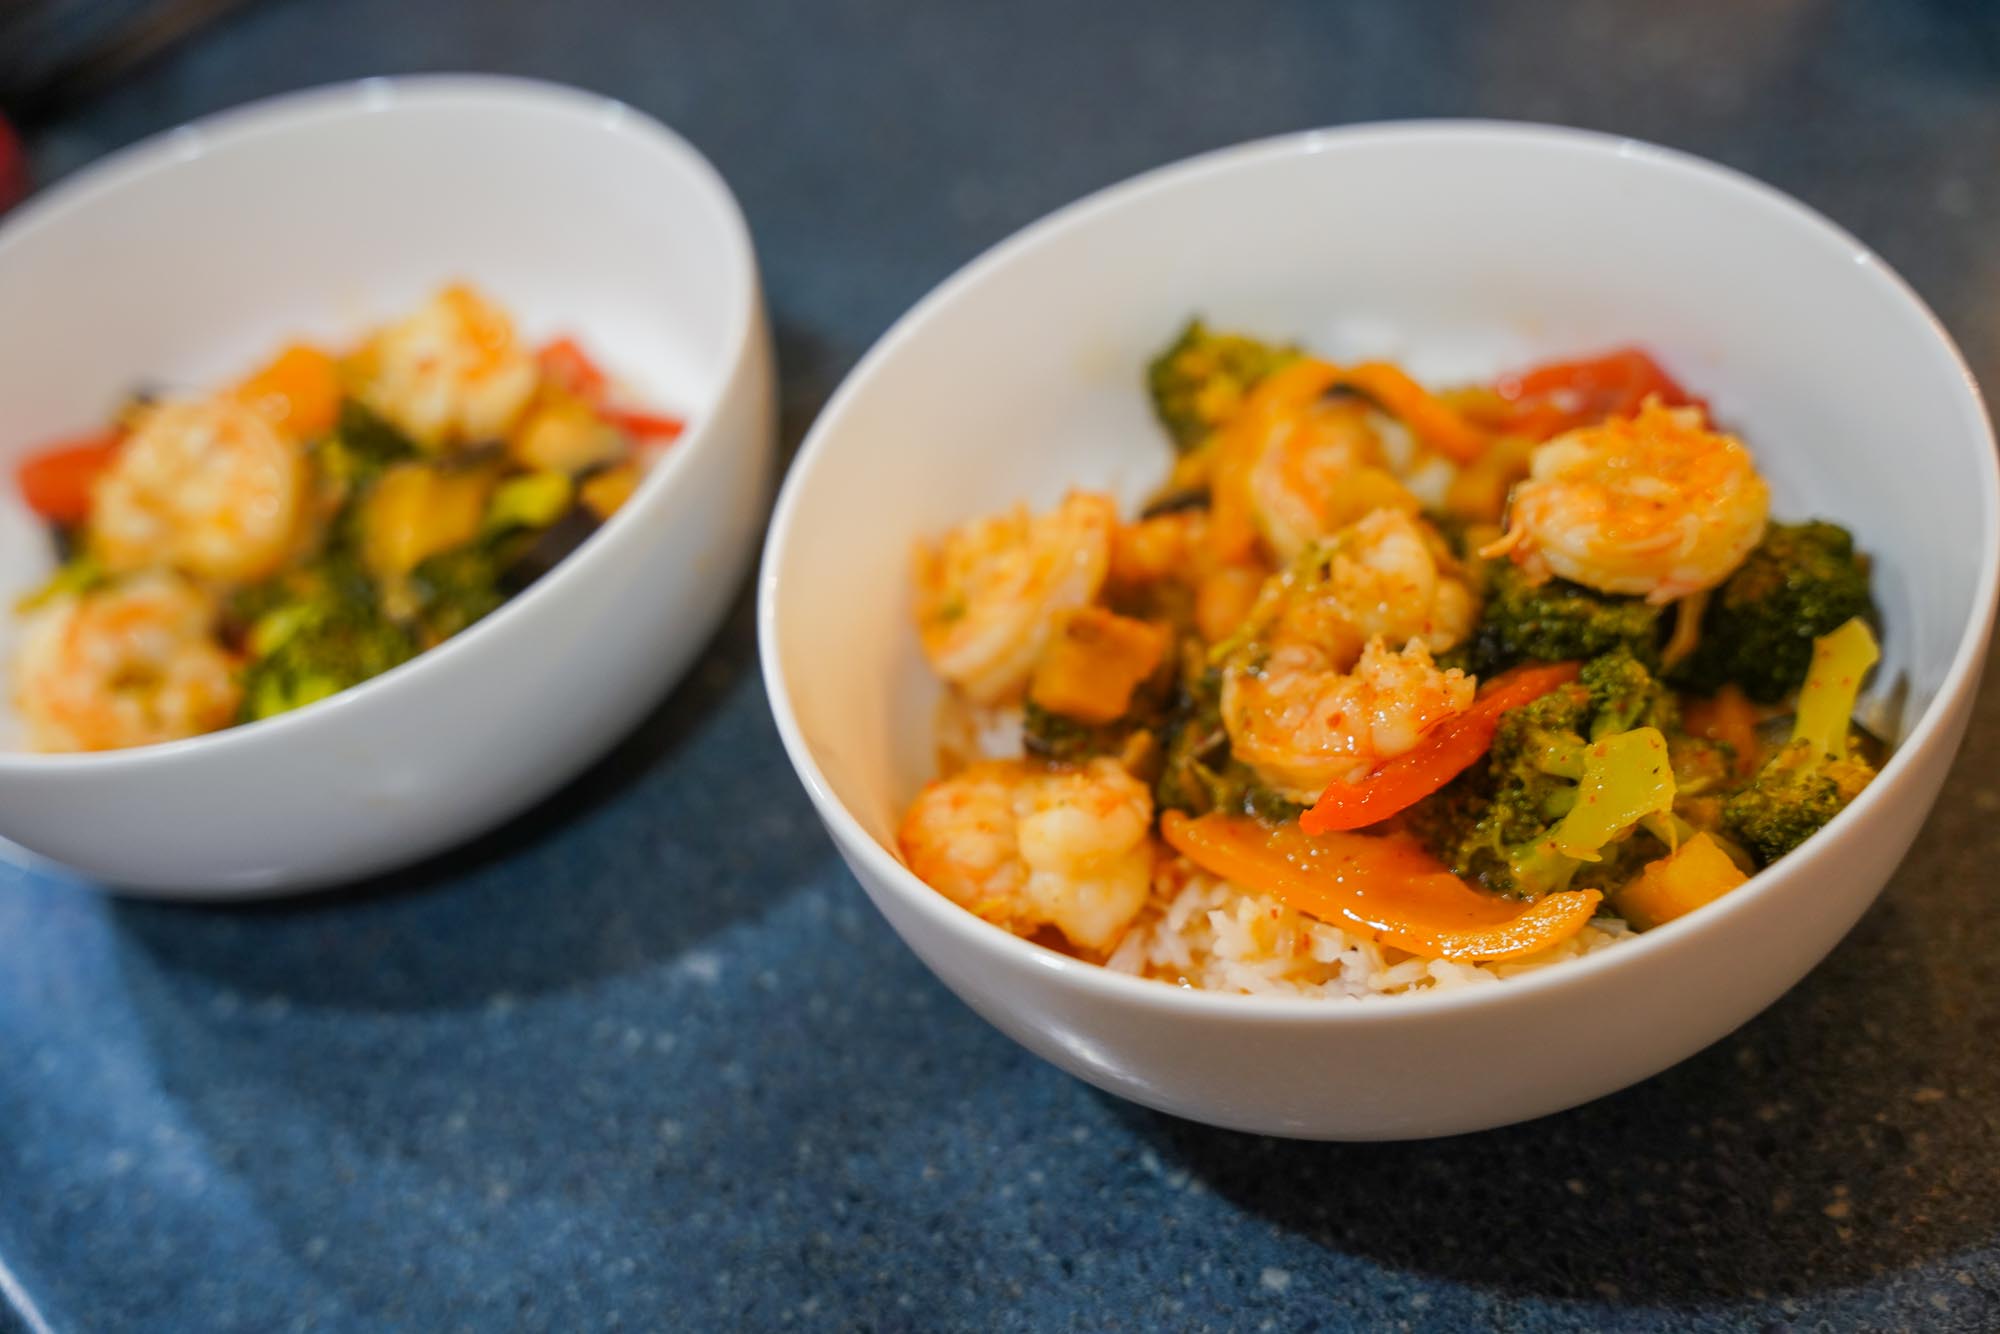
Red Thai Curry Recipe – Recreating the Best Thai Food

When traveling around Thailand, we found ourselves not only eating everything the country had to offer but taking as many cooking classes as we could to learn how to make some of the country's best dishes at home.

Curry was one dish we couldn't get enough of, and Thai red curry with seafood was one we found ourselves ordering again and again.

Unfortunately, when it came to learning how to make Thai curry in cooking classes, most lessons involved making curry paste from scratch. This was a cumbersome process that, to be quite honest, most home cooks probably don't have the time or patience for.

So after we got back, we spent a great deal of time taking some of our favorite components from our various recipes and adapting them to use premade curry pastes that we could readily purchase at home. In this one, we wanted to share our red Thai curry recipe using Mae Ploy curry paste!

Read more

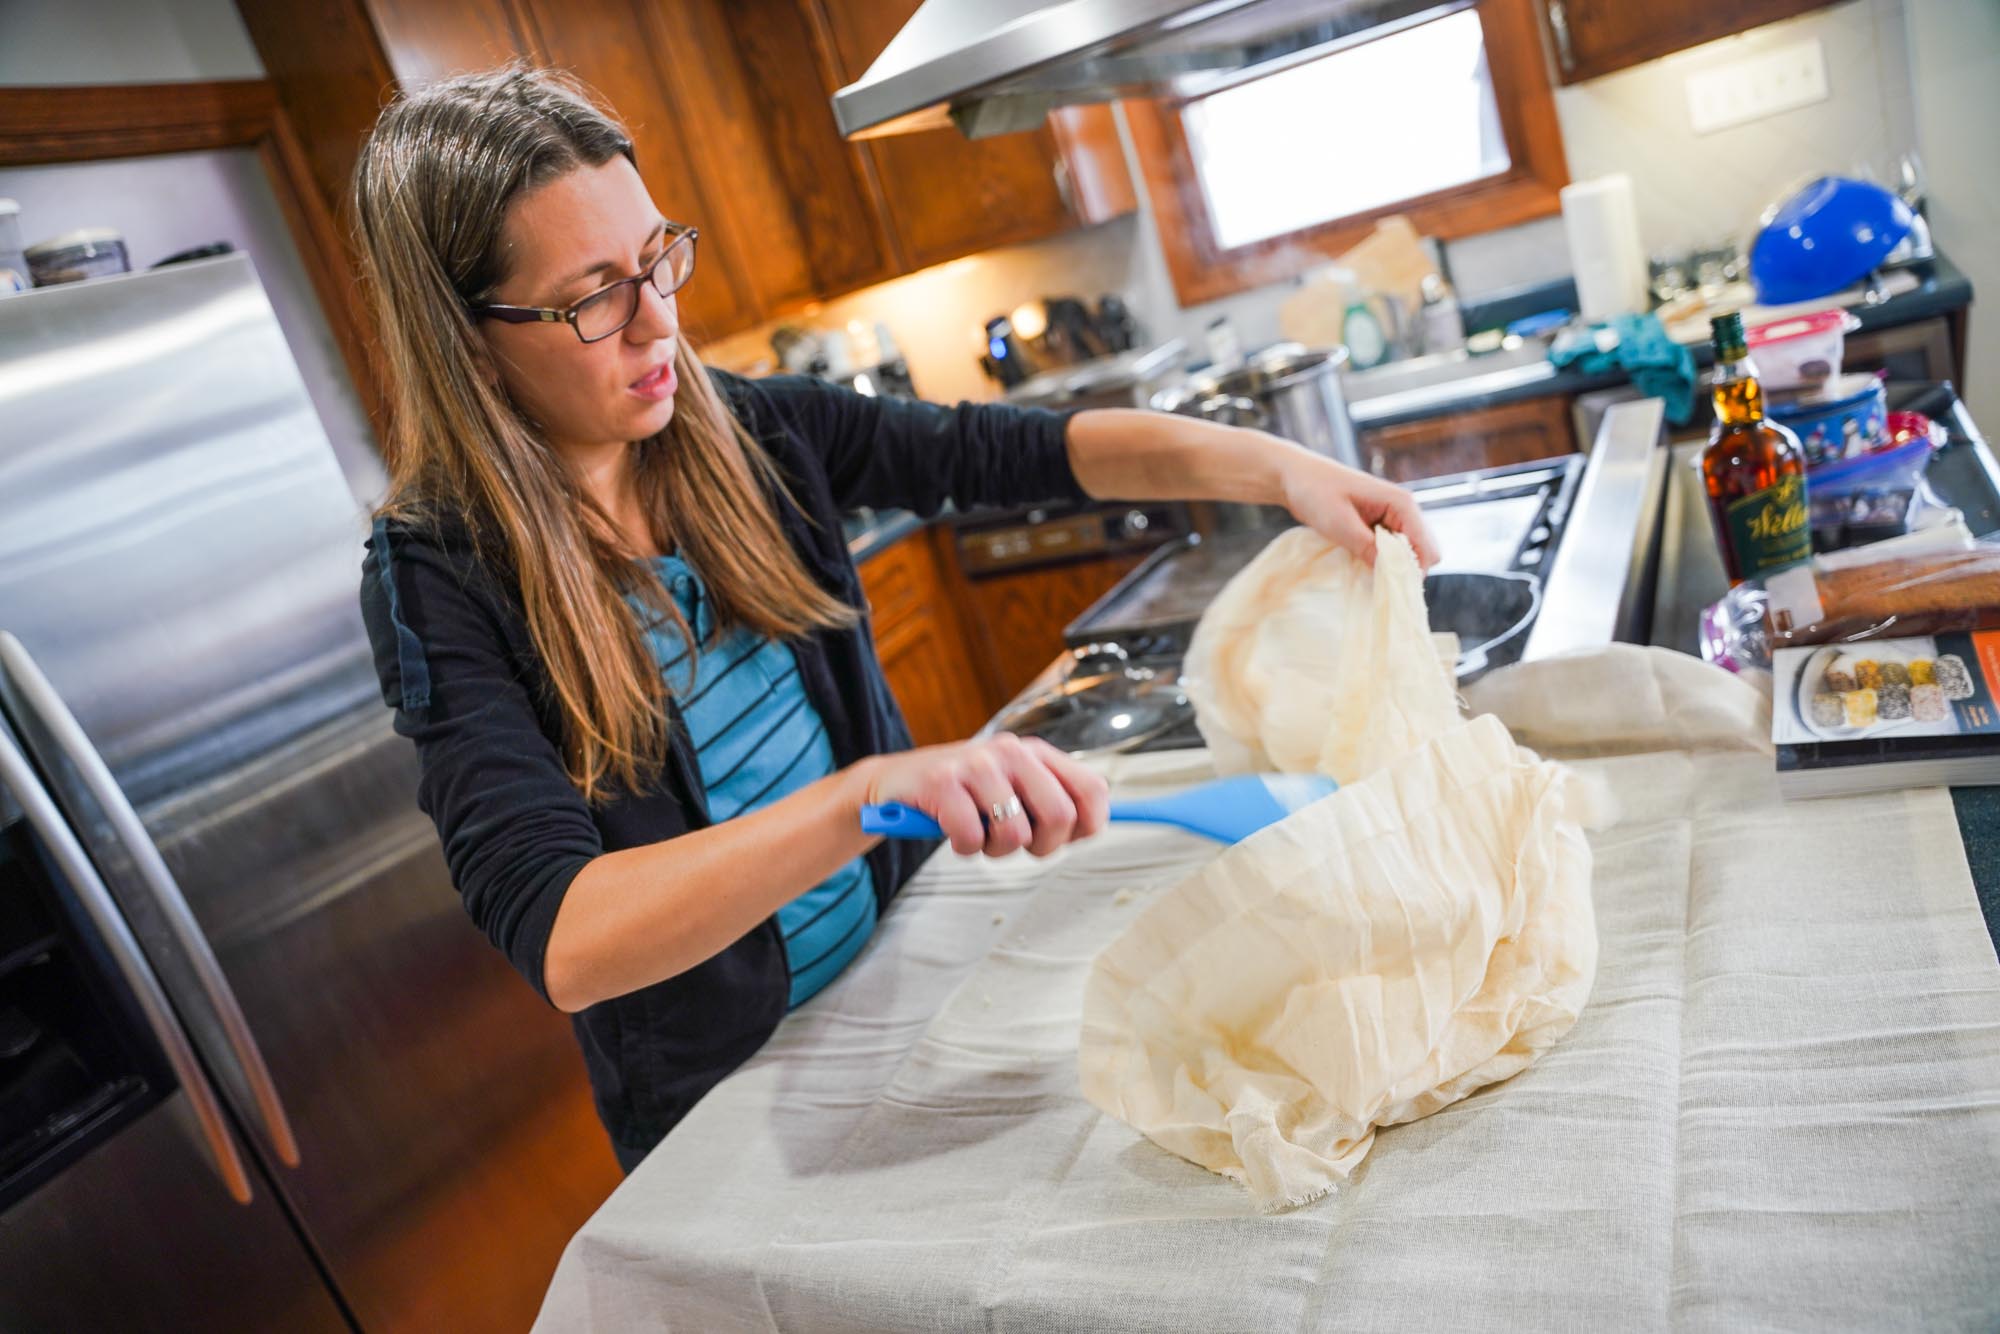
How to Make Koji – A Step-by-Step Guide for Home Incubation

Koji is an enchanting fungus that is the secret superpower behind many delicious fermented foods worldwide. It's been used for centuries in different cultures to create products like miso and shoyu.

What exactly is koji and how is it used? Well, the word koji can refer to both the actual mold spores (Aspergillus Oryzae), as well as the final product that you get when you grow koji spores on a substrate. The basic premise is that you inoculate a cooked substrate (rice, barley, and soybeans are some of the most common) with koji spores and incubate for about two days. As koji reproduces, it generates enzymes like proteases and amylases.

The power of these enzymes can then be realized in a second fermentation step by combining the rice koji (or barley koji, soybean koji, etc.) with other ingredients (like soybeans to create miso, for example). In this second fermentation, the proteases and amylases break down carbohydrates and proteins in the fermenting product into their smaller building blocks. These smaller building blocks give the final product a sweeter and/or more umami flavor depending on what you're fermenting and can really do wonders to improve the taste of a meal!

So, if you are looking to make koji at home, you will want to follow these step-by-step procedures to get started.

Read more

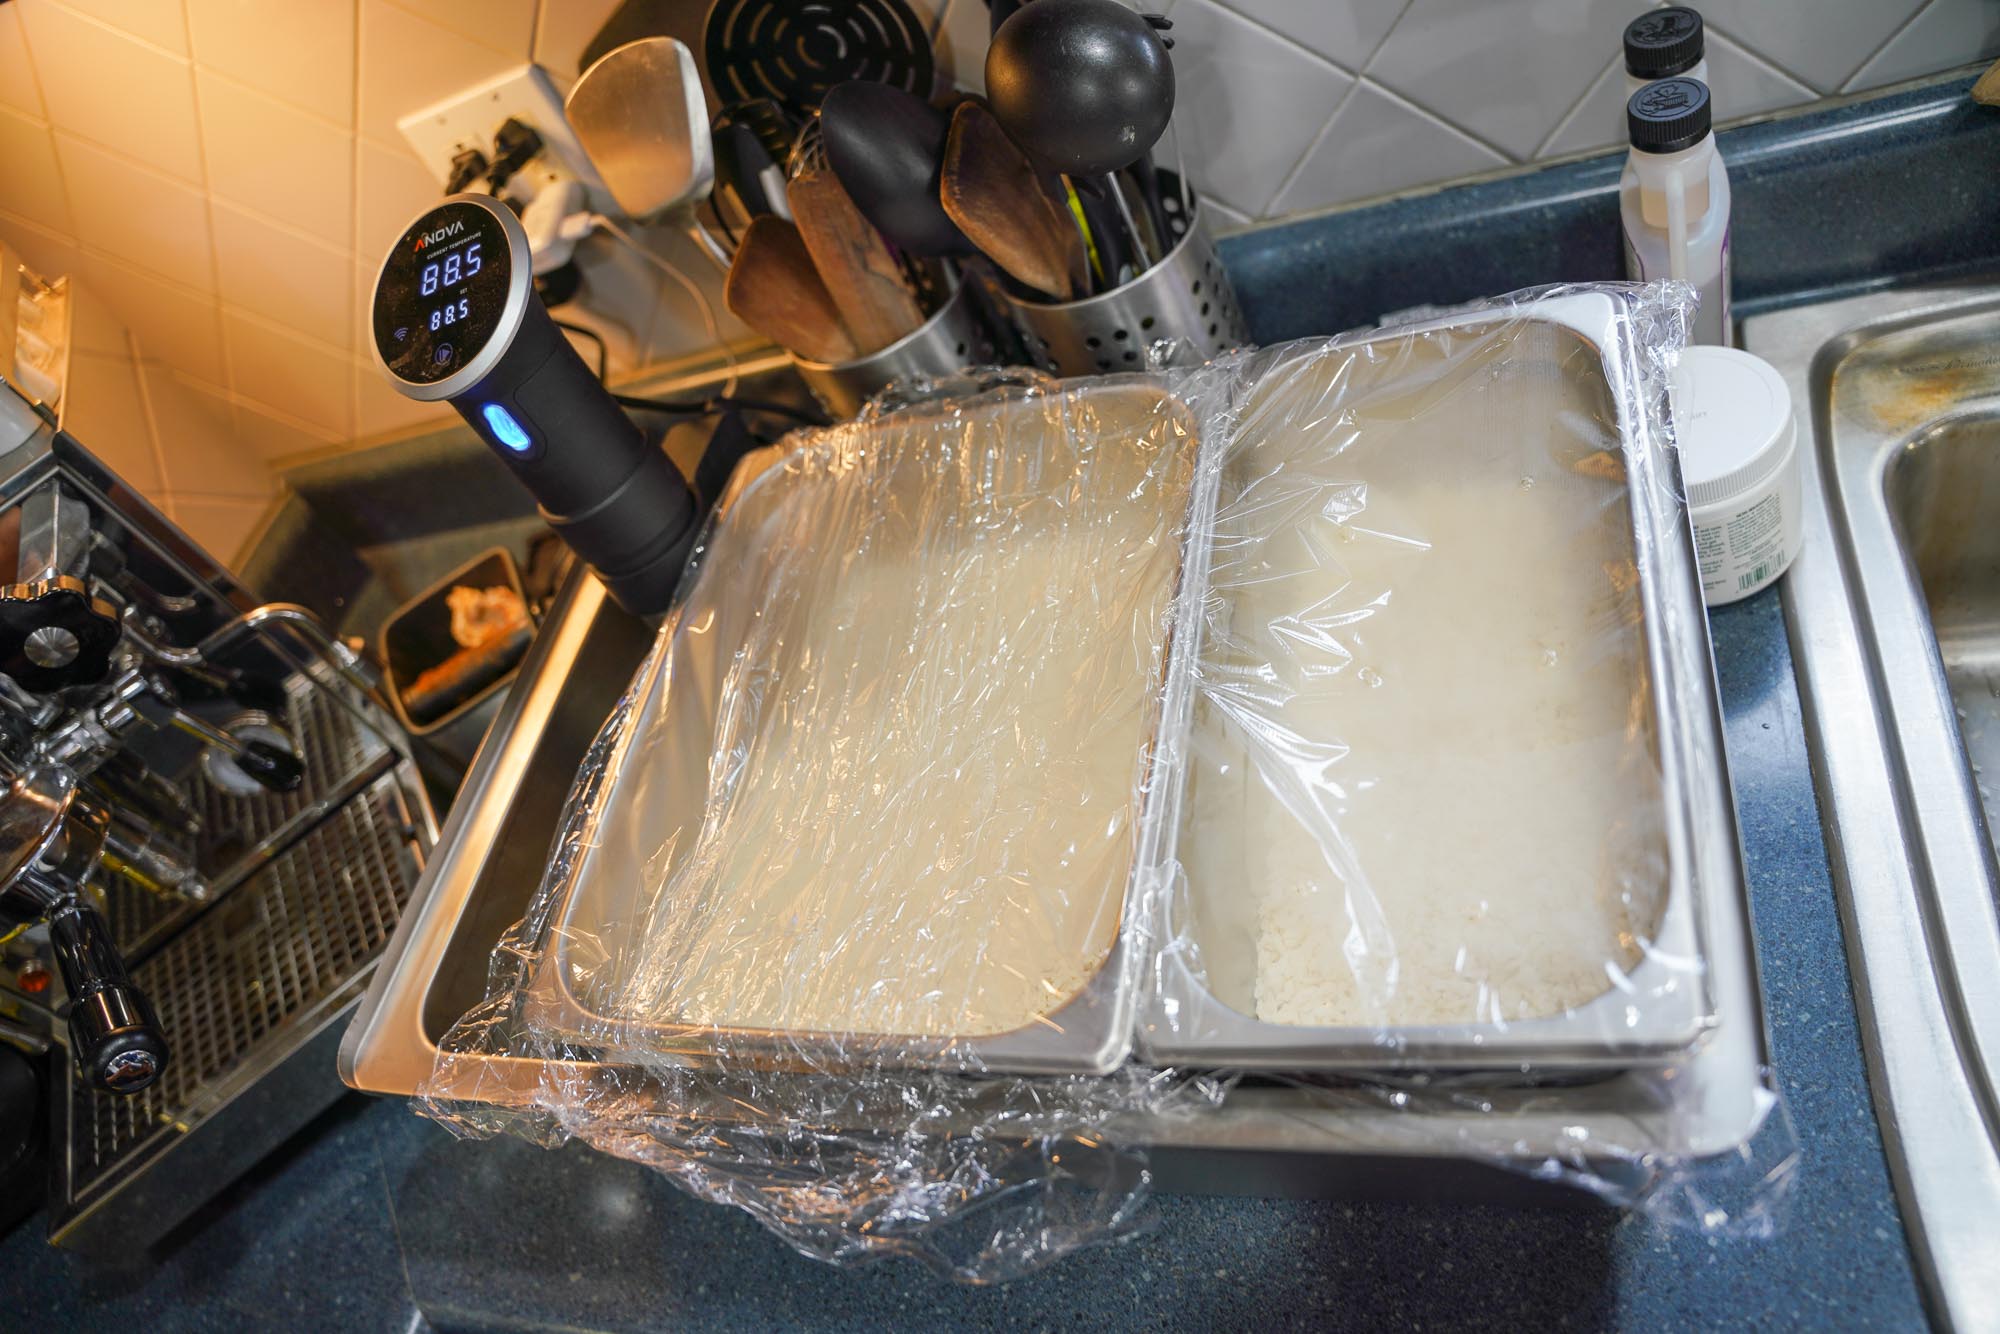
How to Build a Homemade Incubator for Fermentation

If you're thinking about diving into the world of fermentation, one of the most important things to plan out is how you will maintain specific temperatures for your ferments during incubation. Provide too much heat, and the organisms will die. Provide too little heat, and they may not reproduce as they should.

Of course, not all ferments require elevated temperatures – lacto ferments like sauerkraut and pickles, for example, are simply done at room temperature. But if you want to explore the worlds of koji, tempeh, miso, yogurt, sourdough, and more, you'll need to maintain elevated temperature ranges that can be quite narrow.

So in this one, we wanted to share how we built our own homemade incubator for fermentation projects as it ended up being rather easy!

Read more

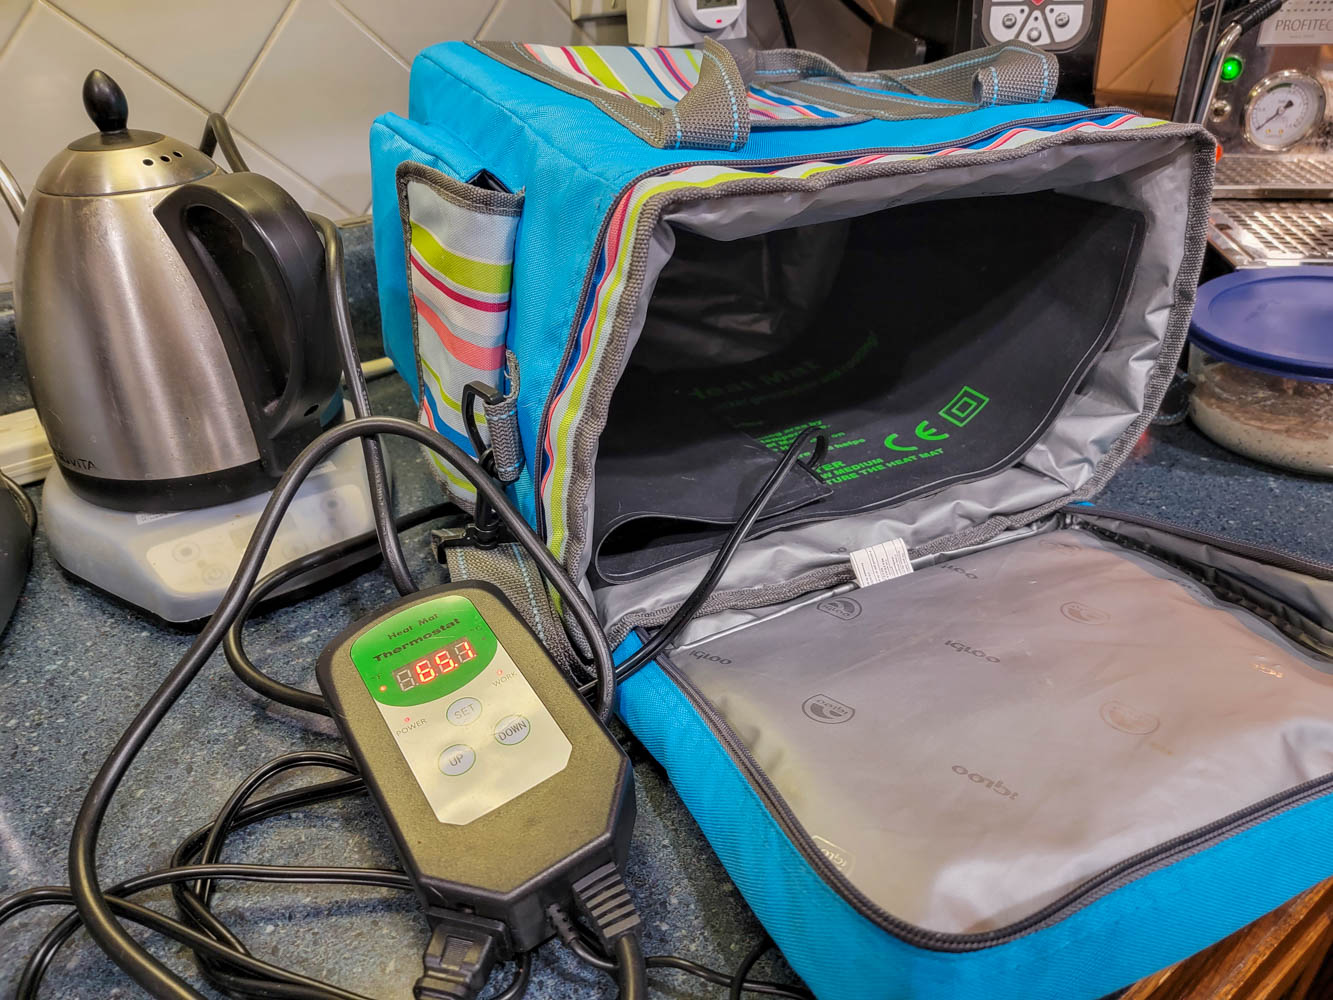
How to Build a Bread Proofing Drawer for Less Than $50

Like many home bakers, our oven does not have a proofing drawer. This presented a bit of a challenge for us when we wanted to get into baking, specifically sourdough breadmaking, as many recipes note that bread requires extended proofing times at elevated temperatures (up to about 82 °F- or about 28 °C).

As our home only has a few constant temperatures available to us, namely freezer temp, refrigerator temp, and ~66 °F room temperature (+/- a few degrees year-round), there was no way for us to get to that target temperature without a little outside help.

As standalone bread proofing drawers are bulky and expensive, and our oven's lowest temperature setting is about 135 °F, we were curious if we could build one for ourselves. As it turns out, you can buy all the components you need for a DIY bread proofing drawer at home for just $25-$50 (a savings of 75% to 87% over the dedicated products).

So in this one, we wanted to share a bit more about why bread proofing is important and the steps you need to take to build a DIY bread proofer at home!

Read more

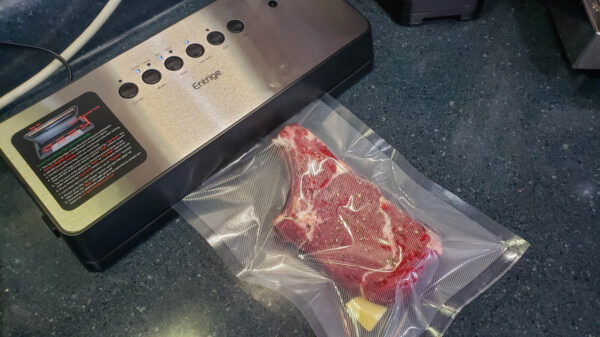
Why You Should Have a Vacuum Sealer for Sous Vide

For water bath cooking with sous vide, you cannot, obviously, just put your food straight into the water unprotected. It must be placed into the water via a water-tight container, and popular options include freezer bags, vacuum bags, and even glass canning jars to name a few.

While each one of these has merit for its own unique reasons, odds are good you'll see recipes that recommend using zipper freezer bags or vacuum bags most often.

But what is the difference between the two? We wanted to it down a bit more in this one, as once we switched to using vacuum bags we never looked back!

Read more

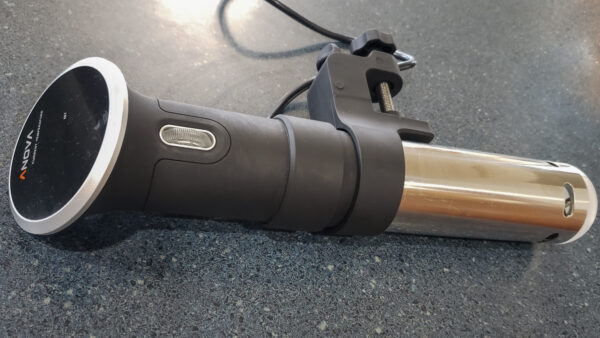
What Sous Vide Wattage is Best For You?

When you start shopping for a sous vide, you may quickly notice that companies have many different models out there.

While these models have an array of features you may want to consider, one element you will likely notice right away is the wattage rating. Much like a microwave, the wattage rating of your sous vide will be directly proportional to how fast it heats up your water bath.

But which wattage is best for you? Well, we dive deep into how the difference in wattage will impact the heating of your water bath in this one!

Read more

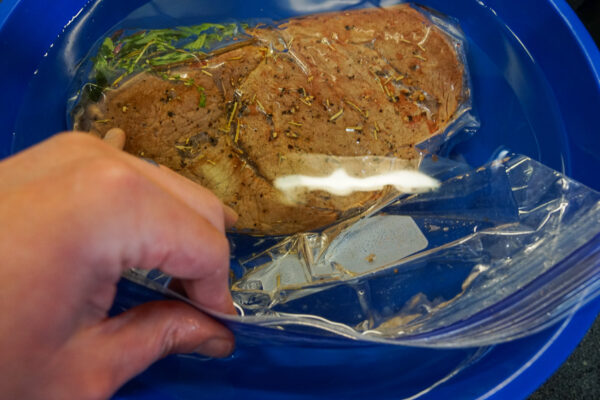
How to Use the Water Displacement Method for Sous Vide

If you have opted to use freezer bags instead of vacuum bags for sous vide cooking, you have an extra step on your hands- getting the air out of the bag after you put your ingredients in it.

Air, much like most foods we cook in sous vide, makes bags float when they are in the water bath. As sous vide works best when our bags are surrounded by water at our ideal temperature setpoint, it is our job to get as much air out of the bags as possible to get the bag to sink (which is one reason why vacuum bags are so popular for this cooking method).

So, how do we do it? With the water displacement method. In this one, we share a step-by-step guide on how to do this.

Note: Only use freezer rated bags or vacuum bags when cooking with sous vide. Regular zipper bags, like sandwich bags, are not constructed well enough to withstand being submerged in water or at elevated temperatures. You can read more on why we recommend a vacuum sealer for sous vide cooking here.

Read more

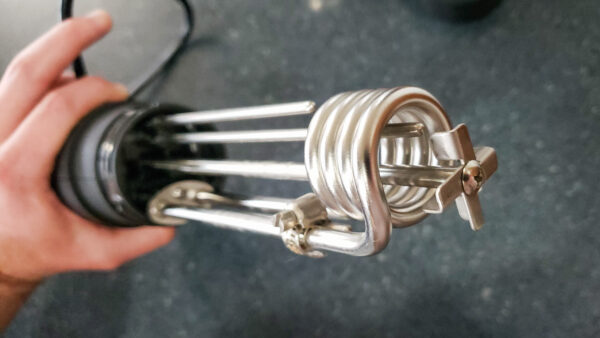
How Does Sous Vide Work? Science Behind Immersion Cooking

Sous vide is a pretty inventive cooking tool that we use on a weekly basis. You may have heard of sous vide being referred to as immersion cooking before, and you may know that it is heralded for its perfect temperature control, but have you ever really stopped to think “how does sous vide work”?

In this one, we want to break down how sous vide functions, dive into why it is perfect for cooking, and even share a few pitfalls as well.

Read more