Disclaimers: Our site uses demographic data, email opt-ins, display advertising, and affiliate links. Please check out our Terms and Conditions for more information.
Tempeh is one of those foods that may elicit polarizing reactions- on one hand, it's white and fuzzy and doesn't seem like something you should be ingesting. But once you take your first bite of homemade tempeh, I guarantee you will be hooked: it's hauntingly floral, nutty, umami, and just plain delicious.
Tempeh can be really hard to find in grocery stores, and if you do find it, it tends to be quite pricey. It's cheaper to make tempeh yourself, with the added benefit that you can experiment with flavors and substrates. Whether you love tempeh or have never tried it but love fermented foods, we urge you to try your hand at making your own tempeh at home using our guide!
Note: This article shares our process on how to ferment tempeh at home; however, the exact proportions of spores-to-soybeans (or other substrates) and other ingredients (like vinegar) are typically outlined on your spore package and should be followed accordingly. As such, treat this article as more of a general process and follow your spore package recommendations above all others.
What is Tempeh?

Tempeh is a traditional Indonesian food that's made by fermenting soybeans with a specific fungus, Rhizopus oryzae and/or Rhizopus oligosporus. The fungus forms a white mat that knits the soybeans together, forming a cake-like product that can be sliced or cubed and used as a protein in all sorts of vegetarian dishes (we've used it as a seafood substitute in our Thai red curry recipe with great success).
Ingredients and Equipment for Fermenting Tempeh

To get started on fermenting tempeh, you'll need the following equipment and ingredients:
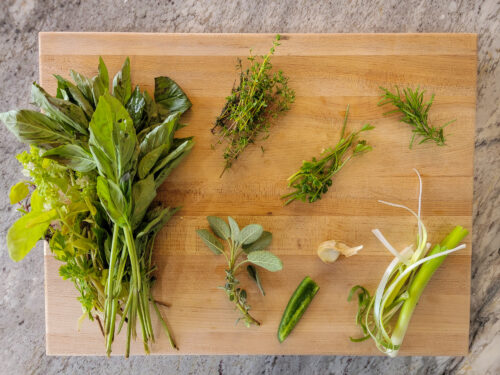
- Soybeans: If you'd like to make traditional tempeh, you'll need to source some dried soybeans. However, you can also make tempeh with a wide range of grains, nuts, seeds, and legumes.
- Vinegar: You'll need a few tablespoons of vinegar to acidify your soybeans or substrate to prevent harmful bacteria from growing during the incubation step. Any kind of vinegar works as long as it has 5% acidity, so use whatever you have on hand.
- Food processor: If you're making soybean tempeh, you'll need to dehull the beans in order to allow the Rhizopus mycelia to reach the beans' starches. A food processor is the easiest way to do this. (If you have two hours to spare and don't mind having carpal tunnel fingers for a week, you can also dehull by hand.) Note that many other substrates don't need to be dehulled or split apart, like quinoa and split lentils, and could be a good starter to skip this step.
- Tempeh starter: You'll need to purchase tempeh starter spores- there are lots of places to find these online, including Cultures for Health, The Tempeh Starter Store, and even Amazon.
- Incubation setup: Tempeh needs to be kept at around 88 °F for about 24-36 hours, so you'll need some type of incubation setup. For an easy DIY approach, you can use a heating mat inside a cooler (the same setup we use as a bread proofing drawer). For something more precise and less finicky, you can use a dehydrator or, our preferred method, an immersion circulator in a water bath (we use this to ferment koji at home too).
- Instant read thermometer: It is also always good to have an instant-read thermometer on hand to check the temperature if your ferments.
How to Ferment Tempeh at Home

The process of fermenting tempeh at home is somewhat involved, but with the right equipment and starting substrate, you'll be in a great position to do this with ease. It is worth noting that the volume of soybeans and starters used vary depending on the spore package you have. As such, we recommend that you follow the ratios on your package accordingly.
Soak and Dehull the Substrate: If you're using soybeans, they need to be dehulled. The easiest way to do this is to soak them in cold water for 15 minutes then blitz them in a food processor to split the beans. Then proceed with soaking the split beans and hulls in more cold water for 8-24 hours. Remove as many hulls as you can after the complete soaking period, or during the cooking step (it's ok if a few hulls remain).
If using a legume substrate that is already split (like split peas or lentils), you obviously won't need to dehull, but you'll still need to soak in cold water for 8-24 hours. Grains, nuts, and seeds should also be soaked. Starting with an option that does not require dehulling will save a significant amount of time.
Cook the substrate: After soaking and dehulling, drain off the soaking water and cook the substrate. You can cook in either a pressure cooker or simply in boiling water. The important thing is to not cook the beans or grains so much that they become mushy. If the bean/grain is overcooked, when you incubate the tempeh there won't be enough oxygen throughout the tempeh cake and this can inhibit the mycelial growth. Once your substrate is perfectly cooked, strain the water off.
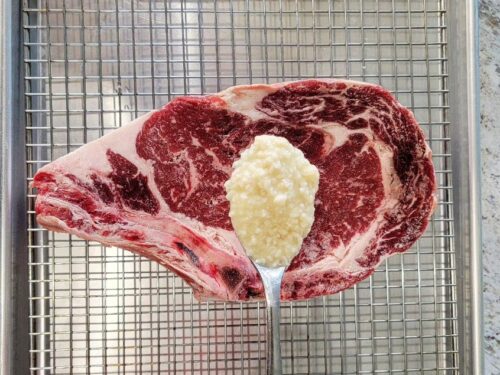
Acidify: Place your beans/grains/substrate in a bowl, add your vinegar, and mix.

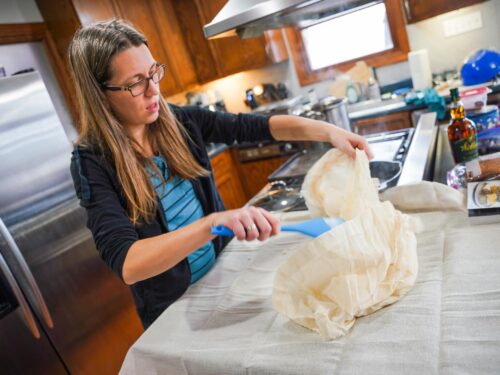
Dry: Your substrate needs to dry off a little prior to inoculating with your tempeh spores. There are a few ways to do this- with a hair dryer, in a dehydrator, or simply with towels. Ultimately you want the beans to still be a little moist overall (not glistening with water and not completely dry).
Inoculate: You'll want to make sure your substrate has cooled down to about 98 °F or slightly cooler before inoculating (an instant-read thermometer is useful for measuring the temperature). If still hot, keep mixing and stirring, or spread out on a cookie sheet or tray until it's the right temperature. Once cooled, add your tempeh starter spores to your substrate and mix.

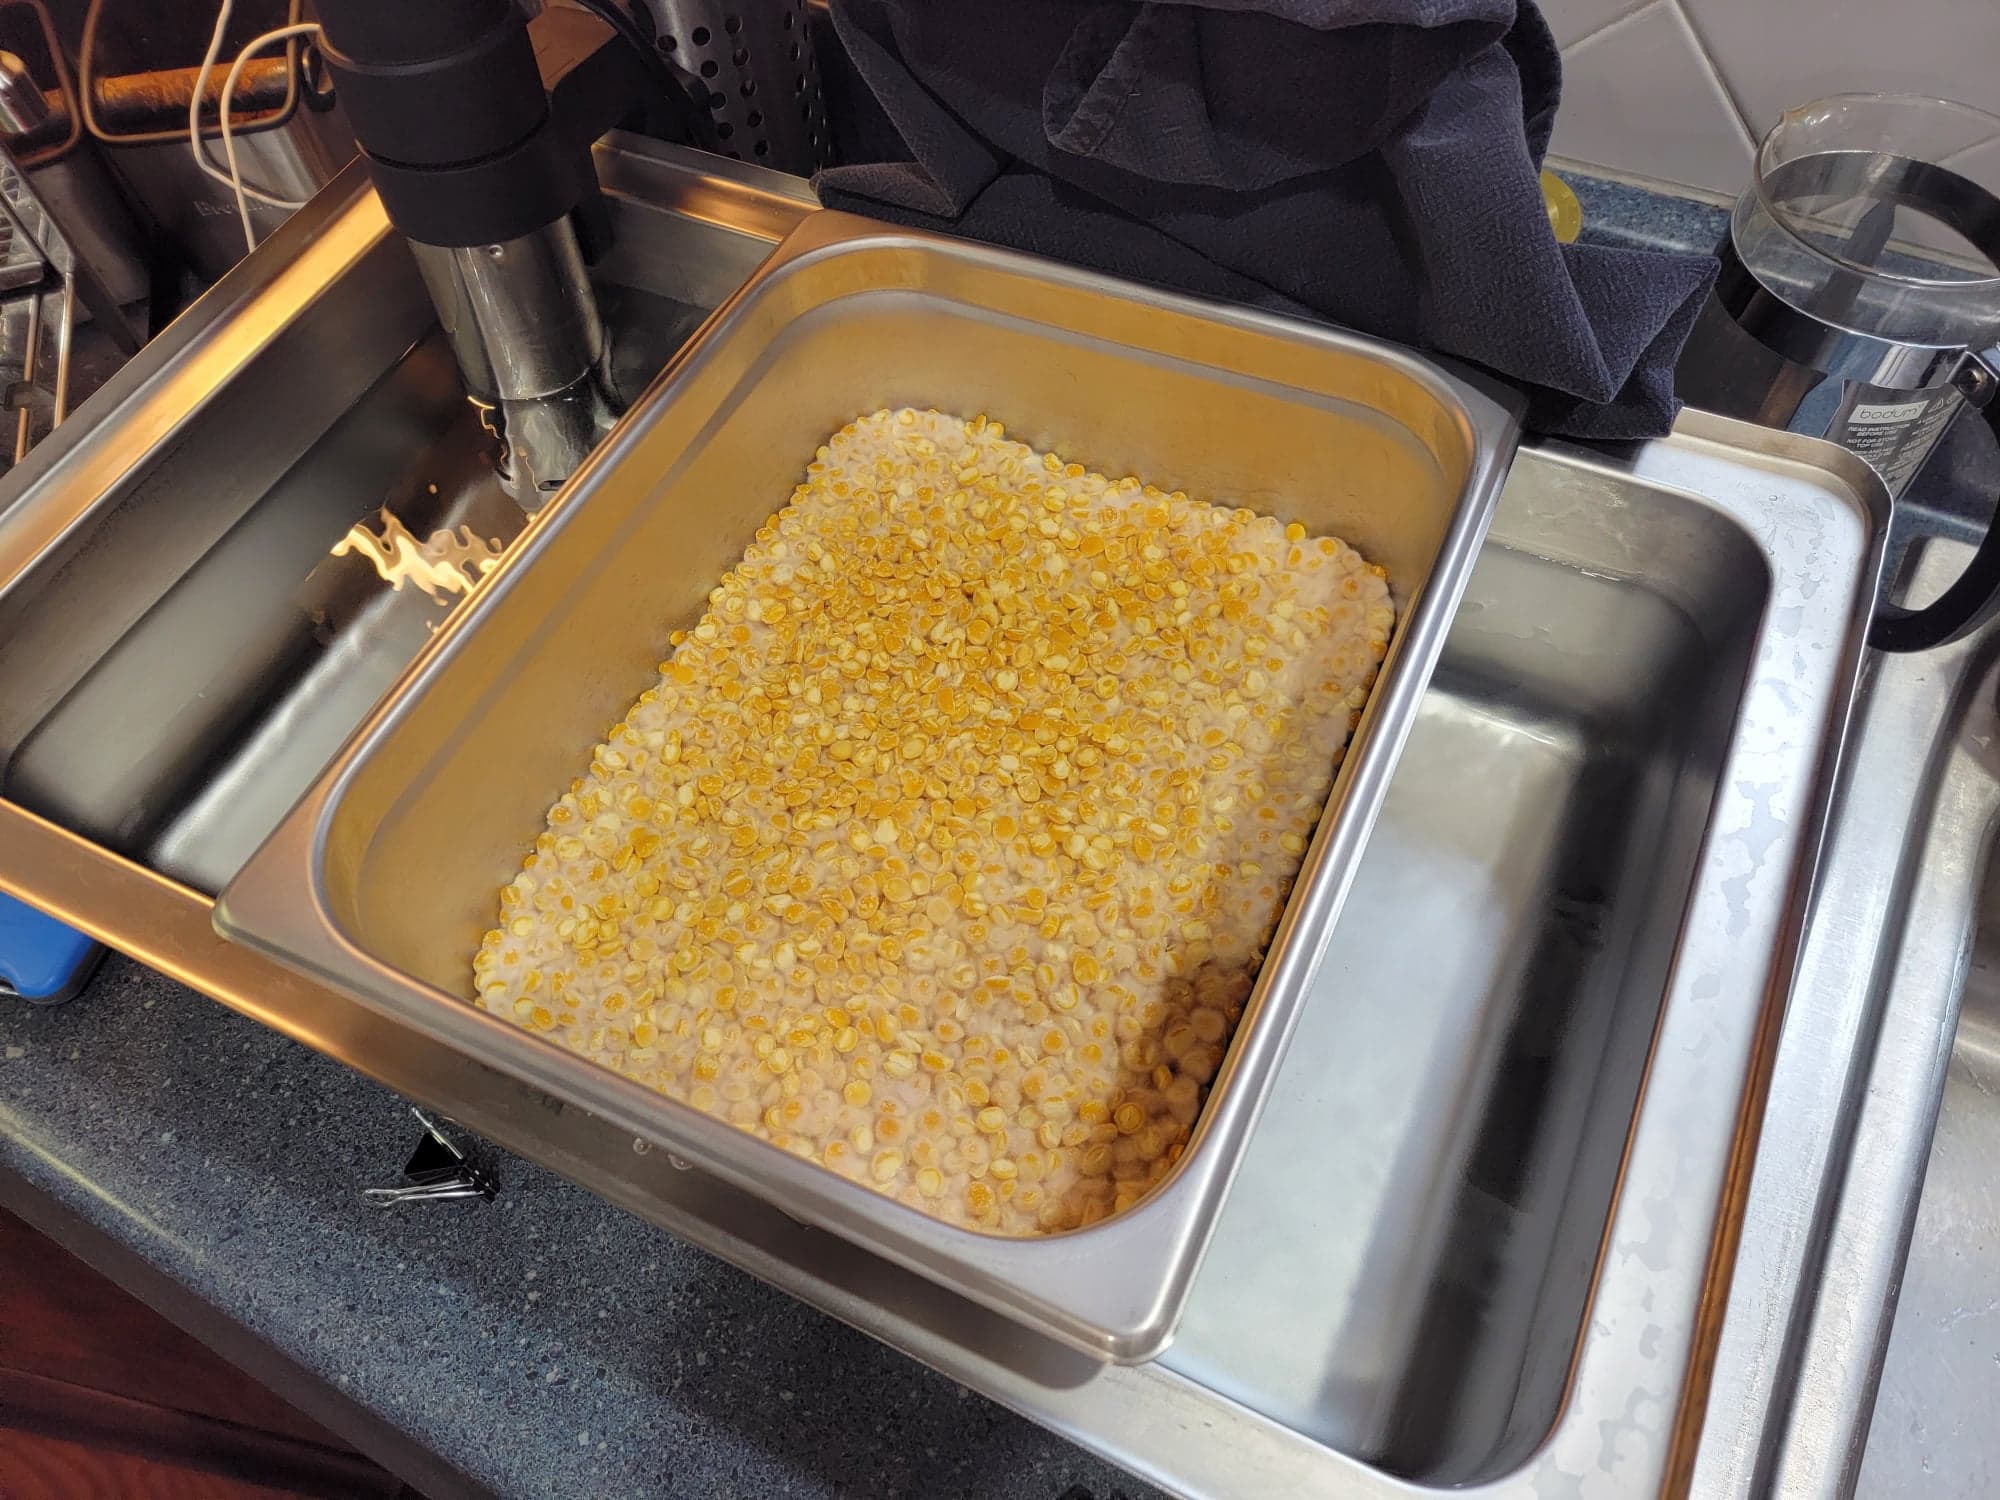
Incubate: As mentioned before, our preferred method of incubation is using an immersion circulator in a water bath. You'll have your larger container filled with water, into which you'll place your circulator set to 88 °F. Then you'll need a smaller pan or container that can float in the water – you'll be placing your substrate into this smaller container. You want your substrate to be about 3/4 to 1 inch thick once spread out in the smaller container, so find a container that's the right size that will allow you to do this.
Alternatively, many people use plastic zip-top bags for incubating tempeh in a dehydrator or proofing box setup. For this technique, you'll place the beans/substrate in a bag so that they're 3/4 to 1 inch thick. Then you'll prick the bag all over with a needle or sharp implement, spacing the holes about half an inch to an inch apart (don't make the holes too big, they should really just be the size of a pinprick). Place in your dehydrator or proofing box setup and maintain a temperature of 88 °F.
With either technique, you'll want to occasionally check the temperature of the substrate and adjust the heat accordingly to maintain a constant temperature of around 88F. After about 12 hours the tempeh will start to generate its own heat, so be aware that you may need to adjust your heat source down a little bit to compensate.
After about 18-24 hours, you should see fuzzy white mycelia on your tempeh. You'll want to keep incubating until the tempeh is completely knitted together into one giant cake; this can take 24-36 hours. If you let the tempeh incubate too long or if the temperature is a little high, you may start to see black spots appearing on the tempeh which means it is sporulating. If you see a few spots here and there you should stop the incubation, but the tempeh is still perfectly safe to eat.
How to Store Tempeh at Home

Once your tempeh is done, you'll want to place it in a sealed bag or container in the fridge in order to cool it down and stop the mycelial growth. It will keep in the fridge for a few days. You can also freeze tempeh for several months in a sealed bag or container. Defrost frozen tempeh in your fridge and use it within a few days.
We hope we've shown you how easy it is to make tempeh! There's really minimal specialized equipment involved, other than an incubation setup which is useful for a whole host of other fermentation projects. You can experiment with all kinds of substrates and additional ingredients to make the perfect tempeh just as you like it, and it's cheaper and tastier than store-bought tempeh.
Do you ferment tempeh at home? How does your process differ from ours? Comment below to share!
Pick Up Fermentation Gear Today

Improve your fermentation game with some great new products from Cultures for Health- a great spot for buying cultures, spores, and more!